Turn A Plastic Bottle Into A Storage Solution With A Matching Lid With A Clever DIY
We may receive a commission on purchases made from links.
You can say that the plastic bottle, whether it's filled with cheap soda or overpriced water, has two likely fates: Either the bottle is discarded as trash, or it's marked for recycling. But what if there was another option; one that could help tackle the storage crisis currently unfolding in your bathroom, kitchen, or home office?
Fortunately, there's an easy way to repurpose your plastic water bottles around the house while also organizing those cluttered areas you've been meaning to tidy up. Content creator Anna Home shared the fun idea on YouTube. The creative storage hack uses an empty plastic bottle, some felt, a ribbon, and any other embellishments you might like, to create a closed storage container with a lid.
This clever DIY is ideal for storing small accessories, such as batteries, paperclips, and extra phone cords, that you often can't seem to find the "right" place for. It can also store dry goods, like beans or pasta, or it can serve as the perfect candy jar. Because the plastic bottle is transparent, you know what you have without having to peer inside.
A plastic bottle's compact size means these DIY storage containers can easily fit most anywhere, including bathroom countertops, office desks, and inside kitchen drawers. If you don't have felt or ribbon already, you can buy them both on Amazon for under $10, like a 100-yard roll of Vitalizart satin ribbon or 16 pieces of flic-flac felt (1 millimeter thick). So if clutter tends to pile up around your home, projects like this are among the simplest, budget-friendly methods to keep your home organized.
Steps to building your DIY storage containers
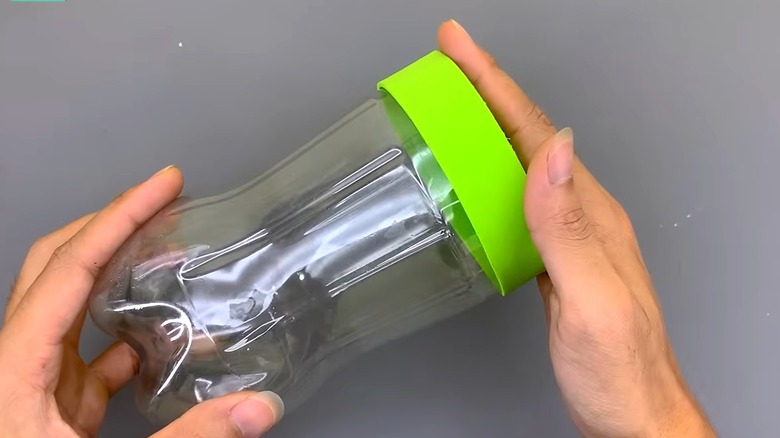
After gathering all of the project's supplies, draw a guideline around the bottle using a marker. An easy way to do this is by resting your hand on a freestanding object (at the height of the guideline), like a jar or another water bottle, then slowly rotating the bottle you're marking to create a straight line. Afterward, cut off the top section of the bottle. Now it's time to create the container's lid. Using a guideline for this step is also helpful, so draw a circle around the container on your felt sheet to create this, then cut out the circle.
To make the lid's rim, wrap a piece of felt around the container's opening, marking where the ends meet. Then cut a strip of felt about 1 inch-wide at this length. Add hot glue to the ends of the rim, then press them together to form a ring. Build the lid using these two pieces. Place the circle piece inside of the ring, and add a bead of hot glue at the inner seam. When the glue dries, test your new lid to ensure it can easily slide over your new storage jar.
Ways to customize your DIY storage containers

Once you've assembled your DIY storage units, you'll have one more foolproof way to keep supplies organized. These convenient and neatly sized containers can help keep track of all sorts of household items that sometimes get lost, from craft supplies and bathroom essentials to electronic accessories and junk drawer items.
Upgrading the containers, meanwhile, can be as simple as adding a tied ribbon to the lid for easier removal or even making colored labels so that your contents can be categorized. And to add a more decorative touch, use felt to craft creative designs, such as flowers, animals, or geometric shapes. Simple additions like a zigzag or wave pattern can make your new storage units become standalone decorative elements with little effort.
You can also tailor the containers to each room with colors and designs that brighten the space. For example, theme-based versions inspired by holidays, nature, or children's rooms can make them feel more personal and stylish.