Customize Your Countertop Storage With A Beautiful DIY Kitchen Utensil Holder
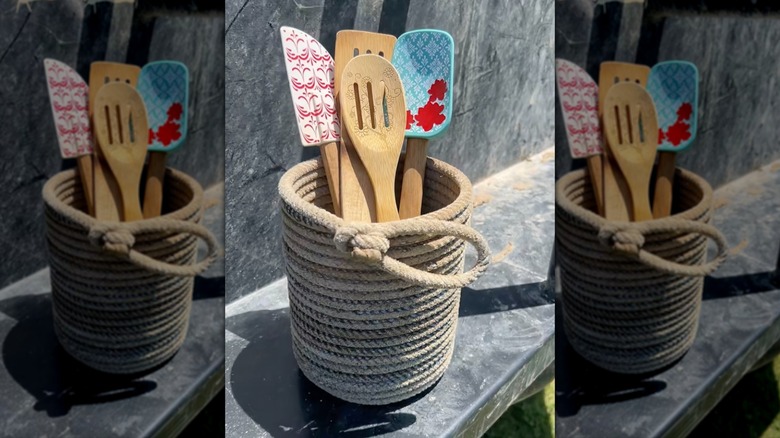
Organizing your kitchen countertops can inspire a pretty lackadaisical attitude when all your current storage options are a bit dull. You don't want to just declutter; you want to add something unique that brings a sense of joy to your space. You're also someone who doesn't mind getting your hands dirty with a little crafting and loves saving money with creative DIYs. If that sounds about right, then you'll love this DIY kitchen utensil holder. We're making our own out of rope, but this isn't just another one of the hundreds of jute basket tutorials from Pinterest. We're using lariat rope and picking a color to make it all our own. If you're wondering what lariat rope is, think of the ropes cowboys use while working on a ranch. If you want to know how to craft a farmhouse kitchen without overdoing it, this is the perfect place to start.
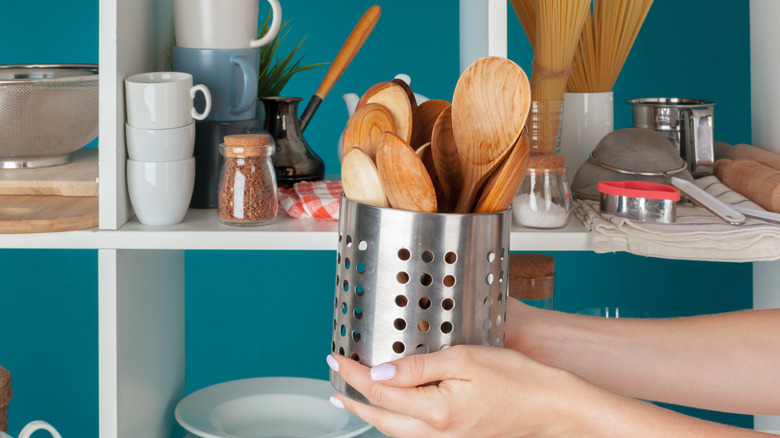
A basic lariat rope is made of braided nylon, which is used because of how sturdy and long-lasting it is. This homemade, hand-crafted kitchen utensil holder is all you'll need for creating the perfect country style kitchen. Utensil holders themselves are handy on a kitchen counter because they free up precious drawer space (no more digging around for the right ladle while your soup burns on the stove top). Having one sitting out that you made yourself adds a nice touch to your everyday culinary experience. All you'll need to make it is the lariat rope, which you can find at a farming or ranching store like Tractor Supply, and a wood burning tool, and a sturdy pair of scissors.
How to make your own lariat rope kitchen utensil holder
If you're ready to ditch countertop clutter, then grab your lariat rope and wood burning tool, and let's get started. You'll want to clear a space to work on an open flat surface to help keep the rope from falling and pulling away as you craft. Once you're all set up, grab one end of the rope and begin to roll it tightly into a circle, like a cinnamon roll. Keep the circle pulled tight and flat to make the base of the utensil holder. As you roll each layer around itself, use the wood burning tool to melt the nylon by placing the tip of it in between two layers of rope. This will fuse the material together and help it hold its shape.
You can make the base of the utensil holder whatever width works best for you and the countertop space you have available. Once you've gotten to the desired width, you're going to keep that same motion of wrapping the rope in a circle, but now start stacking it on top of each other to create the walls of the utensil holder. You're essentially layering the rope in an upward fashion instead of outward. Continue to melt the layers of rope together until you reach the desired height. Here, you have additional customization options. You can keep the same width all the way up, or start more narrow and get wider at the top. When you're done, cut the rope and use the wood-burning tool to melt and seal the end. Alternatively, you can style the end of the rope into a mini lasso knot and fuse it to the front of the utensil holder.