Ditch Plastic Edging: This Natural Material Is More Reliable And Won't Break The Bank
We may receive a commission on purchases made from links.
For better or worse, plastic is a go-to material for driveway or garden edging ideas that make for the perfect landscaping. It's flexible, lightweight, economical, versatile, and you often don't even have to do any digging to install it. However, anyone seeking an environmentally friendly alternative or would rather edge their garden beds in natural materials should look into cedar lawn edging. It's just as reliable as plastic and may even work out cheaper in the long run. Plus, it's more attractive, with a rustic, natural appearance that blends into pretty much any garden design. The best part? You can do the installation yourself, cutting down the overall costs of the material even further.
Deciding on the most appropriate edging solution for your yard depends on a number of factors. You need to consider the environment (soil quality and climate), the look you're going for, any building regulations in your area, and general upkeep (how often you'd need to do repairs). Fortunately, cedar — or redwood — edging decays slowly and naturally repels insects. With proper care and maintenance, this natural landscape edging idea will elevate your yard and may even outlast plastic edging. Cedar edging is cheaper than other longer lasting solutions, like stone, steel, and Corten, so using it is an investment that makes good economic sense.
Let's do a cost-versus-lifespan comparison. Standard plastic or vinyl edging costs $2 to $8 per linear foot and lasts between 5 to 15 years. Cedar, on the other hand, costs between $5 to $15 per linear foot and lasts 15 to 20 years. Also, plastic edging needs regular maintenance, including repairs and replacements. If you take good care of your cedar edging, you will likely get more life out of it than plastic edging, eventually making up for the difference in price.
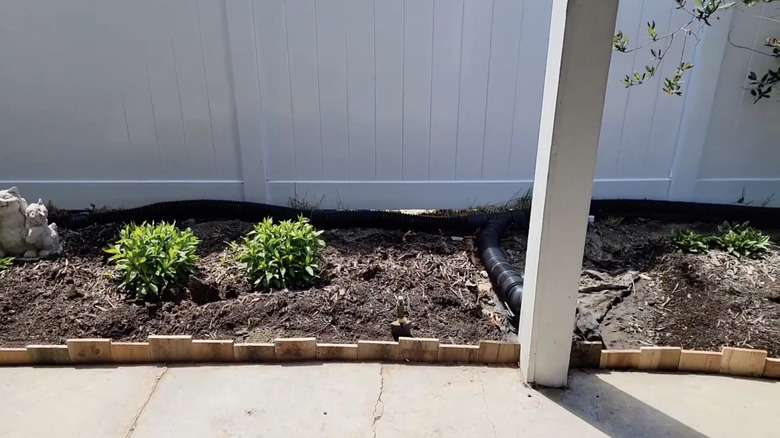
Transform your yard by installing affordable cedar edging
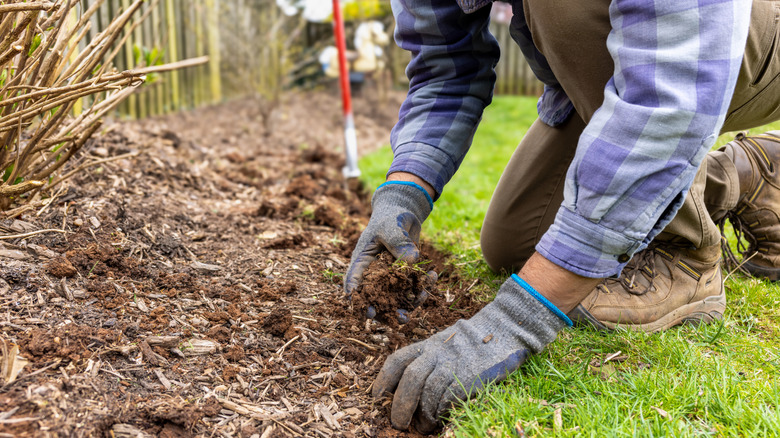
Looking for tips to add value to your home in 2026 and beyond? Well-defined lawns and garden borders boost curb appeal and keep your backyard looking neat. Still, it's important to follow the right technique when installing edging. Poor installation can impact how long it lasts. Installing cedar wood edging is a pretty straightforward process — you only need a few basic tools and supplies: rope or marking paint, a shovel, some gravel, a rubber mallet, and a carpenter's level.
Start by outlining your planned border with the rope or marking paint. Next, use a shovel to dig a shallow trench along the line that is approximately 3 to 4 inches deep. Make it slightly wider than the edging so there's enough room for backfill. Fill the trench with a layer of gravel for better landscaping drainage on your home project. It also ensures the edging isn't sitting in water — and potentially rotting — whenever it rains. Next, drive your cedar boards into the trench with a rubber mallet, leaving about ½ inch above the soil. Leave a small gap between every cedar plank join to allow for natural expansion.
Use a carpenter's level to make sure all the edging is straight, then secure it with anchoring stakes (usually supplied in the kit) every 3 to 4 feet. Finish by backfilling and compacting the soil all around the cedar boards. It's also important to note that the reddish-brown of your cedar landscape edging will eventually fade to a silvery-gray. You can leave the wood as is — it's quite a pretty natural finish — or apply an oil-based wood sealer, like Ready Seal Exterior Wood Stain in Redwood. This will help the wood retain its original color and boost the material's longevity.