

Use Metal Takeout Containers To Create Budget-Friendly Pavers With This Savvy DIY
We may receive a commission on purchases made from links.
Creating new additions to your yard can make it feel more personal and intentional — and there are several ways to do this. Everything from flower beds to ornamental trees to pavers can take an average-looking yard from forgettable to memorable. Whether you're "paving the way" to a charming garden walkway or building a new patio for those summer grilling sessions, a new set of pavers can spruce up your space in no time. And luckily, there's a way to install pavers around your home without having to prepare a huge budget to do it.
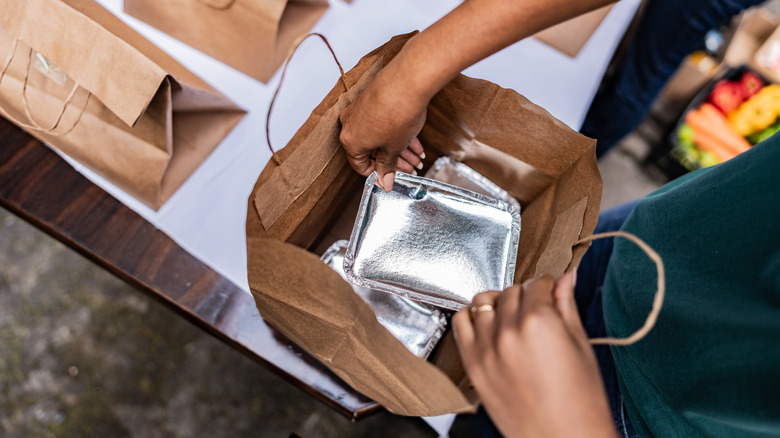
If you don't mind doing a bit of manual labor, you can make your own to save on both labor and materials. How, you ask? By using metal takeout pans as paver molds. For example, TikTok creator @grandma4paws52 showed that you don't always need fancy materials and big budgets to make beautiful landscaping designs. Using nothing more than a few sets of round foil containers and Sure Fresh Deviled Egg pans from Dollar Tree, landscaping rocks, and broken plate pieces, she created a custom batch of paver molds — ones that even a first-time DIYer could replicate.
The most expensive item in this easy DIY paver project will likely be landscaping rocks and the concrete, both of which will cost under $10. For example, you can head to Home Depot to buy an 80-pound bag of concrete, such as the Quikrete Fast-Setting Mix, for about $8. And Amazon has quite a selection of landscaping rocks to choose from, like this mixed-color Virekm River Rocks set. Additional items you may need for this project include mixing supplies for your concrete, as well as cooking spray and a pair of scissors.
Steps to make your own pavers using metal pans
When it comes to making your paver molds, there are several techniques available to try, but this is a pretty straightforward one that can be completed in one afternoon. To get started, lay out the pans to prepare them for the concrete mix. For the metal pans, it may be helpful to add a thin layer of cooking oil to prevent the molds from sticking to the pan after they cure.
@grandma4paws52 I think I got this! this is definitely a trial run. fingers crossed. not sure if I did right but time will tell #diysteppingstones #steppingstones #pavers #diy
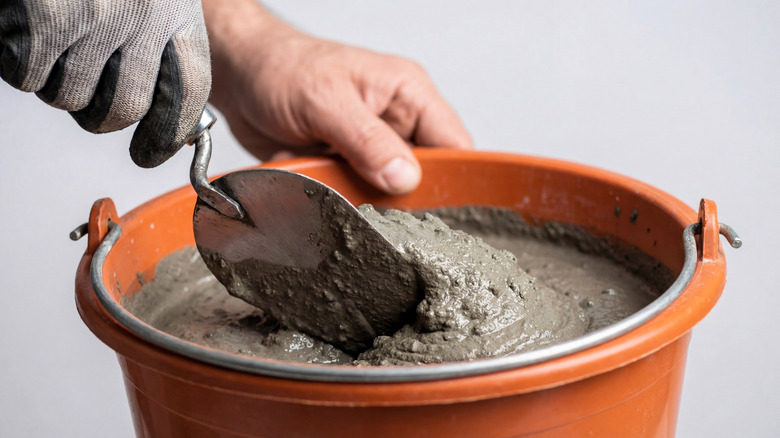
The best thing about quick-setting concrete is that it doesn't take much to prepare. Simply pour the powder into a bucket (or barrel), add the recommended amount of water, and stir it together. A trowel or garden hoe will work well for this step. Once you pour the mixture into the pans, give them a little shake to level the top, or smooth it out with your mixing tool.
This is also the ideal time to add your decorations, including landscaping rocks, broken tile pieces, or any other accents that you want to press into the molds before they set. Note that on average, fast-setting concrete may take anywhere from 20 to 40 minutes to dry, so be sure to have your pieces ready to go beforehand — you don't want it hardening while you're still creating the designs.
Ideas for customizing your DIY pavers
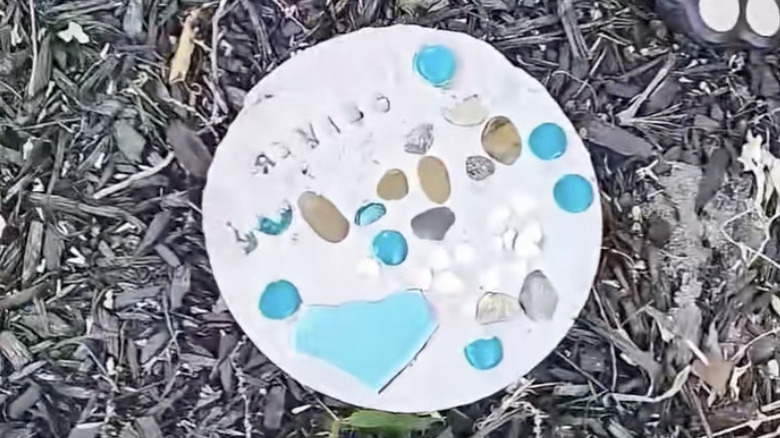
Once your pavers have dried, turn them over to remove the pans, using scissors to cut them away if needed. From here, your custom stones are ready to be placed in your garden or walkway to elevate your outdoor space. With this method, you can forgo the stress of choosing the right type of paver altogether, and make the type of stones that you want instead.
Once you're familiar with this paver-building technique, try creating different designs and styles. For example, you can embed things like marbles, sea glass, and colorful glow-in-the-dark stones into the pavers for a more whimsical look. Adding a pigment powder or concrete stain to your mix is another creative way to put a unique spin on your pavers and add an earthy tone. Or, similar to the TikTok creator, you can use a stick to draw names or inspirational quotes into the stones to add some personality to the designs. The sky is the limit with this idea, so don't be afraid to let your imagination run wild.