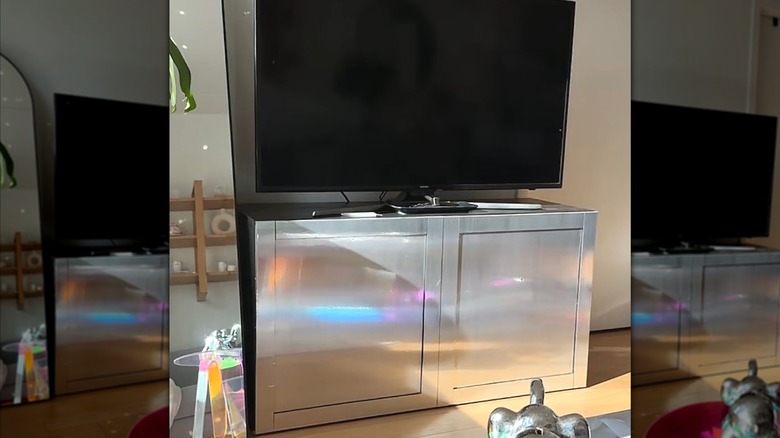
Not Paint: The Smarter Way To Give Cabinets A Budget-Friendly Upgrade
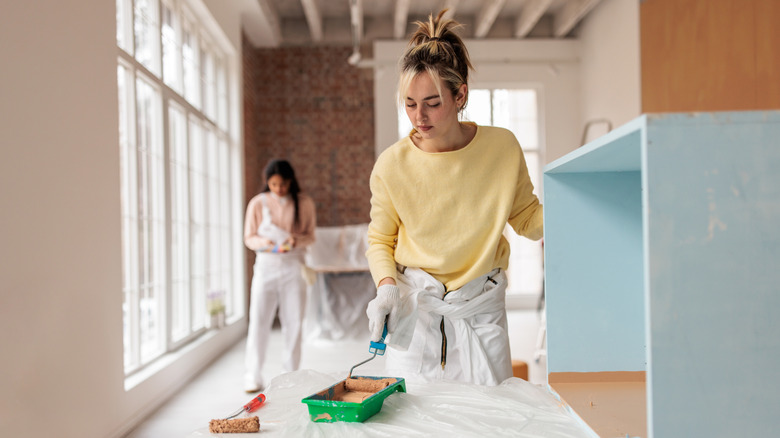
Want to update that old, worn-out cabinet but not ready to embark on a daunting painting project? We hear you. If you need a smarter (read: quicker and easier) way to give your cabinet a refresh, give peel and stick contact paper a try. It's a unique way to instantly breathe life into a tired piece of furniture. There are countless colors and patterns to choose from, but chrome is a popular option that's versatile enough to match everything around it but bold enough to add a fun flair. This upgrading method works for all sorts of cabinets, like standalone units in the living room or bedroom, or even tv stands. It's truly a stunning way to refresh your living room without a drop of paint.
You can find rolls of chrome peel and stick contact paper for less than a dollar per square foot, making this an incredibly budget-friendly upgrade. As far as tools you'll need for application, you most likely already have them on hand. You'll need a measuring tape, scissors, and something to press the paper down with, like a squeegee or even a credit card. Painting, on the other hand, will require way more than just a can of paint. You'll have to invest in extra supplies that most people don't necessarily tend to have laying around, like sandpaper, primer, paint rollers, and painter's tape. That's why this quick, budget-friendly upgrade is worth considering. So if you're ready to refresh outdated wood cabinets without paint, grab your peel-and-stick contact paper and get started.
How to upgrade cabinets with stainless steel contact paper
Before we get started with what will no doubt be a gorgeous cabinet trend, we should first take everything off and out of the cabinet. It's also a good idea to move the cabinet away from the wall or other furniture and into an open area so you can easily maneuver around it. You might be tempted to jump right into the contact paper but don't skip the cleaning step. Give the cabinet a good wipe down with a damp cloth to remove any dust or particles because those will easily show through the contact paper and look less than appealing. Once it's clean, wipe it down with a dry cloth to remove any moisture that can affect the paper's ability to stick to the cabinet.
Okay, now that all the prep is out of the way, let's get to the fun part. Working in sections of the cabinet, pick one side to begin. Measure the area of the cabinet you want to cover, then unroll the contact paper and mark those measurements on the underside so you won't see them later. Optionally, you can cut a bit more than you need (just in case) and then trim it off later. Peel a small section of the backing off the contact paper as you begin to apply it to the cabinet. se a squeegee to smooth the contact paper as you gradually remove more of the backing, working across one section at a time. Repeat this process for each section of the cabinet until you've covered the entire thing. You can use scissors or a sharp utility knife to trim off any contact paper that might be hanging over any edges.