

Ditch The Cabinet: The Creative Way To Add Floating Bathroom Storage
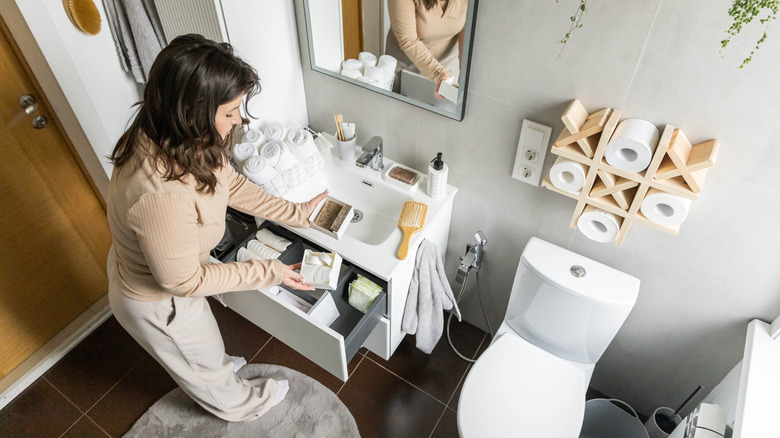
Are you tired of bulky cabinets taking up all the space in your bathroom? Or maybe you don't have much of any storage, and you desperately need to add something without the expense of a massive installation? Fortunately, there's a better, space-saving bathroom storage solution that's budget-friendly and perfect for a quick DIY: turning milk crates into floating shelves.
Floating shelves hang on the wall, so they don't take up any floor space. But we're not hanging just any old floating shelves. Most are fairly narrow and have limited capacity. We're using milk crates to create deep shelves. Milk crates are nice and sturdy, plus they offer plenty of room for larger items like folded towels, cleaning products, and toilet paper. There are so many creative ways to repurpose milk crates in and around your home, but this one adds a particularly unique look to your space and is easy on the wallet, too.
You can purchase new milk crates on Amazon or at a local hardware store like Home Depot for less than $15 each. Or you can search thrift stores and even Facebook Marketplace for used milk crates that usually run less than $5. You'll also need some hooks to hang them on the wall and strong glue for the hooks if they aren't self-adhesive. Optional supplies include spray paint, screws, and a drill.
How to upcycle milk crates into deep floating bathroom shelves
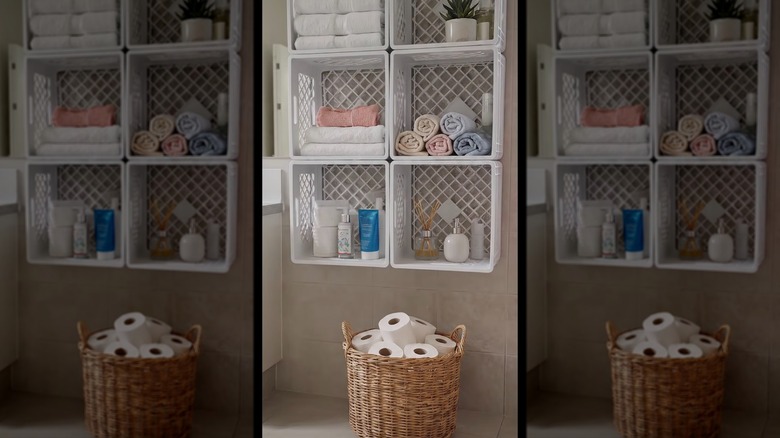
If you're ready to add much-needed bathroom shelves, let's get started. For a used crate, you might need to clean it up first by giving it a quick wipe with a moist cloth. Milk crates come in a variety of colors, but if you're not loving the color of yours, grab a can of your favorite spray paint and head outside or to a well-ventilated area to paint it. While the crate is drying, you can get started on the hooks.
If using self-adhesive hooks, follow the directions on the package to attach them to the wall. Be sure to note the weight limit of the hooks and keep that in mind as you add contents to your shelf. If your hooks don't have adhesive, you can use a construction glue like Gorilla Glue or Liquid Nails. Attach two hooks to the wall, spaced out enough so that they will fit onto the crate at equal distance. Turn the crate so the bottom is facing the wall and use the open spaces to hang it from the hooks.
Alternatively, you can attach the crate to the wall by drilling screws into the wall, leaving enough space between the wall and the screw head to act like a hook for the crate bottom to attach to the wall. Or you can screw directly through a plastic portion of the crate bottom into the wall. You can also use multiple crates, arranged side by side or one above the other for extra storage, by simply repeating this process with additional crates. For a fun twist in a small space, you can use mini-crates with Command strips to attach them to the wall.