

Ditch The Wall Hooks: The Easy DIY For Cheaper And Sturdier Shed Tool Storage
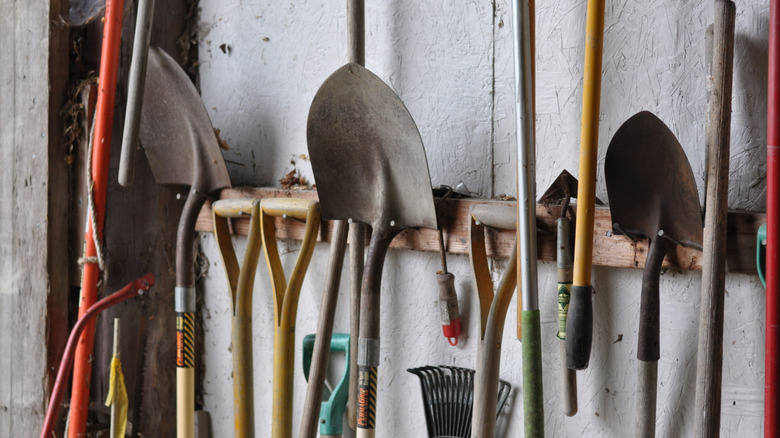
On the surface, it can seem like a great idea to install wall hooks in your garage or shed to hold all of your long-handled yard tools. Wall hooks can be great for getting your tools off the floor and freeing up space with vertical storage. But the problem with wall hooks is that they don't work for all tools, not to mention that you are limited to the size and number of hooks you choose based on the tools you have now. However, when one tool breaks or you acquire new tools, they may not be compatible with the current setup. Luckily, there's a wood pallet DIY that adds extra storage around the house that just may be the perfect solution to actually organize your shed tools: a tool storage rack.
TikToker @sobrighthome shared a thrifty and sturdy DIY shed tool storage rack made from a wood pallet that is so easy you can assemble and install in no time at all. The DIY simply takes one board from the pallet (or a scrap piece of wood if that is what you prefer) to close off one of the open ends. This simple addition creates a bottom to your tool rack. The resulting storage rack is perfect for housing long-handled shed tools like shovels, rakes, hoes, and more. The same rack can also be assembled to hold long-handled household cleaning supplies like mops and brushes.
Sourcing and preparing wood pallets for your DIY shed tool storage
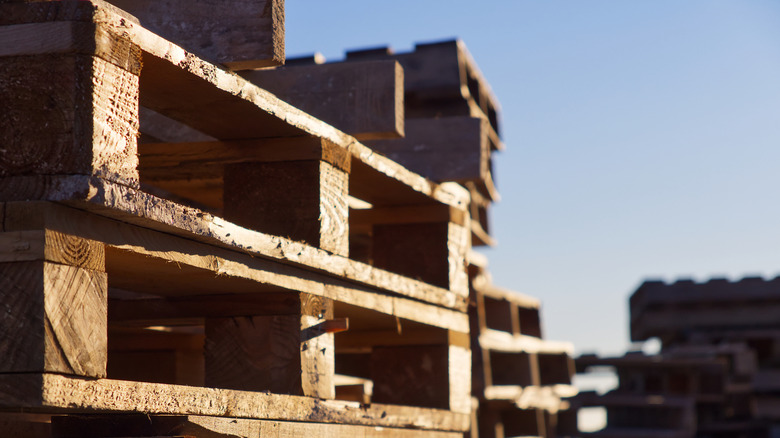
One of the reasons this DIY is so affordable is because you can often source pallets for free. While there are likely plenty of places to find free pallets near you, you'll still want to make sure the ones you are taking are actually free. It is common to find free pallets at local businesses, especially hardware stores or grocery stores. However, just because you see pallets sitting outside, it doesn't mean you can just take them. It's always best to check with the store to see if they are available for free or not. You can also ask around at local construction sites or search websites like Facebook Marketplace to see if any individuals in the area have some they are trying to get rid of.
Once you find your wood pallets, you will want to make sure you prepare them for use in a DIY project. Since an outdoor storage rack is pretty self explanatory, there isn't much you need to do to get things ready besides some cleaning. That being said, you may want to sand down the edges, too, especially if you plan to install the rack indoors for cleaning supplies. It's relatively easy to clean wood pallets for your DIY project. Usually, you'll want to give it a good wash before you sand it. Scrub down the pallets with soap and water, using a hard bristled brush to clean way any debris. You can also use equal parts water with bleach or vinegar to sanitize the wood if you are concerned about contaminants like chemicals or mouse droppings.
Putting together an easy pallet storage container for shed tools
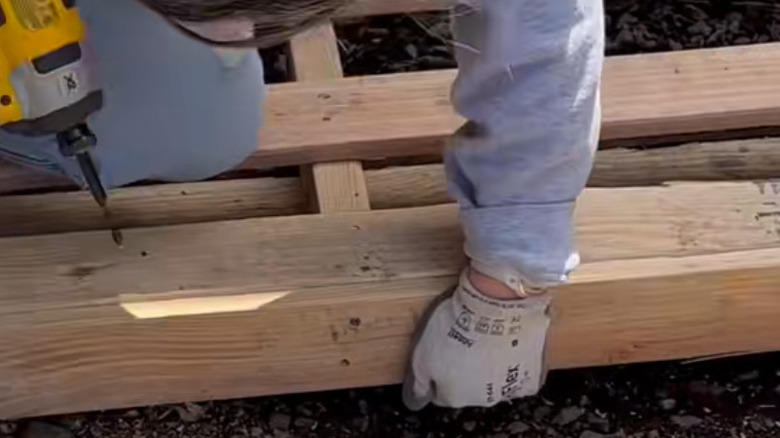
Once your pallets are clean and ready to go, all you really need to complete this DIY is a saw, a hammer, a drill, and some screws. Of course, you'll also want to wear eye protection and gloves when handling wood pallets. @sobrighthome uses a chainsaw to cut the pallet down to size, but you can use any type of saw that can make a straight cut in a 2-by-4 or similar dimensional lumber. They cut off a small portion of the pallet with two cross beams still attached, leaving the larger section unaltered. If you want your rack to be the full height of the pallet, you will need a scrap 2-by-4 that will fully close off one of the open ends. For best results, you may want to use a straight edge and a level to mark where you will make your cuts.
@sobrighthome The EASIEST pallet project I've ever done! This pallet tool storage is not only super easy and quick to make, but it's incredibly functional! Check my YouTube channel / Sew Bright Creations for the full video to learn how you can make this pallet tool storage too! If you like it, save & share this idea! #palletprojects #pallettoolstorage #upcycledpallets #palletideas #palletinspiration #sewbrightcreations #recycledpallets #beginneringwoodworkingprojects Pallet tool storage | Pallet Inspiration | Pallet Project | Garden tool storage | Outdoor projects
If you cut your pallet down, remove one of the cross beams from the smaller portion with a hammer. Then, place that board (or your scrap wood) against one of the open ends of the pallet. The opposite end will be the top of the rack where you insert your tools. Use a drill to screw the board into place so it sits flush with each edge. Finally, flip the pallet so the newly installed beam is facing the ground, and use screws to install the rack to a stud in the wall. You can always paint or stain the pallet before installing it to add your own personal style to the project.