

Not Compost: The Yard Scrap To Add To DIY Fertilizer For Thriving Leafy Greens
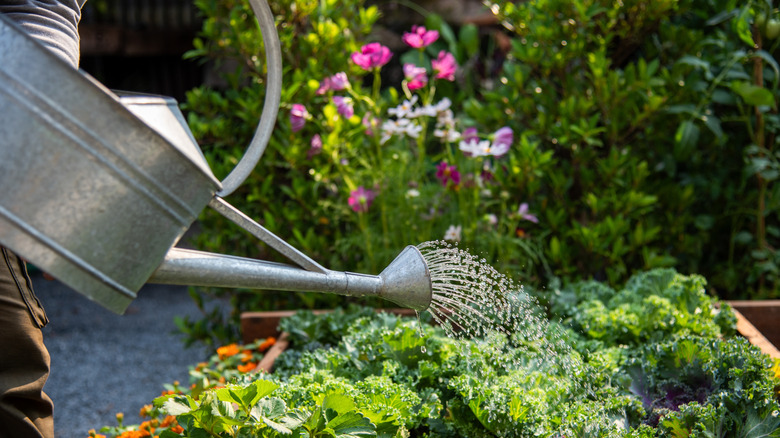
Growing healthy and thriving leafy greens isn't hard, but it does take a bit of help. Plants like spinach, lettuce, and kale need a ton of nitrogen in order to grow large and delicious leaves. To help provide that nitrogen to their plants, some gardeners like to buy and use commercial fertilizers. But if you like to go the natural route, there is a clever way to make your own fertilizer at home with stuff you already have. In fact, you can make it from a very basic yard scrap that's more than abundant: grass clippings. May this be your sign to plant and grow leafy greens for the season!
The DIY way to make grass clipping 'tea' to nourish nitrogen-hungry plants like leafy greens is easy. While it's called "tea," there's no need for boiling water or teapots. All you need is a bucket, fresh grass clippings, water, and some patience. The reason why this works so well is that grass clippings are full of nitrogen (as well as other nutrients, such as potassium). When the grass breaks down, it releases those nutrients back into the water. The result is a nitrogen-rich mixture that you can use to water your plants.
The benefit of this approach is that you're not using any synthetic fertilizers. Instead, you're just reusing what's already in your yard. But before you get started, there's an important note: If you recently treated your lawn with herbicides or pesticides, do not use these clippings to make fertilizer. These can leave a residue that's best kept away from edible plants like leafy greens, which will eventually end up on your plate and in your stomach.
How to make grass clippings fertilizer tea and use it for leafy greens
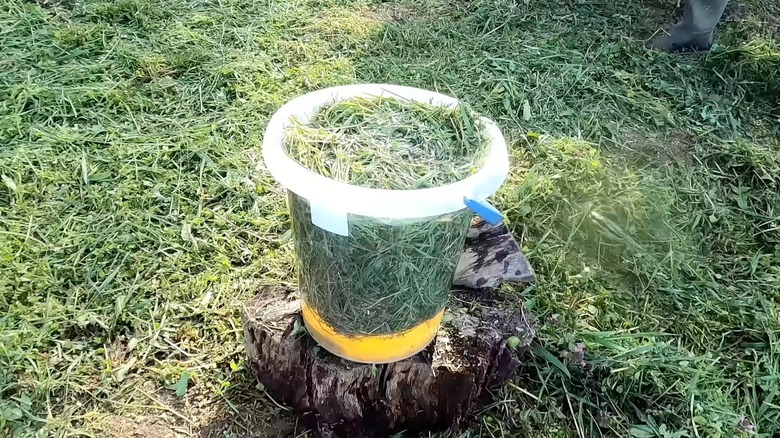
To make your own fertilizer tea, cover the bucket of grass clippings with water. This is a clever way to reuse rainwater if you harvest it, or you can use tap water instead. Then, leave the bucket in direct sunlight, stirring every couple of days. Over time, the grass ferments in the water, which should give it a yellowish color and create some foam. You'll know the process is over when the liquid develops an odor and the foaming stops, at which point the water should have a deep green color. This should take around 10 days, though it could happen within a few days or take a couple of weeks.
Next, strain the mixture to retain only the liquid, and discard the grass clippings. Use a strainer or wear gloves to manually remove the grass from the bucket with your hands. You can use a funnel and gently pour the green liquid into glass jars, milk jugs, or water bottles. There's no exact research on how long you can keep this DIY fertilizer once it's in a capped bottle. If you want to be safe, use it for a few weeks, then repeat this process whenever you mow your lawn to keep fresh fertilizer on hand.
Now that you've got your DIY fertilizer, time to water your leafy greens. But not so fast — don't just pour it over your garden. Instead, dilute one part nitrogen-rich grass tea in 10 parts fresh water and use that instead. Use this to water the ground around your leafy greens, and avoid the leaves themselves.