

Turn Old License Plates Into A Recycled Planter Box That Looks So Unique
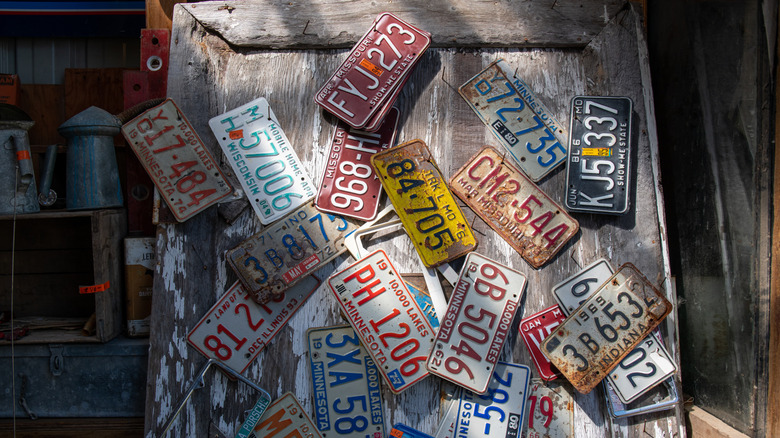
Some of the best decor pieces are the result of clever DIYs that make use of old items that would otherwise be discarded. Old license plates are a great material to work with. They're versatile and offer a fun texture to add personality to your home. There's something so wistful and fun about old school license plates, and they're a great collectible to search for. And, with some simple supplies, you can easily transform license plates into a unique planter box.
If you're a fan of quirky vintage decor, you'll adore this DIY project. To create this stunning DIY planter, you'll need 2 old license plates, wood boards, a mallet, a measuring tape, a circular saw or equivalent tool, and contact cement. Since you'll be using this for plants, opt for untreated, rot-resistant woods such as cedar, hemlock, or juniper. If you don't already have old license plates, check out your local antique shops, flea markets, and automotive swap meets. If you don't have any luck locally, there are a ton of antique license plates online to peruse. These curated inventories typically feature pieces that are in relatively good shape compared to the ones you would typically find secondhand. Try online resources such as Etsy, eBay, or even Facebook Marketplace.
How to build your own license plate planter box
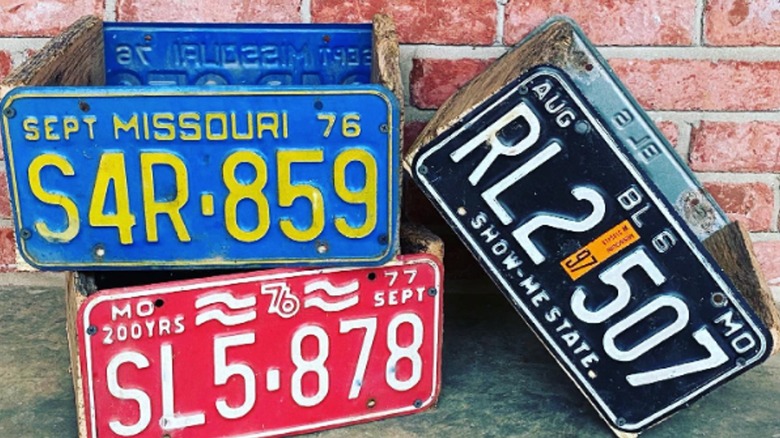
Start by using a mallet to hammer your license plates as straight and even as possible. Brace them against a piece of scrap wood to give you more leverage. Once you're satisfied with the uniformity, it's time to build out the sides and bottom of your planter box. For the side pieces, measure the height of the license plate. Cut a piece of wood an inch smaller than this figure. You can make it whatever width you would like. Create two wood pieces to these dimensions.
Now it's time to create the bottom piece. The dimensions of this piece should match the width of the side wood and the license plate. Use your drill to create drainage holes. If you'd like to skip this step, you can always opt to fill your box with gravel and artificial plants instead. Either way, the last step is to assemble your box. Use your contact cement to attach the sides and bottom.
Now your beautiful planter box should be ready to go! Display it anywhere you'd like to add a bit of personality. Just be aware that they may eventually rust if you keep them outside. So, using them indoors will allow you to enjoy them longer. Consider hanging them on a wall in your home with trailing plants, or even to use for storage — keys, mail, or dog leashes — whatever odds and ends you need a place for. Your boxes will already feature holes where they would have screwed onto a car, so the same holes can be used to affix them to a wall.