

Don't Toss Those Old Pennies — Use Them To Create A DIY Natural Wood Stain
We may receive a commission on purchases made from links.
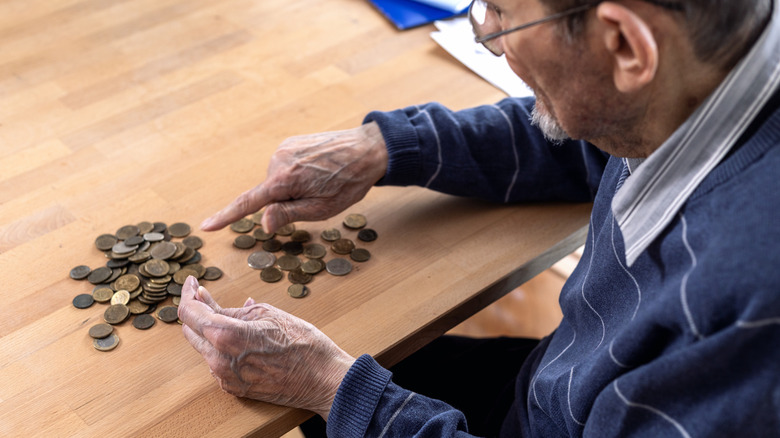
There are lots of accessible, playful DIY carpentry projects you can experiment with, or you can give a beloved vintage piece a new lease on life. Wooden decor is, after all, timeless. Using a wood stain is one way to finish that timber wall art you made recently or transform a plain pinewood stool into something entirely different. You can easily buy ready-made wood stains at hardware stores or online for affordable prices, but making your own is undeniably the more exciting route. There are lots of ingredients you can use to naturally stain wood. You can, for example, create a vibrant natural wood stain with a tannic ingredient from your kitchen — yup, we're talking about red wine. Or you can use a more unexpected material: old pennies. The copper in old pennies creates a striking blue- or turquoise-hued stain.
To achieve this stunning wood finish, you're going to need some very specific supplies. The most important item on your list is the right kind of pennies. To get a blue stain, you need pennies that predate 1982. The date of the pennies is vital because only older pennies contain enough copper to create the color. Pennies produced after 1982 don't create the same effect due to their low copper content. Can't find the pennies of the right date? Copper shavings or copper pipe and tubing scraps will work just as well, if not better. You'll also need a big bottle of hydrogen peroxide and another of white vinegar. Copper compounds can be harmful if ingested, so wear gloves while making and applying the stain, and wash your hands thoroughly when you're finished.
How to create a wood stain with old copper-based pennies
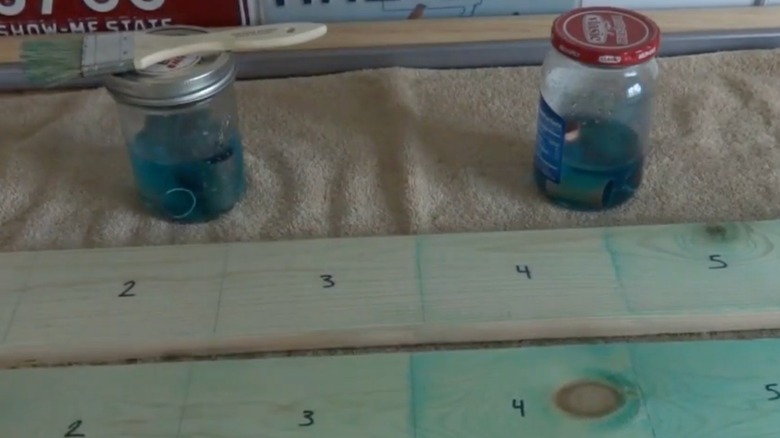
Finding creative ways to repurpose old coins that are lying around your house is arguably the ultimate thrifty hobby. Simply gather all of your pennies together and pop them in a glass jar. Fill the jar with white vinegar until the pennies are completely submerged. A chemical reaction creates the blue color of this stain, and for that to happen, you need to introduce some oxygen into the vinegar. You can do this by adding a couple of tablespoons of hydrogen peroxide into the jar. The hydrogen peroxide acts as an oxidizing agent, speeding up the formation of the copper compounds that create the blue hue.
In just a few hours, you should have a jar full of beautiful blue wood stain. You could do it without the hydrogen peroxide, but you'll be waiting days for your stain. Still, just as with any other DIY wood stain, the longer you leave the pennies in the solution, the more vivid the color becomes.
Once you're ready to apply your stain to your wooden object, use a good quality paintbrush to paint it on. It may take a few coats until the blue color shows up. It's a time-consuming process, but don't rush it. You want to slowly apply layers of stain until you reach a color you really love. Once you're happy with the hue, it's time to protect the finish using a sealer. Mod Podge is a great all-purpose sealant for small home decor projects, while Minwax Clear Gloss Polycrylic Protective Finish is better for furniture and other large items. Apply a few coats of sealer using an old paintbrush and set the item aside to cure.