

Goodbye To A Traditional Jewelry Box: Try This Stylish, Beach-Inspired DIY
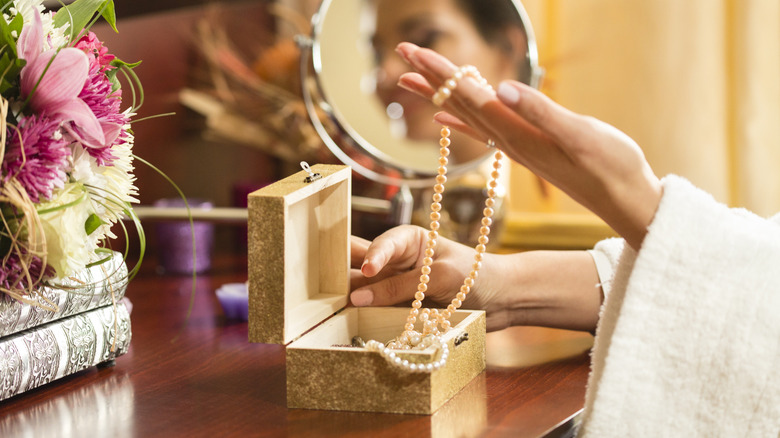
Jewelry boxes are a timeless way to keep rings, necklaces, bracelets, and earrings fashionably organized. Classic jewelry box designs made of antique wood, leather, and velvet never really go out of style, but if you've been looking for an easy way to refresh an old, traditional jewelry box, there's a fun trend worth looking to for inspiration. If you've saved up seashells to use as decor, you can lean into a coastal or mermaidcore aesthetic and add a few of these natural beach souvenirs on top of your jewelry box.
This DIY, originally shared by @feliciaheesen on TikTok, will work best with a jewelry box made of wood. Other than that, any jewelry box with a flat and smooth lid would do, but if you'll be upcycling with a jewelry box covered in leather or fabric, you may need to remove that layer to give way to a more workable base. The reason why we need a flat, firm, and smooth surface is because we will be using modeling paste for this project, which is preferably applied on wood or canvas, and may not adhere well on velvet or leather surfaces. Of course, you will need seashells in different shapes and sizes, along with smaller embellishments like pearls or beads. Other tools to grab include tweezers and a spoon for spreading the paste over the cover.
Decorate your jewelry box with seashells
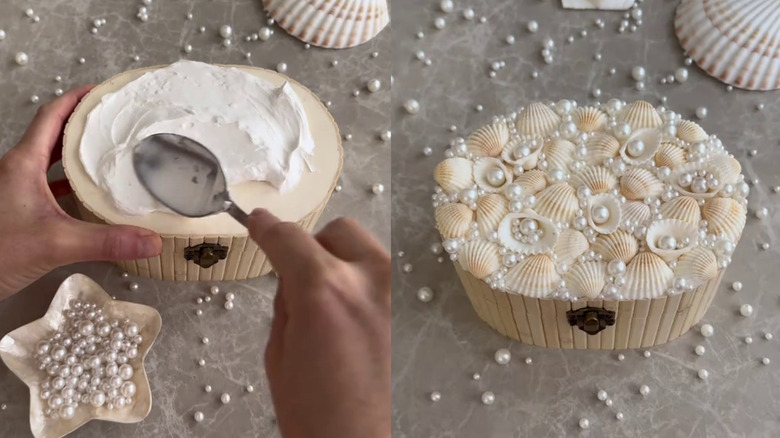
Before getting started, empty your jewelry box completely so that none of your accessories accidentally come into contact with the modeling paste — you could end up going without your favorite bracelet since you'll need to let the whole DIY dry for a while. Clean the jewelry box lid before spreading a thick, even layer of modeling paste across the entire surface. Don't worry about making it perfectly smooth — using the spoon to play with texture can actually make the base look more like a coastline where weathered shells wash up.
@feliciaheesen Seashell jewelry box 🐚✨💍 #craftideas #summer #diy cute craft handmade diy room inspiration
Don't wait for the paste to dry just yet — this is the perfect time to start arranging your seashells onto the surface by gently pressing each one into the modeling paste. You can begin from the center and gradually work outward for a balanced look, or create a seashell border around the edges before filling in the middle. After the larger pieces are in place, start tucking smaller decorative accents into crevices to give it a more a polished finish. Once you're happy with the design, set the jewelry box aside and allow it to dry for at least 24 hours. After it's fully cured, put your jewelry back in the box, and you can further commit to turning your home into an ocean paradise with mermaidcore by adding beach-inspired color palettes, textiles, and other oceanic trinkets alongside your redesigned box that keeps all your jewelry organized.