

Use Old Fence Slats To Keep Garden Hoses Neat & Organized
We may receive a commission on purchases made from links.
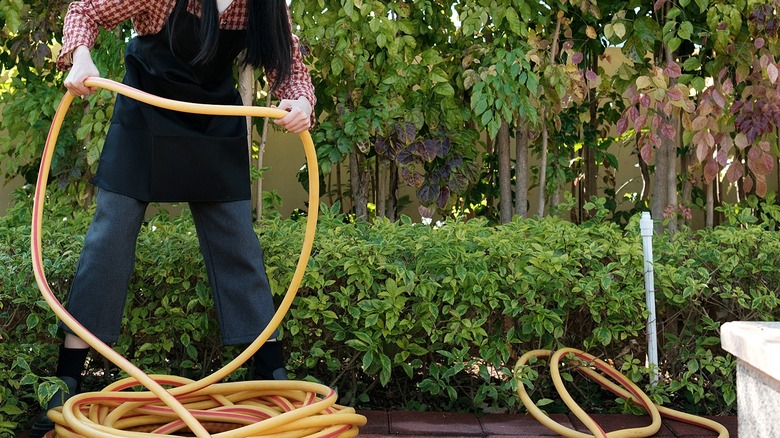
Every gardener needs a hose to water with, but one common bugbear is figuring out just where to store it. Oftentimes, this yard essential will get chucked down into a coil on the ground whenever it's not in use. If this sounds familiar to you, you might want to check out this DIY at Paw Paw's WorkShop; Paw Paw recently shared a how-to video for a rustic wooden hose hanger made from old fence slats.
This DIY can easily be adapted to fit your garden's needs, and what materials and tools you have. Basically, Paw Paw's video provides a template for how you can put together a similar fence-slat hose organizer of your own, which will allow you to say goodbye to the eyesore of garden hose clutter.
To get started, you will need old fence slats, strips of two-by-four timber, a drill, and some screws. Once complete, this organizer should be able to hold a good deal of weight, certainly the weight of a garden hose. A 100-foot garden hose, for example, can weigh up to 20 pounds, though this depends on the material, such as rubber, vinyl, or stainless steel. Lightweight designs will weigh far less. The Zero-G, for instance, weighs 8.4 pounds, while the metal Bionic Steel garden hose weighs 3 pounds when empty.
If you have a miter saw to make precision cuts, this project can be done rather quickly. But if not, a manual saw works just fine. In fact, using one might make your new fence-slats-turned-hose organizer that much more rustic. That said, it might be good to have some sandpaper on hand to smooth out any too-rough edges.
How to create a hose organizer using old fence slats
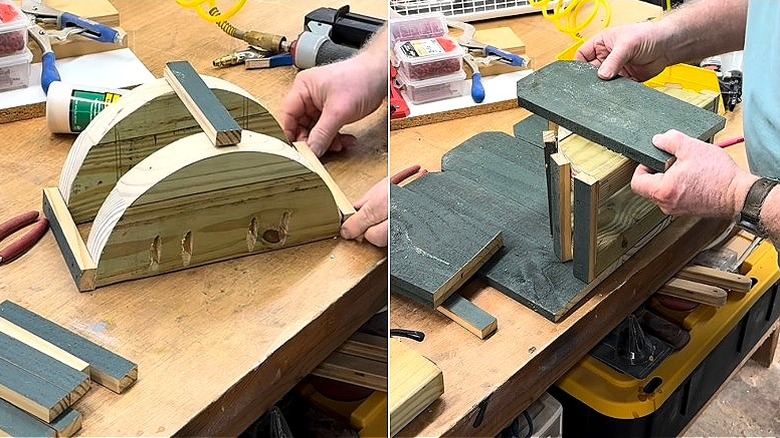
To begin, get your old fence slats. Inspect them and remove any mold or rot. Cut your fence slats to size: You'll want three pieces together for a taller panel at the back, followed by three for a shorter panel in the front. You then want to create an arch that'll sit in between the two panels, which will be what you wrap your hose around to keep it tidy.
Create the arch by taking two pieces of timber and cutting them into two semi-circles (left image above). You can then attach the arches together by using small strips of wood, leaving a gap between each strip, so any water can drain out and won't get stuck.
The distance you want to create between the two arches depends on how long your garden hose is. The bigger the gap, the more reels of hose you can store. (By the way, one of the best ways to coil your garden hose to keep it free of tangles is to use a figure-eight pattern.)
Once the organizer's arch is complete, all that remains is attaching the fence slats to the front and the back. The taller fence slats are what you'll use to mount the hose organizer to a fence or shed wall. Also, if you paint your new hose organizer, be sure to use outdoor paint, such as exterior acrylic paint. (Check out this similar DIY for keeping your garden hose organized, using a wood pallet.)