

DIY Scrap Wood Pallets Into Affordable Outdoor Storage For Garden Tools
We may receive a commission on purchases made from links.
Maintaining a garden takes a collection of tools, which can create a clutter problem or tripping hazard if left uncorralled in your garage or shed. For this reason, one of the most useful projects you can undertake as a gardener doesn't involve any dirt. Building a rack to hold your rakes and other tools will save you so much time rummaging for the right implement, and may even help keep them in better shape. Fortunately, there's a way to make the rack cheaply and quickly from wood pallets you may even be able to find for free with a little know-how. A garden tool storage rack is one of the easiest things to make from wood pallets. By removing some of the boards that make up the pallet and using them for support at the bottom, you can build this storage solution without having to alter the pallet much.
Pallets are an extremely budget-friendly material to use because so many are left after their primary use: keeping goods from various manufacturers stable in transit. There are many places to find free pallets, including grocery and pet supply stores, where you can ask whether management has any extras they'd like to get rid of after deliveries. If you're unable to find extra pallets retailers or neighbors are willing to give away, check whether online retailers or nearby wholesalers have them for sale. Before diving into the DIY, make sure the wood wasn't treated with toxic pesticides by verifying it was heat-treated instead. The wood is usually stamped with "HT" to indicate that this method was used.
Make your own wood pallet tool rack
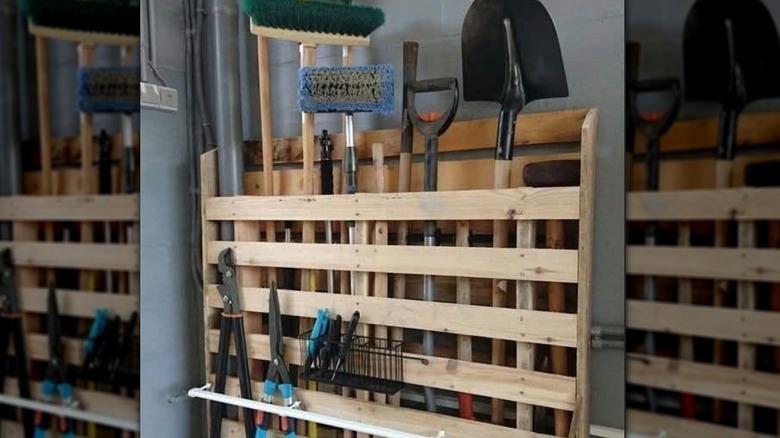
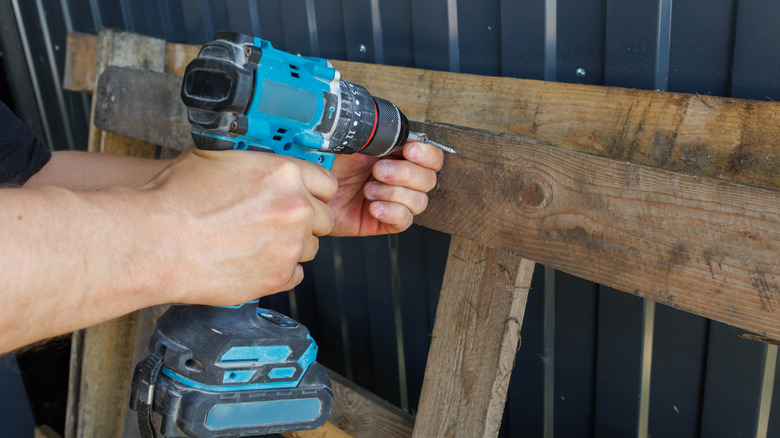
If you're new to working with the material, this budget-friendly wooden pallet DIY is a good entry point. There's no need to attach it to a wall because some of the horizontal deck boards are removed to make "feet" that allow the structure to stand on its own. In addition to a pallet that will accommodate your tools and fit in your shed or garage, you'll need a saw, drill, hammer, screws, a tape measure, level, and clamps to remove and reattach some of the wood while keeping everything aligned. It's also helpful to have dowel rods that you can place on either side of your smaller tools to help secure them.
First, find and mark the most level end of the pallet, which may involve flipping it over a few times and testing how it stands so you can identify which side will be the bottom. The next step is to remove a few boards from the top, creating an area where the handles of rakes, brooms, or other long tools can rest. It's a good idea to place the tools there before removing anything so you can see how much space you'll need. Once you've determined the right spacing, flip the pallet over and remove those boards with the saw. These same boards will serve as the bottom feet of the rack, but first you'll need to make sure the pallet is level with them while they're clamped to a support like any poles you might have in your workspace. Once everything is aligned, screw them on. You can then flip the structure over again and slide your long tools under the space created by removing the top planks.
How to customize your garden rack
Having a rack with space for larger garden tools is just the beginning. You can make the most of this inexpensive way to declutter your shed by storing lighter, everyday tools on the pallet's existing planks. For smaller tools, the dowels will come in handy. Drill holes for them, glue them in place, and use them to mount items like pruners. You can also use scrap wood to make shelves, attach them to the pallet, and store even more gardening essentials. If the shelves won't be holding much weight, gluing them to the base pallet and screwing nails into a support rail while a clamp keeps the wood in place may be all you need. If installing shelves feels too intimidating or you don't have enough wood, adding hooks on the sides is another easy option for hanging certain tools.
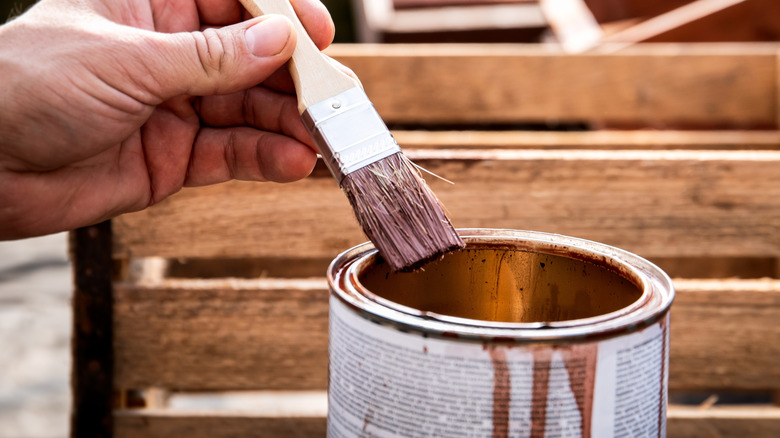
Once you've assembled the garden rack, you can lean into the rustic vibes of the bare wood or apply a few coats of stain for a more polished finish. If you're planning to paint the garden tool organizer, sanding and dusting the wood first will make the job smoother. Depending on your desired aesthetic, you can choose a stain that's close to the original wood tone or opt for a solid stain that completely changes the color, such as DEFY Solid Color Wood Stain.