

Woman Turns Granite Countertop Scraps Into Beautiful Table Décor With An Impressive DIY
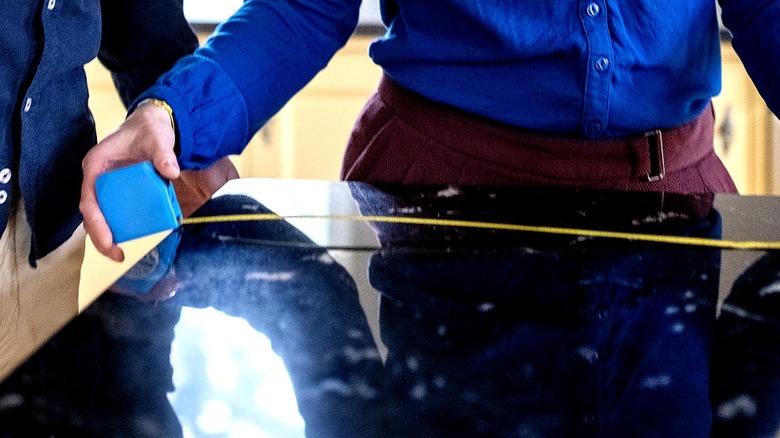
We may receive a commission on purchases made from links.
There's a long list of household items you can repurpose into décor. For example, everything from used tires and empty cookie tins to old pans and scrap fabric can be used to add stylish décor around your home. Well, one crafty TikToker, Juniper Point Design Co., showed us how true the idiom "One person's trash is another's treasure" can be, by transforming scrap granite countertop pieces into a cute, inspiring tabletop centerpiece.
The approach for this DIY is pretty straightforward, and you only need a handful of supplies to get started with it. First, you'll need some scrap granite or other stone pieces, which you can probably source from local countertop or stone fabrication shops — and if you can find them in various colors, even better (stores may charge for these). Of course, you can always just buy different stone sets from hobby stores or Amazon.
Other supplies needed include paint and a small foam brush, a tape measure, a fiberboard panel (also known as MDF), a hammer, and adhesive that'll bond both wood and rocks, such as Gorilla Max Strength Construction Adhesive (Walmart, $7.84). For the frame, you will need a saw, sandpaper, and measuring tape, plus a board to build an 8-inch-by-10-inch rectangle (roughly the size of the one in the video), with extra pieces to spare after the project.
Building the frame and preparing your stones
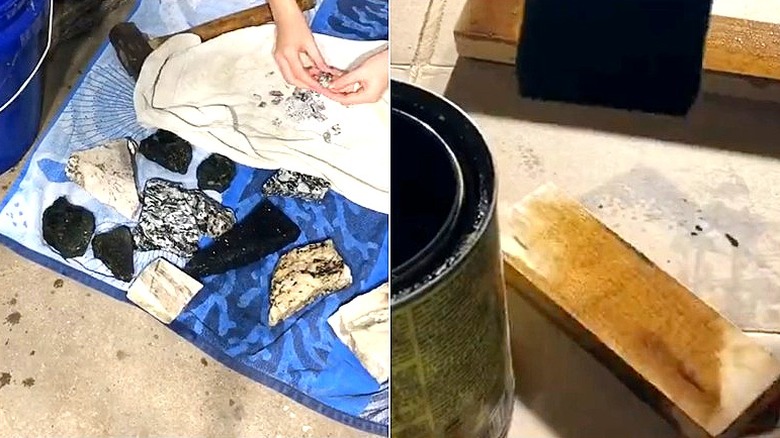
If you've been looking for inspirational living room décor ideas, this framed stone tabletop DIY is a great place to start. First, determine the desired size for your frame; then cut your (pine) board and MDF panel accordingly, using a saw. (Note that, as mentioned, a frame that's 8 inches by 10 inches is ideal for this example design.) Cut two 8-inch pieces and two 10-inch pieces from the (pine) board, and one 8-inch-by-10-inch piece from the fiberboard panel. Once you've cut all the frame's pieces, sand them as needed, add a coat of paint, and then set them aside to dry.
If your paint isn't a paint-and-primer-in-one, you'll need to prime the wood pieces before painting them to prevent premature peeling. Now it's time to prepare your stones. To start, break them into smaller pieces with a hammer, if needed — if doing this indoors, be sure to protect your floor. Ideally, you want them no longer than about 1 ½ inches, as this'll make it easier to fit them inside the frame. If the stones are dusty, rinse them in a sink or bucket with water, and dry them before using them.
@juniperpointdesignco From granite countertop scraps⇨rustic & unconventional statement piece! #homedecorhacks#granitecountertops#juniperpoint#diy#howto#recycle
Once the wood pieces dry, secure the four board pieces together into a rectangular frame using the adhesive and let this piece dry. After, secure the frame to the fiber panel with glue. As well, you can reinforce these pieces using nails or wood screws.
Finish off the project by sorting your rocks. Then, arrange the rocks in a gradient across the frame, starting from one of the bottom corners and working toward the opposite corner.
Customizing with different colors and materials
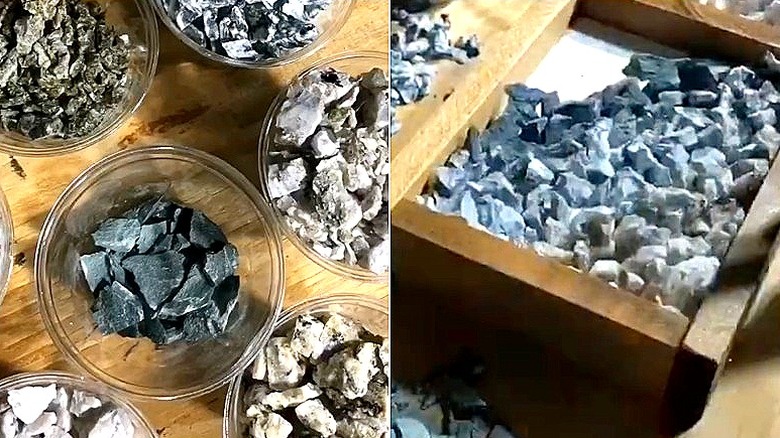
This design's simplicity makes it easy to recreate with different stone materials and styles, various frame design choices, and final stone arrangement. Let's say, for example, that you want to bring a whimsical vibe to the design. Instead of painting the frame one solid color, try using two different colors, one on the inner edges of the frame, and one on the outer. For example, color options could be a bold orange paired with a deep purple, which could bring a more vibrant, unexpected look.
You can even scrap the granite stones completely, and instead use something like marbles, broken tile, or polished river rocks to place inside the frame. The broken tile, for instance, can also be laid flat for a mosaic design, or even layered (like the granite stones) for a textured and dimensional appeal. Pull from landscaping ideas that use pebbles and stones and create intricate patterns and shapes inside the frame.
But rather than arranging the stones in a color gradient, try arranging them by stone size, using a mixture of large, medium, and small stones. And then once you've got your stone and frame designs down, consider adding one or two cute small houseplants to the table to help complement the new centerpiece. And just like that you've got yourself a table setup that looks like it was curated by a design pro — well, almost. (For the houseplants, learn about over 20 cute houseplants sure to stay small over the years.)