

No Caulk Gun? DIY A Temporary Replacement With A Tool You Already Own
We may receive a commission on purchases made from links.
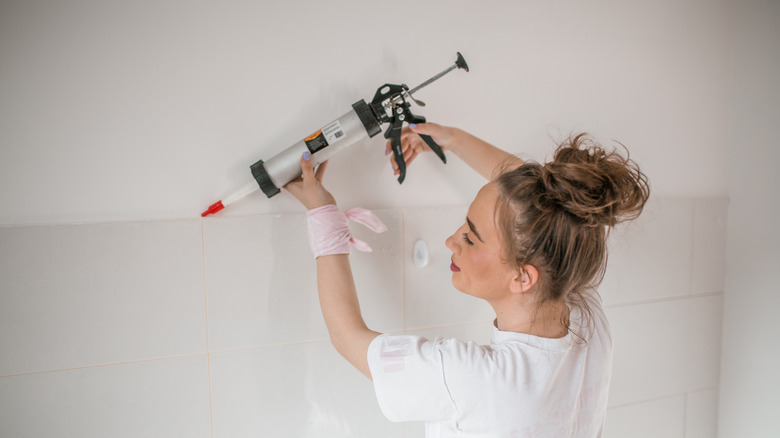
Caulk guns seem like a simple enough tool. After all, their basic, framed assembly secures a caulk tube, while a drive rod with a plunger pushes the tube's internal piston forward. Using it requires only a pull of the trigger, which forces the caulk through the nozzle. However, if any part of this setup becomes damaged, it's about as useless as a hammer without a handle — and it may even make you question whether an expensive caulk gun is actually worth buying.
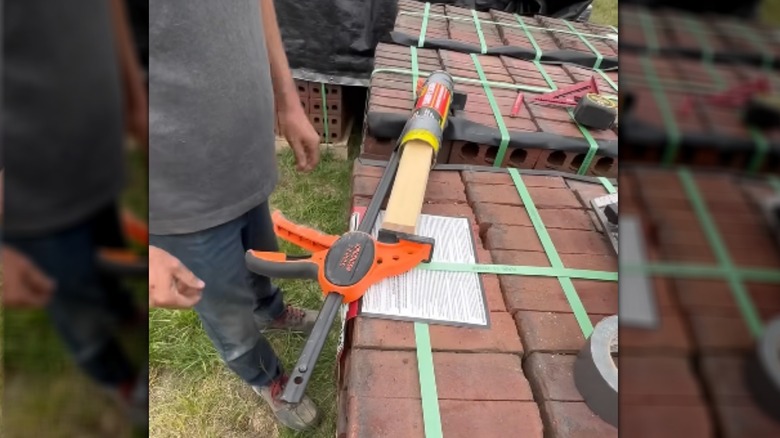
Luckily, there is a way to create a temporary solution in order to get through the day: it's by using a 12-inch bar clamp, a wood piece, and duct tape to build a makeshift caulk gun. In this DIY setup, the clamp essentially becomes the new caulk gun frame, as this type comes with a drive rod and a trigger, which will allow you to ratchet the caulk tube forward, similar to the action of a caulk gun. The tape will hold the caulk tube in place, preventing it from falling out during use, and the wood acts as a plunger into the caulk itself.
It's an inexpensive option, especially if you already have a clamp on hand. If not, you can buy one on Amazon for under $20, like this HORUSDY 12” Bar Clamp Set. For the wood piece, you'll need a thin slice, cut to fit the caulk tube. If you don't have an electric saw, you can go to a hardware store and have them cut the wood piece for you for free.
Steps to make a caulk gun using a bar clamp
While this makeshift caulk gun method can work as an alternative to having an actual caulk gun for everyday use around the house, it's not as convenient for everyday projects since you'll need to remove and reposition the tube each time you use it. However, it's a good hack to know if you're in a bind and need a quick fix.
To start, measure and then saw off a 9 x 1 3⁄4-inch piece from your wooden plank, which will be a suitable size to fit within the clamp grip and snugly at the bottom of the caulk tube. Once the piece is ready, extend the clamp to its maximum length, and then place your caulk tube on top of the drive rod so that the nozzle is positioned right on the side of the front clamp jaw. Grab your duct tape and wrap it around the tube, securing it to the rod and front clamp. If you don't have any tape, try using any type of thick string or rope to hold the wood piece in place.
Next, set your cut wood piece on top of the rod, positioning it against the clamp jaw in the rear. Ratchet the clamp a few times using the trigger until the wood piece is driven forward enough to where it's sitting directly behind the bottom of the caulk tube. When you're done using it, simply remove the tape. If you have leftover caulk after your project, don't forget to use a piece of tape to cover the caulk tube's nozzle to keep it fresh for your future repair jobs. Doing so will help you get the most out of every tube.