

Swap Your Lawnmower Blades For An Easy Way To Dethatch Your Yard
We may receive a commission on purchases made from links.
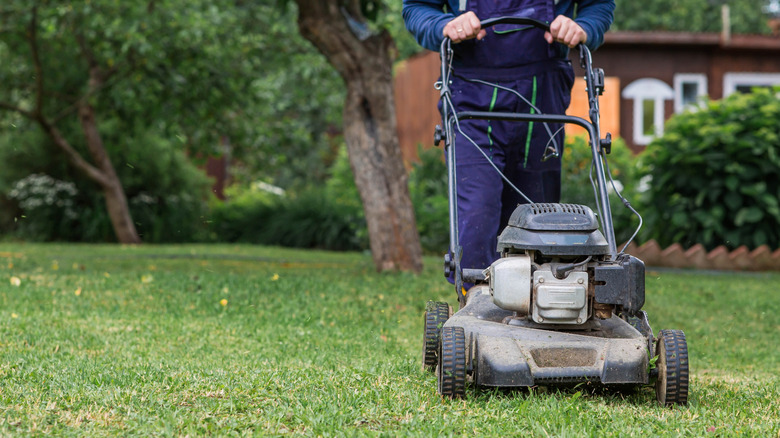
It takes care and dedication to maintain the beauty and health of your lawn. People who keep their lawns lush and well-manicured often stick to simple habits like a regular watering schedule, applying fertilizer every so often, and regular mowing. However, even a well-tended lawn can still accumulate stubborn thatch, which is a layer of dead but undecomposed organic matter that usually contains dead grass, leaves, roots, and other plant debris. To get rid of this thatch, you need to include dethatching in your lawn maintenance routine. Thankfully, you can do this without needing specialized machinery; simply swap out the blade on your lawnmower with a dethatcher blade.
While a little thatch is good for moisture retention and nutrient provision (similar to the functions of mulch), too much of it can be detrimental to the health of your lawn. Excess thatch can prevent water and fertilizer from properly infiltrating the soil and reaching the root system of your grass. It could even harbor disease-causing organisms. These are some of the reasons removing it is highly recommended. But how do you know it's time to dethatch your lawn? Well, generally, once the thatch layer accumulates beyond a ½ inch, it's time to get rid of it. With the dethatcher blade attached to your lawnmower, this process becomes easier and faster, unlike the slow and laborious use of a rake. Moreover, you'll simply be adding the dethatcher blade to the mower you already have (the blade is compatible with most mower brands), and a lawn mower dethatcher blade itself costs less than $35 on Amazon.
How to install the dethatcher blade
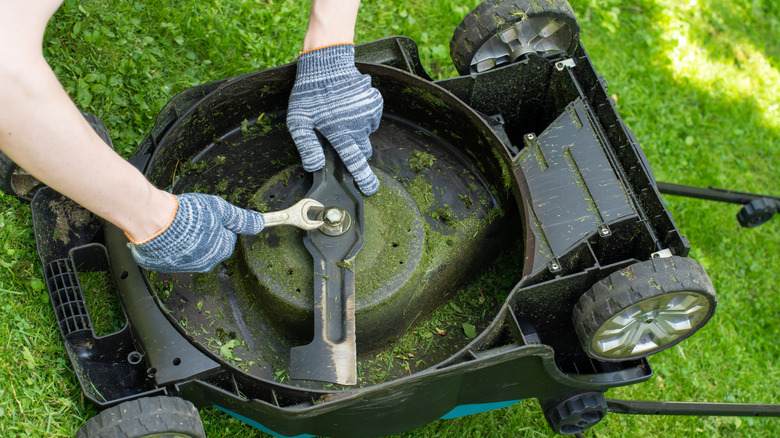
To install the dethatcher blade on a push mower (it should not be done on a riding mower, which can put too much stress on the dethatcher), start by removing the sparkplug connector to prevent any risk of the mower starting to run while you're working on it. Next, tip the machine carefully upside down. This will give you access to the underside. Do not tip the mower on its side, as it may pour out oil into the intake system. Now remove the mower blade on the lawnmower by using a ratchet wrench to remove the bolts. Alternatively, you could use a socket wrench.
After removing the original blade from the mower, get ready to mount the universal dethatcher blade. First, ensure it's the right size for your mower (it should be the same length as your original cutting blade). Then, depending on the type of dethatcher blade you've bought, put in the flexible tines or the metal spring pins in position on either end of the blade. Follow the manufacturer's instructions to ensure they are correctly positioned. Now you can fit the blade into the now-empty space under the mower with the pins facing downwards. Use the bolts provided to anchor the blade in place, then tighten them using a torque wrench.
Dethatching your lawn with a dethatcher blade
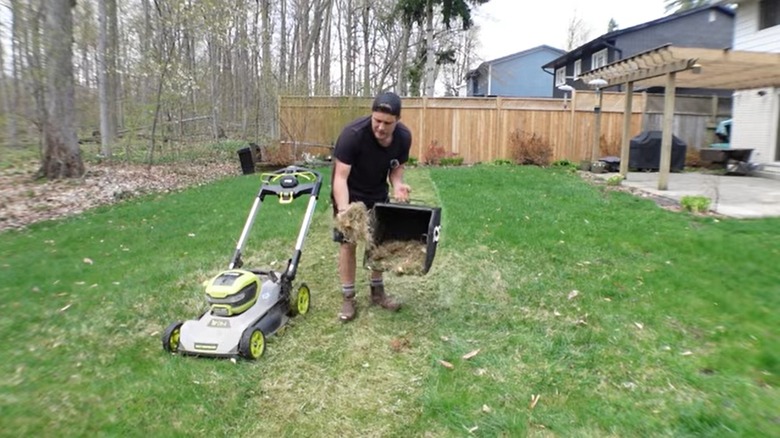
Your lawnmower is now ready for the task of dethatching your lawn. Note that it's better to position the dethatcher blade height on the lowest setting so it's as close as possible to the ground, where it can remove the thatch between the grass. Flip the lawn mower back to an upright position, and adjust the mower settings accordingly. Then, start the engine and push the mower at a comfortable pace.
If you do a couple of passes, you will remove a considerable amount of thatch. After a few rounds, the bag attached to the lawnmower will start to fill up with thatch, so you'll need to pause and empty the contents. Once you are done, it would be a good idea to aerate your lawn, then add fertilizer and other amendments to the soil to help your front yard to recover faster. The dethatching process might also expose areas with sparse coverage, so do consider filling any empty spaces with grass seed. Finally, water your lawn and let it rest. Don't skip these final extra steps; they're what will help you avoid killing your grass after dethatching your lawn.