

Use Melted Crayons To Create Unique Floral Home Decor
We may receive a commission on purchases made from links.
Crayons are a low-cost way to explore your creative side and mimic all the great sketching and designing ideas you see on your social media feed. But if you have lost your enthusiasm since, bought more than you can possibly use, or simply wish to bin the broken ones, repurpose them around your home to give them a new life. Wondering how? You can easily use your old crayons to transform plain glass jars into bright, cheery lanterns. Another idea is to melt them down and create unique flowers to enliven your interiors. This DIY, brought to you by realsherrimadison on Instagram, is an uplifting craft that produces one-of-a-kind decor.
Besides allowing you to put your crayons to good use, these glossy florals can mimic any real flower you're fond of. You can even create bespoke versions since you'll be in charge of the color and shape of the final product. With this, you get to enjoy the gorgeous look of wax flowers, as a basic crayon is generally made of paraffin wax and tinted pigments.
There's just one downside to this project: It's time-consuming, particularly if you want an elaborate bouquet of flowers. Also, you'll have to exercise ample patience since hurrying things will ruining the blooms. Because you can't finish it sessions, you'll have to set aside a good chunk of your weekend to get it done. It's also important to note that you shouldn't place the finished product too close to a heat source (like your fireplace, kitchen stove, or sunny window), or your wax flowers might melt.
How to turn your old crayons into adorable floral home decor
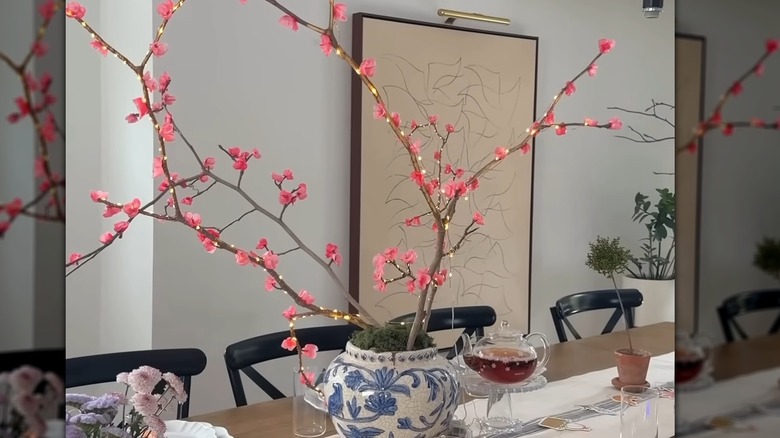
The main supplies you'll need are about 10 crayons, a double boiler (or repurpose an old pot and a heat-safe bowl) to melt them, and a dry branch with plenty of small stems to hold the finished flowers. A gorgeous vase is necessary, too, to make your artificial flowers look real. If you want blooms in a specific color, use crayons of the same shade; otherwise, mix colors for a more whimsical look. Keep a bowl of ice water nearby to help the wax set quickly, and have a vase and hot glue gun on hand for assembly if needed. And if you're worried about wax dripping all over your workspace, cover it in an old cloth before you start.
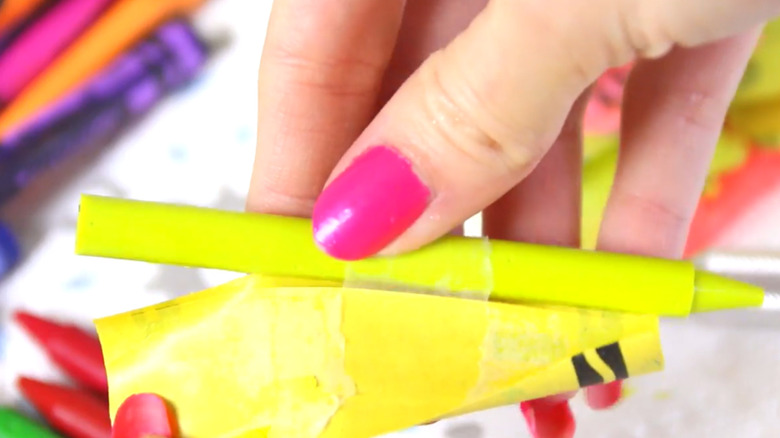
Start by removing the paper labels from the crayons, soaking them in warm water first if needed. Set up a double boiler, break the crayons into small pieces, and melt them while you clean your foraged branch with a damp cloth. If you'd like, give the branch a decorative finish with spray paint, varnish, or Rub 'n Buff.
Once the wax cools to about 110 to 120 degrees Fahrenheit (or is cool enough to touch comfortably without hardening), coat your fingers with a little moisturizer or add a few drops of quality dish detergent to a bowl of ice water to prevent sticking. Dip two or three fingers into the cold water, then into the melted wax a couple of times before gently pressing the wax flower onto a branch node. Repeat this process until you're satisfied with the results, using hot glue if needed to secure flowers as the wax begins to harden.