

Turn An Old Bundt Pan Into A Gorgeous Pedestal Planter With A Savvy DIY
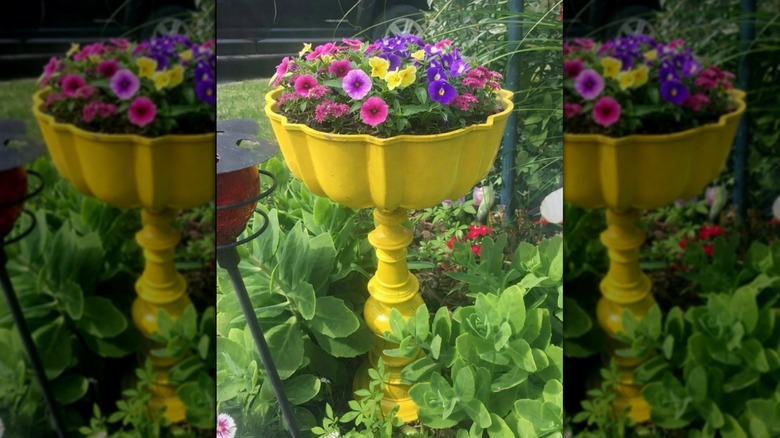
You know those homes you drive by slowly, trying to grab a glimpse of their immaculate garden? They're the ones with all sorts of fun and quirky features that capture everyone's attention, and you wish you could make your garden even a fraction of how creative theirs is. Do you ever wonder how they do it or where they get all those cool statement pieces? Well, today is your lucky day, because we're sharing a savvy DIY pedestal planter that's going to give you that inspired garden look. And it turns out, the easiest DIY for a shabby chic garden planter is right in your kitchen: a bundt pan.
This pedestal planter DIY upcycles an old bundt pan as the planter, and a tall candlestick holder or lamp base becomes the riser it sits on. There are endless combinations of various bundt pans and risers, making each planter truly unique. You can place it out in the middle of your garden or group it with other planters in the yard. It can also be a simple way to transform your patio with flowers and plants by setting it on the front or back porch.
The basic items needed are fairly easy to come by. You can repurpose what you have at home for this project or find something new-to-you at a thrift store. To put it all together, you'll also need a drill, some outdoor paint, and heavy-duty glue. Of course, you'll use potting soil and flowers to complete it. This planter works best with smaller flowers that thrive in shallow soil, similar to those that work best in hanging baskets, like pansies and zinnias.
How to upcycle a bundt pan & lamp base into a unique pedestal planter
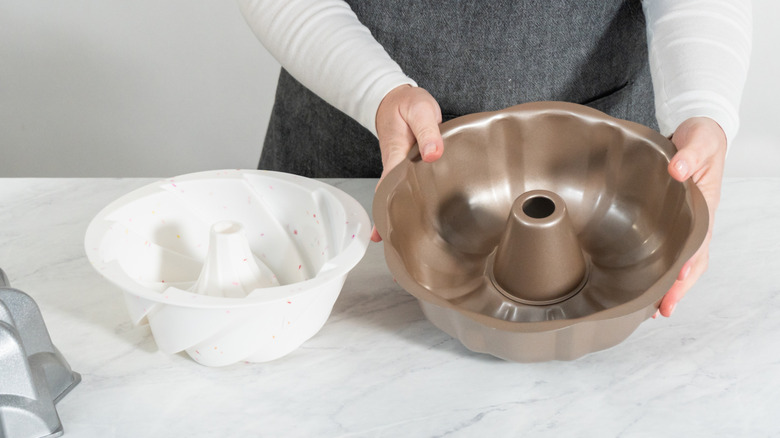
We love common household items you can turn into beautiful planters, like bundt pans. When selecting the pan to use for this DIY, keep in mind that we'll be filling it with soil, which will get heavier as it gets watered, along with the flowers planted inside. That means it needs to be sturdy enough to hold that much weight while placed atop a riser. You might want to skip the flimsy, thin bundt pans and go for ones that are a bit thicker and stronger.
Before you go zealously planting your favorite flowers in the bundt pan, we need to first drill drainage holes. Using a drill, create holes that are spaced evenly all the way around the bottom of the pan. You can leave the bundt pan and base as is, if you like the look. Or you can spice things up by painting them to add a pop of color to your space. Be sure to use an outdoor-appropriate paint that can help protect the planter from the various weather elements. And of course, always use spray paint outdoors or in a very well-ventilated area.
Once you've allowed the pieces to dry completely, we're going to use a heavy-duty construction glue, like E-6000 adhesive, to put them together. Add glue to the top of the base and place the bundt pan on top, adding extra glue around the rim of the base and bottom of the bundt pan to hold it together. Give the glue enough time to set before moving on. Then add soil to the bundt pan and plant your flowers to complete the planter.