

Use A Plastic Bottle To Create A Stylish Toilet Paper Holder With A Savvy DIY
We may receive a commission on purchases made from links.
Having an extra toilet paper roll or two in your bathroom when you need it is not a nice-to-have; it's almost a must-have. The inconvenience of running out at the wrong time can leave you frustrated and ripping through your bathroom cabinets like you're searching for a winning lottery ticket. That said, you can take a page out of YouTube channel Diy Com Fabiana Nogueira's book and make your own toilet paper holder using a plastic 1-liter bottle, burlap, cardboard scraps, Styrofoam, and a piece of twine. Who knew?
This trendy home decor idea is simple to put together and can be done in less than an hour. In the design, the plastic bottle forms the frame and wall for the holder, with the Styrofoam and cardboard functioning as support pieces for the base. The burlap serves as a decorative add-on, and the twine gets wrapped around the edges of the bottle, creating a trim-like look around the frame, ultimately adding a rustic, finished touch that ties the whole look together.
The materials needed for this budget-friendly DIY home project are easy to come by and can be purchased for around $5 to $10 apiece, if not less. The video demonstrator also uses a hot glue gun, such as the 20W Mini Hot Glue Gun, which is available at Amazon for $10. You'll also need a pair of scissors and a ruler. The Styrofoam should be about ¾ to 1 inch thick; a 11 x 14-inch sheet should suffice. It and the cardboard scraps should be big enough to cut out two pieces of each that'll fit snugly inside the bottle. You'll also need a thin, flimsy strip of cardboard or any type of paper.
Steps to building a plastic bottle toilet paper holder
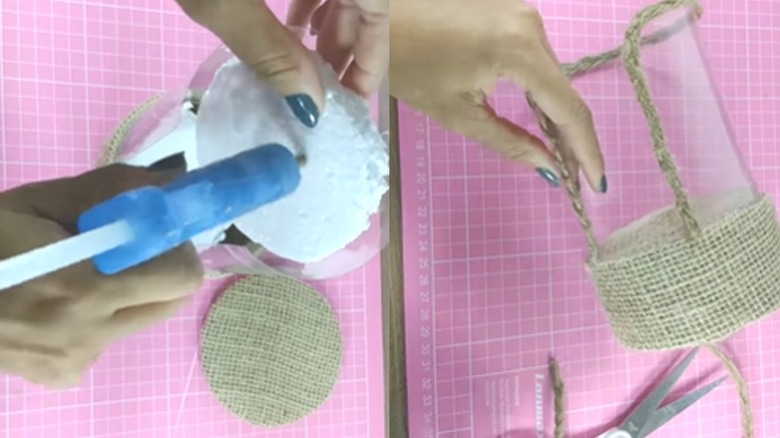
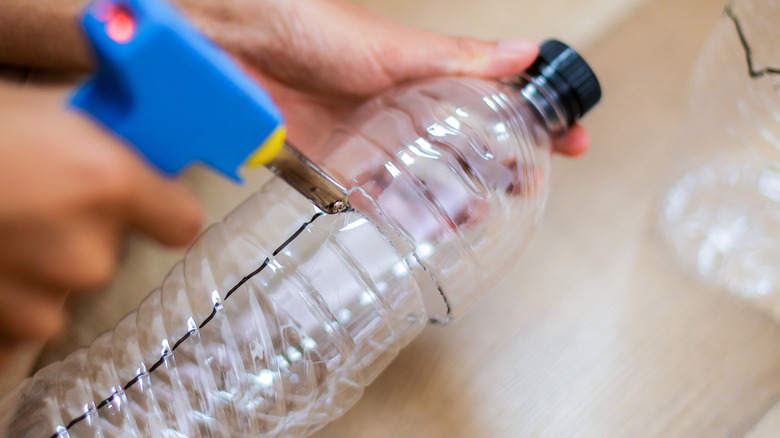
The first step is forming the base and frame for the holder. Start by tracing a cut line around the lower area of the plastic bottle that's about 7 to 8 inches from the bottom. Cut the bottle at this line, keeping the lower section, as this will be your holder's frame. Next, use the opening of that piece to trace a cut line onto your cardboard scraps and Styrofoam, and cut out two pieces of each to match that size.
For the two cardboard pieces, cut out two pieces of burlap and use them to cover one side of each, gluing them with your hot glue gun. For the holder's frame, cut two 5-inch slits up the opening of the plastic frame, making them about 3 ½ inches apart. Then, cut a horizontal line at the top of these slits, creating an access opening for the holder. Secure one of the cardboard pieces to the frame's outer bottom with glue.
Next, glue the two Styrofoam pieces inside the frame's bottom. Add the second cardboard piece inside as well. To create the holder's front cover, cut your flimsy cardboard piece 3 inches long and wide enough to wrap around the plastic frame, almost like a cummerbund. Cover this piece with burlap and glue it to the bottom front of the frame. You can even glue your favorite decorative ornament to this piece for a chic, artful touch. Then, glue a piece of twine around the top of the "cummerbund." Wrap things up by gluing a string of twine along the top and front edges of the frame.
Exploring customization options
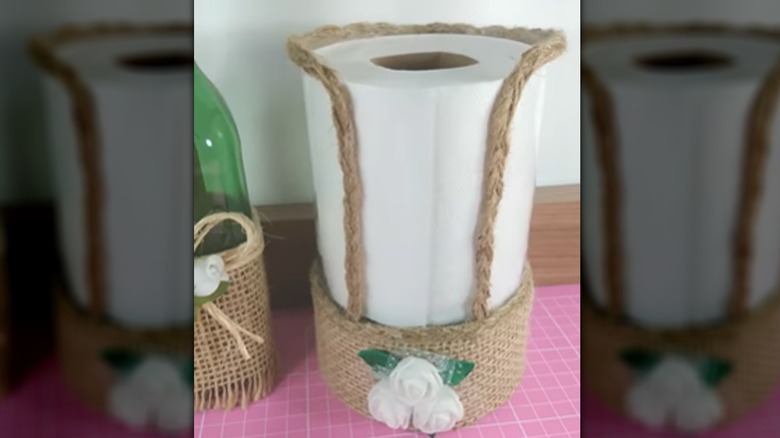
If you've been looking for a cool way to keep an extra roll of toilet paper nearby, this DIY offers a creative way to add storage to your bathroom, making it worth a try. The minimalist style of the holder design is easy to recreate, even if you prefer a different aesthetic. One simple change you can make is moving the "cummerbund" to another area of the holder, such as towards the top, or even adding two thinner ones — just be sure to leave enough open space in front where you can easily access the roll.
You can also cut a longer piece from the bottle to make space for two rolls. If you'd rather swap the textured, coastal look of the burlap for something more sleek and modern, consider using leather. For example, you can cut a leather strap to place on the lower front of the holder, or use a swanky, braided leather cord to go over the top of the holder's frame, omitting the twine. Another material that'll make a great substitute is everyday contact paper (wallpaper). The great thing about working with it is there are tons of design options to choose from.
If you want something plain, like a solid color, such as matte black or sea green, or prefer a printed one, such as interesting shapes or pattern motifs, you can likely find it. And of course, there's always the option of adding a gilded touch to the design. To achieve this, incorporate gold leaf, gold beads on the frame, or even metallic spray paint. It's worth noting that spray paint can stiffen burlap's weave — so if using it, opt for contact paper instead.