

Transform An Old Pickle Jar Into Rustic Kitchen Countertop Storage
We may receive a commission on purchases made from links.
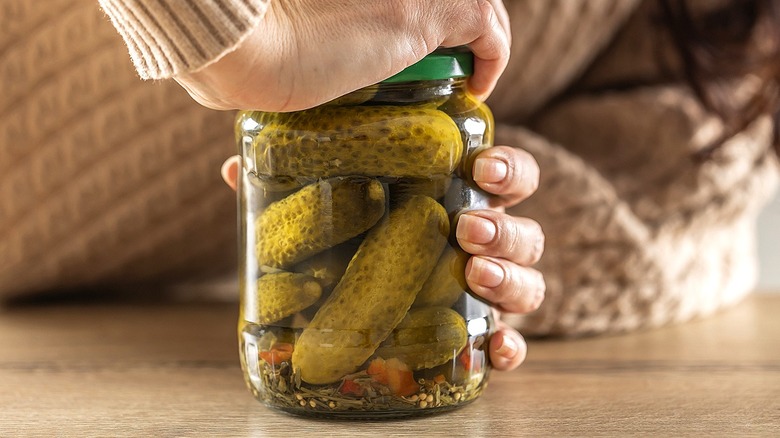
Everyday essentials, like cutting knives and spatulas, or even standing items, such as blenders and coffee makers, take up space on your kitchen countertops, leaving you with little room for much else. Thankfully, there are small additions you can make to your kitchen counters to create more space. YouTube channel Rogy Craft offered a perfect example of this by upcycling an old pickle jar into a charming utensil holder.
The glass jar is first wrapped with clean, horizontal bands of decorative craft fabric, lace ribbon, and burlap, then polished off with a cute bow of jute rope tied around the rim for texture. The wide mouth of the jar makes it easier to quickly toss in utensils of various sizes, including paring knives, pasta forks, and slotted spoons, keeping them off the counters for a neater look. It's an easy and an affordable way for you to free up precious counter space, and it can be made in an hour or less.
If you don't have an empty pickle jar, you could use another glass jar, like a mayonnaise jar, or one similar in size and shape. However, it's best to choose a jar with a straight, even width from top to bottom.
To create the design, you'll need a few craft supplies (many of which you may already have in your home), including shears, fabric glue, a tape measure, and a non-permanent marker. Also, you will want on hand a hot glue gun to secure all the materials to the jar. For example, the ROMECH 20W Mini Hot Glue Gun ($9.99 at Amazon) would work well for this project.
Create a utensil holder from an old pickle jar
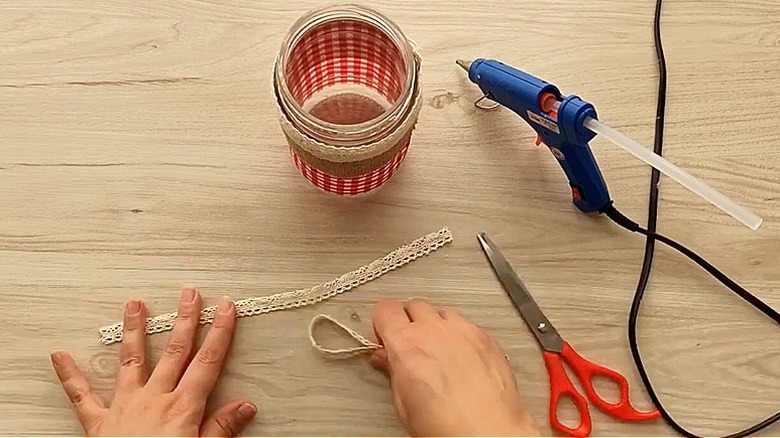
Start by measuring your jar's width, as you will use this measurement to batch-cut your materials. Using the pickle jar in Rogy Craft's tutorial as an example, you'll cut two strips of 1-inch lace ribbon (one will be cut down the middle), a 2-inch strip of the burlap fabric, and about a 14-inch piece of jute rope. Set these pieces aside for the moment.
For the fabric wrap, first fold your chosen fabric in half and cut a piece that's about 1 inch longer than you'd need to wrap around the jar once. The piece of fabric should also match the jar's height beneath the rim, with an extra inch added for a little wiggle room. With fabric glue, seal the open edges of this fabric piece closed, and set it aside.
Next, create your decorative bow using your cut rope. For this, you're simply going to make a small finger bow, like you would with shoelaces. Afterward, be sure to trim the ends to roughly 2 inches. Now, here's where you'll pull everything together. Wrap your fabric band around the bottom of the jar, securing it with hot glue. Next, glue the burlap strip on top of the fabric, aligning the top edges.
Repeat this process with your lace ribbon pieces by gluing one strip on top of the burlap. Then, cut the other lace strip down the middle to create two ½-inch pieces – place one at the top edge of the jar, and the other on the bottom. Once everything's in place, wrap a new piece of rope around the jar's rim twice, then hot glue it in place. Finish things up by gluing your bow to the burlap strip.
Customize the holder with different materials
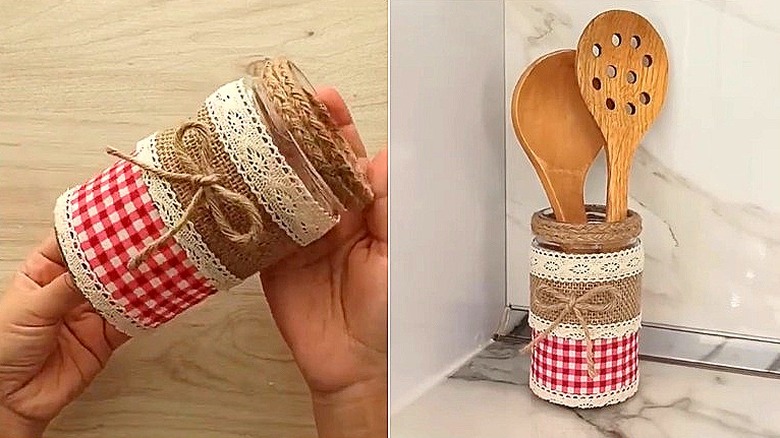
And just like that, you've maximized your kitchen countertop space with a hand-crafted piece that could cost next to nothing, depending on the materials you already have in your home. What's more, this idea is entirely customizable. Of course, one way to change the design's look from the homespun aesthetic is by switching the colors used to make the bands. Solid colors, including gray, white, or teal (for a modern farmhouse appeal), will work great for this.
Then, instead of burlap, try out other materials, such as gold leaf, paper napkins, or wallpaper. Another option is to simply use a colored jute fabric instead of the natural khaki-toned burlap if you want to keep some texture for your utensil jar while adding more eye-catching tones.
You could also add a few complementing or contrasting fabric shades for a layered and dimensional look. For example, you could pair tones like navy blue and cream or a deep red and white into the design. Create a softer vibe with natural earth tones, like brown, beige, or light blue — you can even add in a muted orange for a Scandinavian-inspired feel.
For the jar's rim, wrap a bit of leather around it, or some vibrant-colored ribbon, to give it a subtle touch of sophistication or a visual punch. And instead of the bow accent, try a chalkboard-style label or a beach-themed accent such as a starfish or seashell if you want to bring in a seaside element to your kitchen. (Find more amazing ways to upcycle glass jars into unique home décor.)