

Say Goodbye To Concrete Blocks: Build A Patio Wall With A Natural Material
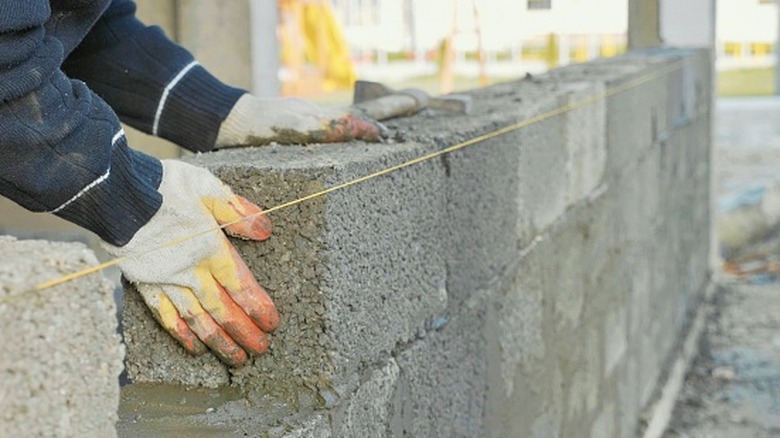
Your patio may need a wall for multiple reasons. Perhaps you want to section out zones to create more than one seating area. Maybe extra privacy or simple aesthetics using an accent wall are the goals. Perhaps you just want to enhance your outdoor space by building a patio seat wall. Whatever the case may be, you don't have to go for the same old concrete blocks. You can build a wall purely using natural materials and an ancient technique called dry stacking. The process may sound simple, since you're essentially placing stones on top of each other, but the end result is so durable that, today, you'll even find dry-stack wall remnants that are thousands of years old.
So, what does dry stack mean? In its most simple form, a dry-stack wall does not use any mortar or cement to glue the stones together like a regular wall build. This construction technique transforms natural rocks, that aren't precut, into a wall that's more visually stunning and sturdier than a regular concrete wall. It's also more cost-effective, especially due to reduced material cost (no wet mortar needed, and you can use recycled rocks) making it one of the budget-friendly outdoor patio ideas that can revamp your space. Though the nuances of stacking stone to build a wall can be complicated, you can learn and even DIY the whole thing without needing to hire a specialized workforce. Finally, an outstanding characteristic of a dry-stack natural-stone wall is that it can complement various outdoor styles, from traditional to contemporary layouts.
How to build a dry-stack natural-stone patio wall
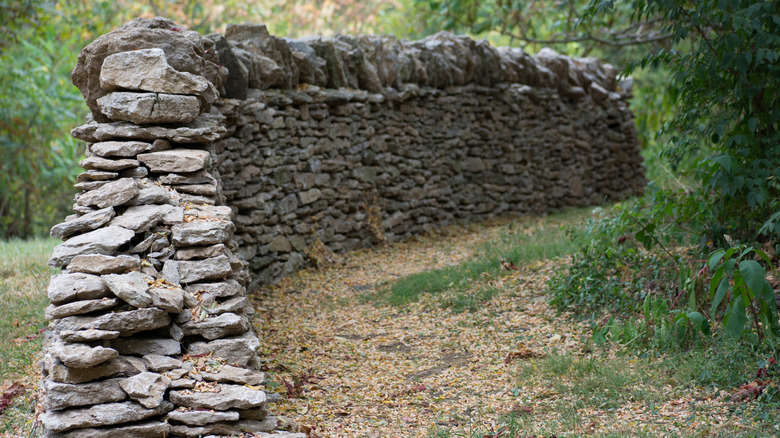
To begin, source for fieldstone, which is one of the common types of rock to use in landscaping and when building natural walls. Then, sort the stones by thickness and size. Next, remove the top soil on the space you intend to build your patio wall, and compact a 6-inch deep gravel base to create the wall's foundation. Now, pick from your large stone collection and lay in the first layer of your wall's footing. Dry-stack walls are usually made of two columns of rocks, one facing the front side of the wall and one the back side. And note, each stone's longer side should lie across the wall, not along it. So, when you view the wall from the front or back you should only see the short ends or faces of the rocks. With this kind of stone arrangement, you'll have a stronger build.
As you build, ensure the wall gradually tapers inwards, so it's wider at the footing and narrower at the top. That angle at which the sides of the wall taper is known as the batter, and you can use batter frames and string lines at each end of the wall to guide you as you build. Now, every time you lay a rock, make sure it's on top of two rocks below it, so the vertical joints are staggered to ensure stability. Each rock should be seated firmly so your wall doesn't wobble. To achieve this rock-solid stability, wedge in a small rock to pin any wobbly stone in place. As the wall grows taller, pack the gaps at the center of the wall using small rocks, which are known as heartings. Finally, finish your wall by placing heavy cope stones along the top edge. Flat and thick copes will add height while contributing to the structural integrity of the wall. With that, your dry-stack rock wall is done.