

Cheaper & More Eco-Friendly Than Plastic Pots: The Household Waste To Grow Plants In
We may receive a commission on purchases made from links.
The answer to budget-friendly planters might already be in your home, and they're items you'd likely throw away or recycle once emptied: pet food bags! Whether you have cats, dogs, chickens, or horses, you likely purchase bagged feed on a regular basis, so why not put it to good use? After all, these products are already designed to hold pounds of kibble, grain, or pellets, which means they'll be less likely to tear when weighed down with wet potting soil.
Plastic pots and commercial grow bags can cost you tens of dollars and still break or degrade over time, whereas feed bags are already on-hand and paid for. By saving these emptied sacks over time, you could cut down your plastic waste and have a whole container garden of grow bags at your disposal.
This being said, since the majority of pet food comes in plastic bags, growing edible plants in them may raise the same questions and concerns among gardeners as saving empty potting soil bags or using synthetic planters. There is research to suggest that microplastic exposure is higher in certain types of plastics used for planters, while some name-brand pet food containers are known to have forever chemicals.
While gardeners have tried pet food bags to grow edible plants, you can exercise caution by only using them for one season (as they may deteriorate in harsh sun) or by designating them strictly for growing ornamental plants. You can also purchase empty bags made from natural materials like burlap. For example, Walmart sells five burlap feed sacks, each measuring 24 inches by 39.5 inches, for $31. This may only be worth it, however, if you make your own mix to feed livestock — then use the bags for gardening after.
Tips for turning a feed bag into a functional planter
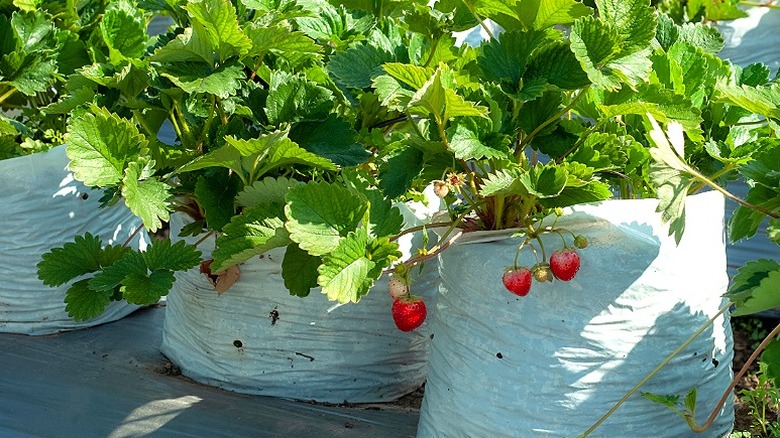
There are a variety of ways to repurpose pet food bags as garden planters; the most common way being an upright grow bag. To do so, cut along the top of the bag so that there is an even opening. Don't make it too short in height — you can always roll down the sides to achieve the planter height you want. For instance, being able to adjust the bag's depth could be great for growing potatoes since you can unroll the bag and add soil over time to encourage more spuds to grow.
After cutting the top, flip the bag inside out if you don't want the pet food logo to show. Next, poke drainage holes along the bottom of the container. Optionally, insert a piece of cardboard to help shape the bag's base and prevent soil loss. If you have burlap feed bags, you don't need to add drainage holes due to the material's breathability. Prop these makeshift grow bags on bricks or pieces of wood so that water can drain freely from the base.
Apart from the standard grow bag method, you can also create an alternative to raised beds by laying the bag flat and creating a large rectangular cutout on top. Leave enough around the edges to ensure soil doesn't spill over, and staple the opening of the bag shut. Alternatively, you could also cut the pet food bags along the seams to make liner sheets for wood planters or window boxes.
Another idea? When placed upright, you may be able to make a cheap vertical planter. Fill the bag with soil, cut small "x" shapes around the sides and plug the holes with trailing flowers, herbs, or strawberry plants. Use the top opening of the bag for statement ornamentals.