

Gardener Transforms Old Wooden Boards Into A Functional Compost Bin With An Impressive DIY
We may receive a commission on purchases made from links.
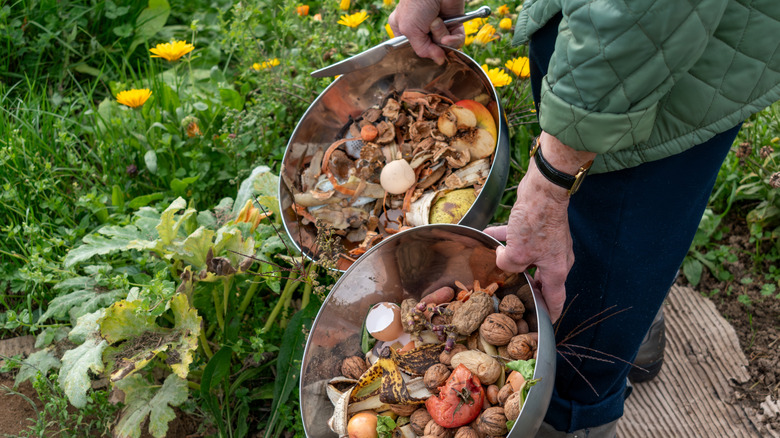
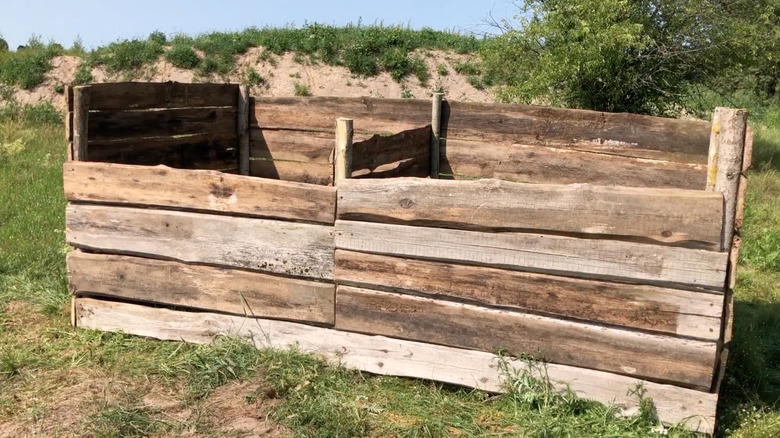
Have you finally started collecting kitchen scraps to make your own compost pile? Perhaps you were convinced by compost's ability to improve soil structure and fertility. Or maybe you just want to reduce the amount of trash your household produces. Ready-made wooden compost bins can have daunting price tags — they start at around $70 and go up to about $350. Plus, they take energy to produce and ship. Luckily, green-thumbed YouTubers Green homestead have shared a simple yet highly effective double-sided compost bin design made from pruned tree branches and upcycled wooden boards. It's a design that you can easily recreate in your own backyard since you'll almost certainly be able to find the supplies locally.
To create a similar bin, you'll need a bundle of pruned branches or timber posts, a drill, a bunch of screws, and lots of repurposed wooden planks. How many posts and boards you need will depend on the size of your compost bin. As a general rule, a bin for hot or active composting — arguably the quickest type of composting you can do at home — should be at least 3-feet long, 3-feet wide, and 3-feet deep. Double those measurements to create a bin with two compartments, triple them for three compartments, and so on. If you have space in your yard, a large, compartmentalized compost bin is highly beneficial. You can move compost across the compartments as it ages, giving you easy access to the garden-ready compost right when you need it. Of course, if you're almost done building your bin and run out of boards, you can always source some more, so don't let a shortage of materials stop you. Importantly, now you don't need to turn your old trash can into a DIY compost bin!
Building a wooden compost bin for your backyard
Choose a spot with good drainage for your compost bin to prevent the compost from getting too soggy when it rains. A location with plenty of sunlight will speed up decomposition, too. Mark out the dimensions of your compost bin on the ground using a measuring tape, pegs, and string. You could also use Testors Yellow Matte Washable Spray Chalk if you want the layout to be highly visible. It's water-based and non-toxic.
As demonstrated in the Green homestead YouTube video, begin building your compost bin by sharpening one end of the pruned branches with an axe. Then hammer the sharpened branches into the soil, following your markings, to create the corner posts for the bin. If the ground is too hard to drive the branches into, soften it by dousing it with water from your garden hose for up to 10 minutes the day before you start building. Next, if you haven't already, cut your wooden boards to fit each side of the bin using a hand or electric saw. Starting at ground level, attach each board to the corner posts using screws. Stop when you've completed the back and two sides of each compartment — some compartments will share a wall.
Since turning your compost pile is a must, as is adding and removing compost, the front wall needs to be about half as high as the other walls. Fill your bin (or the first compartment) with a mix of brown (carbon-rich) materials, such as leaves and sawdust, and green (nitrogen-rich) materials — trust us, your compost bin is begging for your leftover grass clippings and vegetable peels. Carbon-to-nitrogen ratios in compost range from 2:1 to 35:1, so don't be afraid to experiment.