

Man Turns Old Wood Pallets Into A Cheaper DIY Rustic Patio Swing

We may receive a commission on purchases made from links.
If you've been looking for ways to make your outdoor space more practical and comfortable, you might have considered a classic patio swing. Shopping in-store and online may lead you to think you have to spend a lot of money to own one. But adding a fun, useful feature such as a patio swing doesn't have to break the bank. Instead, you can follow the example of DIY creator Clinton Wood from the YouTube channel Specific Love Creations and craft your own swing out of old wooden pallets.
To recreate this project yourself, you will need multiple wood pallets, a heavy-duty hammer, a drill, 2-½-inch pocket screws, type three wood glue, and a chain kit such as the Everbilt porch swing chain kit from Home Depot. You will also need whatever paint you think will help you create a stylish patio space. If you would rather leave the swing plain with a simple stain to enhance the natural wood, remember you can always add pops of color later with cushions or outdoor blankets.
Set aside a simple hammer to help you remove the nails that typically hold pallets together, or grab a more convenient tool like the Air Locker in the video. Whichever tools you decide to use, always wear protective gear such as goggles, gloves, and ear defenders to prevent injuries. When you have everything gathered, you can assemble the chair and complete your patio lounging space.
Building a pallet patio swing
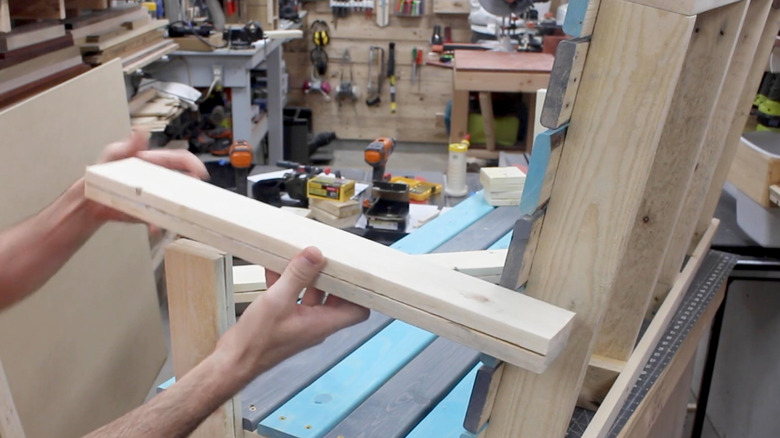
As shown in Specific Love Creations' YouTube video, start this DIY by taking apart the pallets. You can use a heavy-duty hammer to knock out each board. Once the boards are separated, use the hammer or an Air Locker to remove the nails. Next, sand the boards down to make them smooth and brush on a layer of whatever color paint or stain you want to use. After that, work out how long and deep you want the swing seat to be and screw together four boards to create a rectangle. For extra strength, you can also glue two boards together for each side, in which case you will need eight in total.
With your rectangular frame assembled, cut the ends off of four more boards at an angle — this angle will determine how slanted the backrest is. Screw these angled boards onto the back of the rectangular frame and add one more board across them to cover the top of the backrest. When the seat and backrest are connected, fill them in by cutting boards to the right length and screwing them across the seat and back, leaving a little space between each board on the seat and back for air and moisture to flow through.
To make an armrest, screw a board to the seat so that it stands up vertically. Then, screw another board horizontally to the backrest so that it forms a right angle with the vertical board, and attach them. Finally, paint a layer of outdoor topcoat to ensure the seat is durable enough for an outdoor setting. When your swing is fully built and the topcoat is dry, all that is left to do is hang it!
How to hang your patio swing with a kit
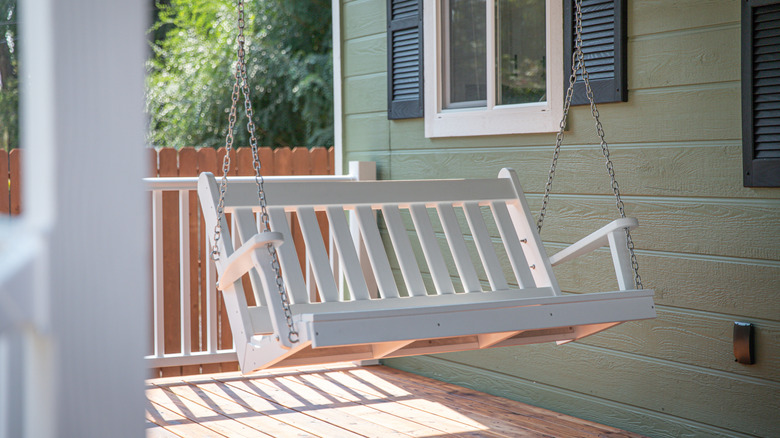
One of the easiest and most secure ways to hang a porch swing is to use a ready-made kit. These come with two hooks designed to go into the ceiling above, chains, and hooks designed to screw into the swing itself. Start by measuring the length of your completed swing and marking out that distance on the ceiling so you will know where to place the hooks. It is a good idea to look for a joist in your porch or patio ceiling, as these are generally the sturdiest places to hang the swing from.
Once you have the hooks secured to the ceiling, you will then want to screw in the hooks that will go on the chair itself. Generally, two of them go towards the front of each armrest and two go towards the back, near the place where the armrest meets the backrest. Follow the instructions on your specific kit for how to screw these into the pallet wood of your swing chair. For extra hold, you can place some bolts through the armrest wood and loop the chains over them.
When all the hooks are in place, you need to run the chain through the front and back bolts and attach them to the middle to create a triangle before hanging the top end from the ceiling hooks. With that, you're done hanging your porch swing for the perfect summer hangout spot! Always check the product instructions for your particular kit to ensure you follow the weight limits and install properly to avoid potential injury.