

Replace Your Builder-Grade Towel Rack: The Simple Wood DIY For Your Bathroom
We may receive a commission on purchases made from links.
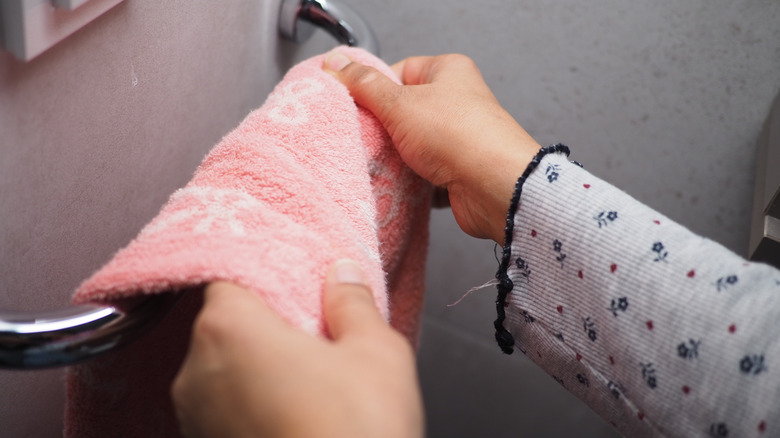
Often, builder-grade towel racks are either plain, straight metal bars or boxy, utilitarian hooks. So, why not make your own rack? With a few simple wood pieces and a dependable electric saw, you can easily swap that traditional towel bar for something that looks like it was made specifically for your space. Need a bit of inspiration? Take a page out of TikToker Woodshop Diaries' book.
After renovating her bathroom, she decided to put her own spin on a towel rack that mirrors one made by a high-end high-end furniture maker, but without the hefty price tag. This idea is definitely one of those on-trend DIY home projects worth trying for yourself. To make the design, she cuts out boomerang-shaped pieces from 2x4s, which serve as sculptural hooks, and secures them to another 2x4, creating a towel rack that's simple yet surprisingly stylish. And one of the best things about this project is that it doesn't require a closet full of exotic tools or a long list of supplies to complete.
To get started on it, you simply need a couple of 2x4s, an electric saw, and a drill with fasteners. It also helps to have a sander, a rafter (or a ruler), C-clamps to secure the wood as you cut the hooks, and a can of wood stain. The demonstrator uses a jig saw for the project. You can find these on Amazon for less than $50, such as this DEKOPRO Electric Jig Saw Tool Power Jig Saw, which is available for $30. The 2x4s can be purchased from Home Depot at a little under $5 for a 4-foot board — three will suffice for this project.
Building out your customized towel rack
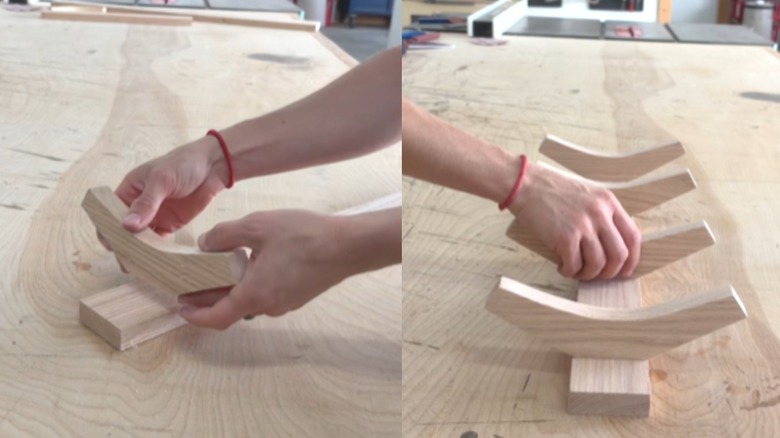
Note that the creator of this project only uses four hooks for design, and the total rack is roughly two feet long. So if you plan to make a longer rack, you'll need to purchase additional 2x4s. It's best to first measure the space on your wall to determine the ideal length for your towel rack. You'll also want to determine how many hooks you'll need per your spacing preference. After gathering materials and finalizing the design details, use your rafter square and a pencil to outline the hook shapes on your 2x4s.
@woodshopdiaries After replacing the tub, tile, floor, paint, vanity and swapped the closet for a built in, I thought this bathroom was finished. Until I realized I have no where to hang a towel 🤦♀️ It's always those last little things... I could have just screwed some hooks in the wall, but it's scrap wood summer, so why not build something way cooler from the scrap pile? 😉 Wait...what's scrap wood summer? It's when I team up with @Houseful of Handmade to share a new scrap wood project each week in August. Today kicks us off, but stay tuned all month for plenty more ideas! For now, this bathroom is finally finished (I think) and I can't wait to share a full reveal soon. #scrapwoodsummer #diywoodworking #scrapwood #easydiy #bathroomdecor
When performing this step, draw the top edge as a straight, flat line rather than curving it. This keeps the back of each hook flush against the rail board once it's secured, instead of angling off like an actual boomerang (don't cut out a 90-degree angle at the top). The hooks should be about 8 inches long. Apply clamps to the 2x4, positioning the edge to be cut on the end of the table. Then, trace along the guide line with the saw. Now that the hooks are cut out, cut your 2x4 backer board (the board they'll be attached to) down to size if you haven't already.
Next, use your electric sander to smooth out the hooks and backer board. Then, secure the hooks to the board using screws, spacing them about 5 inches apart. Afterwards, apply a couple of coats of your favorite wood stain. Wrap up the project by locating the studs on the wall, then securing the backer board and making sure it's level and evenly spaced before hanging your towels.
Beyond the boomerang: other ways to style this rack
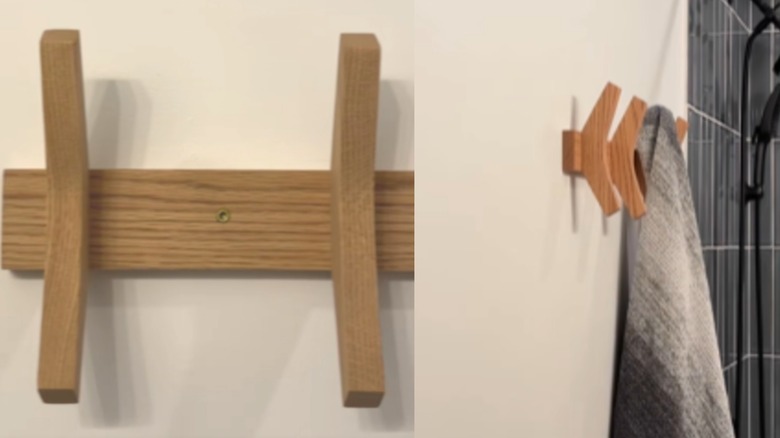
Since the hooks are hand-cut, the shape itself becomes the easiest place to really put your own stamp on this towel rack build. So one of the best ways to put your own spin on this design is by altering the shape of the hook. For example, you can cut out different shapes such as teardrops, half-moons and even horseshoes as hooks to keep with the modernity of the build while offering a completely different look than the boomerang.
Bigger spacing between the hooks can create a cleaner, more uniform look, and it's perfect if you want to store heavier items like bathrobes. Consider adding additional racks with more closely set hooks for hand towels or shower caps. These can go on adjacent walls, to the side of the existing rack, or a few inches above the towel rack.
Beyond the hook shape, paint gives you another way to customize the design. You can paint the backer board and hooks to match your bathroom's theme. Painting them in contrasting colors or painting the entire piece in an accent tone is a great way to help the rack stand out in the space and finally swap out that boring towel rack for good.