

Man Transforms Old Wood Pallets Into A Durable Toolbox With An Impressive DIY
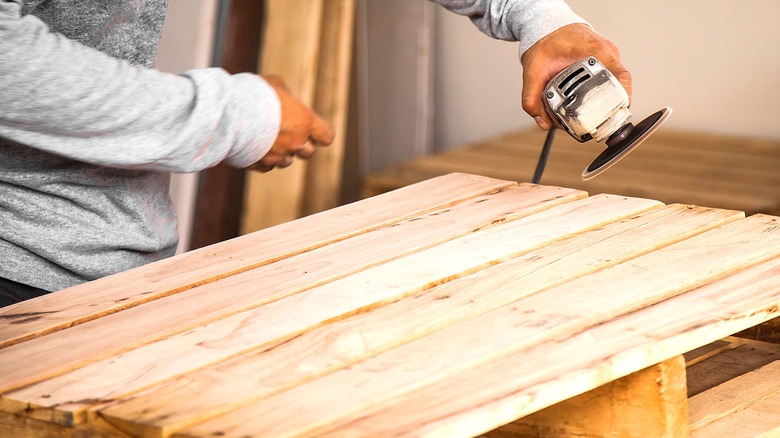
From porch swings and towel racks to garden trellises and patio privacy screens, wooden pallets these days can easily be broken down and repurposed into what seems almost anything. So much so they've become a staple among popular DIY home projects. For example, YouTuber and professional woodworker EoinReardon decided to put wood-pallet versatility to work in a cool, unique way. He turned slats from a single pallet into a durable, hand-crafted toolbox using nothing but manual woodworking tools and wood glue.
However, if you're not a woodworking pro, you can still try out this fun toolbox project by using a few tools every homeowner should have — mainly, power tools. This will cut out some of the manual work, and get the job done more quickly. Note that the demonstrator uses a larger pallet with slats that are 5 inches or so wide, so it's best to use a similar size to avoid having to secure smaller slats together. For those power tools, you'll need a circular saw or miter saw for cutting your slats to size; an orbital sander for smoothing the edges; a multi-tool with a narrow, straight wood blade; and an electric drill. You'll also need wood glue, C-clamps (or a heavy object), two small hinges, and your favorite wood stain.
How to build a wooden toolbox using pallet slats
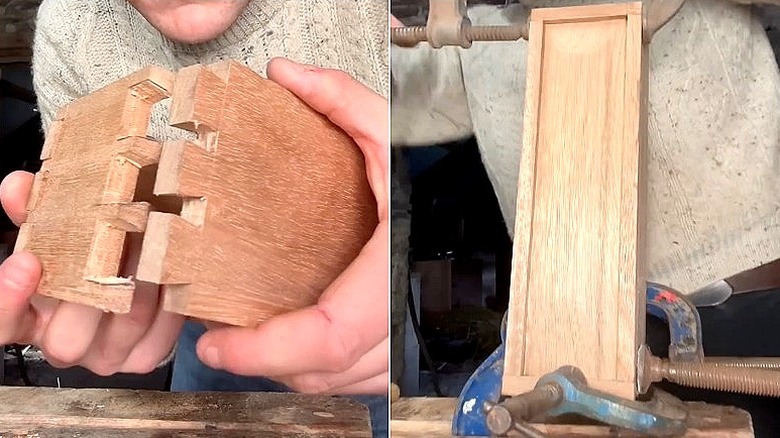
With work gloves on, remove four intact slats from the pallet. Next, cut two of the slats so that they measure about 5 by 18 inches. Then, cut 5 inches off one end of both pieces. Use your sander to smooth them out on all sides. With a pencil, sketch out the lines to create three finger joints on both of the short ends of the two longer pieces. Cut these areas out with your multi-tool. Repeat this process on the 5-inch cuts, cutting out the opposite pattern for a puzzle-like fit.
Once all your cuts are complete, do a fit test to ensure the long and short pieces form an L-shape; then join the pieces together. Now, let's build the base panel. Using another slat, cut a piece so it matches your frame's dimensions, then trim down the edges on all sides just slightly, creating a thin ledge around the border. Cut a matching groove along the inside bottom edge of each wall piece on the frame. Run a line of glue along this groove; then slide the base's ledge into place. Use C-clamps to secure it until the glue dries.
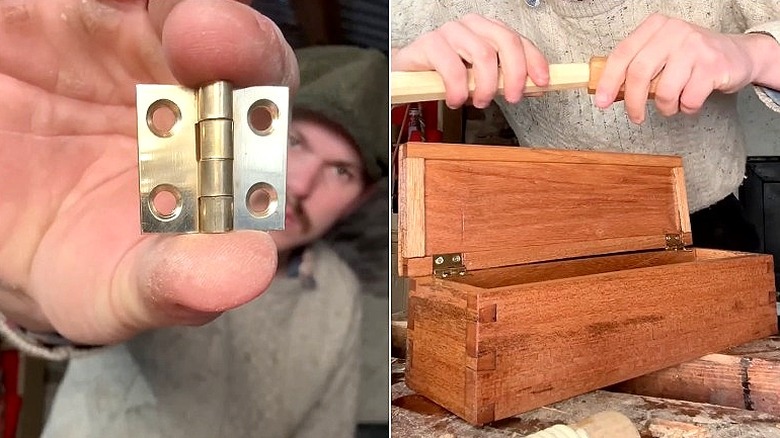
You're going to create your full top panel and add it to the frame the same way. And once the glue sets, cut away about a 1¼-inch piece from the top of the box, separating this piece to use as the lid. To add your hinges, use your multi-tool to saw out two small 1-inch-wide sections on the upper back edge of the box that are just deep enough to fit small hinges. Screw the hinges into place. Wrap things up by applying two coats of wood stain.
Creating other designs for the pallet toolbox
Precision will be the name of the game for this project; so, taking your time with each cut will save you from having to redo a section down the line — and ultimately having to remove another slat in the pallet. After all, the leftover pallet can be upcycled for other DIYs, such as an easy-to-build vertical garden or a rustic outdoor plant stand.
And once your toolbox is built, consider giving it a traditional glossy finish by adding a coat of semi-gloss red or black paint, instead of just staining the surface. Want to make it portable? You can use glue or screws to attach a thick rope or leather strap to the lid, leaning even more into the custom look of the wood-based design. That said, you'll also have to add a lock so the lid and box don't come apart when you lift it. If you prefer added durability, meanwhile, especially for heavier tools, try incorporating a liner constructed of sheet metal.
Cutting sheet metal is easy, and you can do it yourself with a pair of tin snips to fit it snugly inside your new pallet slats-turned-toolbox. This can protect the wood from scratches, spills, and rust-prone tools, extending the life of your build. Just be sure to wear protective gloves during this setup, as the edges of the cut sheets are super sharp.