

Use A Styrofoam Tray To Make Adorable Earring Storage With A Savvy DIY
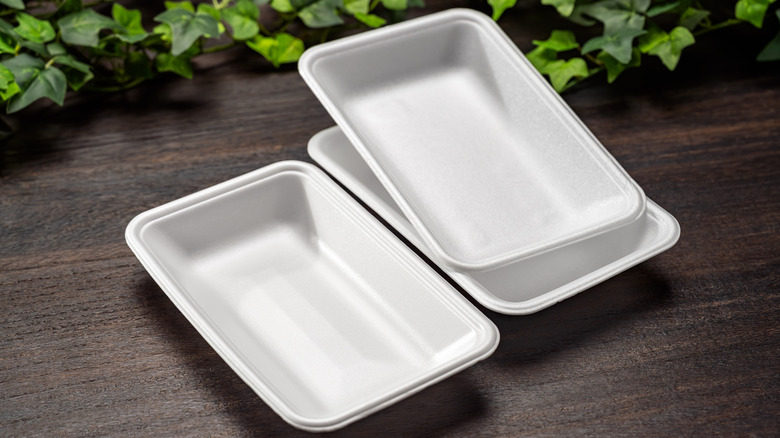
When we see Styrofoam trays, we think of takeout meals served in disposable containers. But beyond takeout and reusing Styrofoam as seedling starters, there is potential to turn them into cute and practical storage solutions. A craft project from YouTuber DIY Com Fabiana Noguiera takes a singular Styrofoam tray and customizes it into an adorable cat-shaped earring storage display with a few simple steps that any beginner or pro could follow.
To get started, you will need a clean piece of Styrofoam tray about 8 or 9 inches wide, depending on the design you want to create. For health and safety purposes, avoid working with Styrofoam trays used to store fresh, raw meat, as there are risks of contamination from leftover food particles. That said, you will also need a cutout of your preferred look for your earring display. You can copy the cat shape used by the creator, or search online for different silhouettes to try — just make sure it can allot room for a couple of rows or openings where your earrings can be pinned or hung.
You will also need a cutting mat, push pins, a hobby knife, and a nail file for smoothing the pieces. In addition to that, you'll need acrylic paint and a brush or a sponge to add color to your piece. If you want to get extra creative for this crafting project, go ahead and grab some self-adhesive rhinestones, ribbons, or tiny pre-cut foam shapes normally used for scrapbooking.
How to create your custom Styrofoam earring display
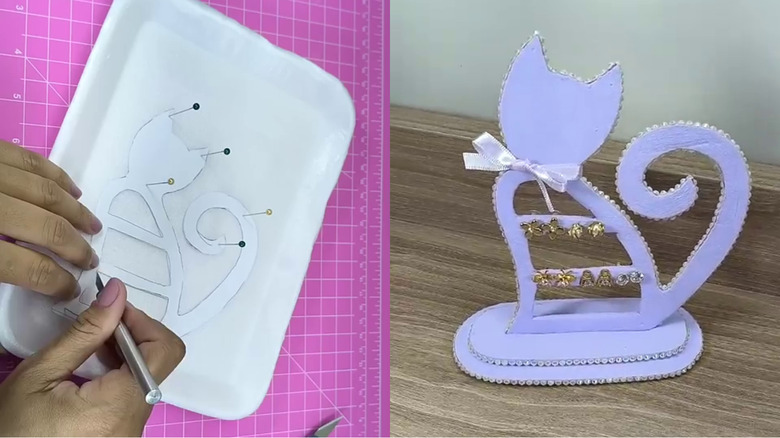
We will be making the most out of the singular Styrofoam tray we have for this project. Once you have your Styrofoam tray on your cutting mat, place your chosen design stencil onto one corner and keep it in place with some push pins. Next, trace two rounded rectangles a little further from where your stencil is pinned — these pieces will serve as your display's base and prop. Draw one rectangle about 2 by 4 inches, and the second roughly a ½-inch smaller on each side, with a slit in the middle wide and long enough for your display to stand on. Afterwards, cut each shape carefully with your hobby knife, then file all the edges until it's smooth.
Once you're done polishing the Styrofoam shapes, it's time to start painting and decorating your earring display. For a smoother paint finish, you can try priming the Styrofoam surface with equal parts white glue and water before applying acrylic paint all over the shapes. Let everything dry completely before adding your chosen embellishments and finally putting all the pieces together. Pierce your favorite stud earrings onto the rows or hang your go-to hook earrings from them, and you've got yourself a cute, handmade earring display you can place on your vanity to keep all your jewelry organized and in one place, or place it on an otherwise empty entryway table for it to work as a piece of quirky home decor that doubles as a conversation starter.