

Turn Old Wood Pallets Into Hanging Planter Boxes With A DIY
We may receive a commission on purchases made from links.
Hanging planter boxes go where other planters can't: on a wall, on a branch of a tree, and even on an unused clothesline. And there certainly never seems to be a lack of them in every shape, size, and color you can imagine. However, if you fancy yourself a weekend DIYer, making one offers you an opportunity to make one that fits your specific needs. Moreover, the raw materials to make one won't cost you much. In fact, if you have an old wood pallet and some time and tools, you can make your own hanging planter, quicker than a New York minute.
You'll find old wood pallets to upcycle in abundance on Craigslist or Facebook Marketplace. Often, they're free. You just need to go pick the pallet up and be willing to pull it apart to get the scrap boards you require for this project. You'll also need a couple of pieces of heavy rope, some scissors, and a wall hook.
Once you have the raw materials gathered together, it's time to get the tools you'll need. You'll pull the pallet apart with the help of a hammer. You'll also need nails, clamps, a saw, a sander and some medium and fine sandpaper, a drill, a pencil, and a tape measure. Additionally, you'll use Gorilla Ultimate Waterproof Wood Glue and stain, plus paint brushes, at different points in the construction of this project. Finally, you'll need some plants for the box.
How to make the hanging planter
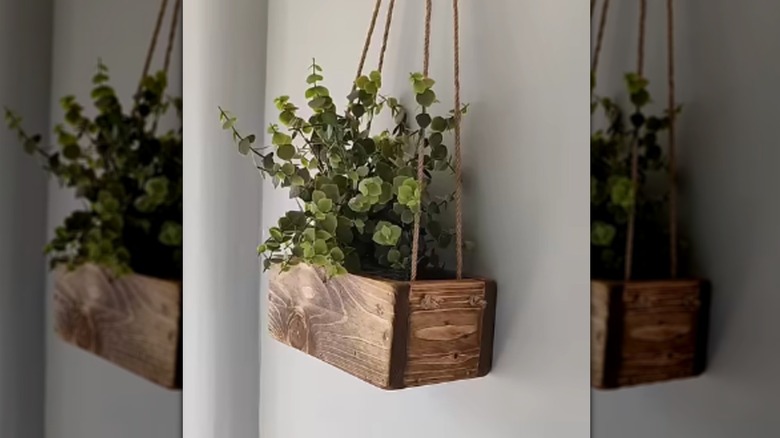
Assuming that you've already taken apart the pallet and gotten the wood you need, the next step is to cut it into smaller pieces. The finished planter box will hold two or three small plants in their pots; you won't plant them in the box directly. Start by measuring the board; then, mark your measurements with a pencil. Finally, cut the boards. Make three long boards: two for the front and back of the planter, and one for the bottom. You'll also need two shorter ones, which will go on each end of the box.
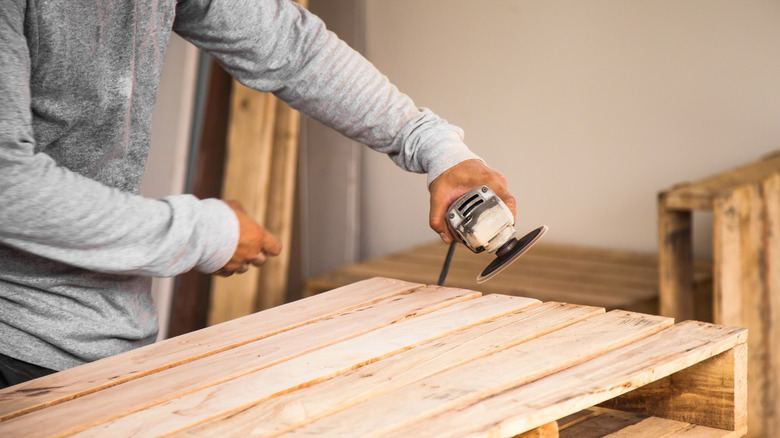
Next, use wood glue to fasten the box together. Use clamps to keep the boards in place until the glue dries. Once it does, reinforce the sides with nails, and then sand the exterior walls of the planter. Go over the walls of the planter with fine sandpaper. Between 120 and 180 grit should be fine enough. Stain the piece next.
Finally, drill two holes in each of the short ends of the box and run a length of rope through each set of holes. Tie a knot at each end of the rope to keep them from slipping through the holes, creating a handle. Hang the planter up by its two rope handles. Fill it with plants and use it to create the perfect garden space.
Creative ways to work with your materials
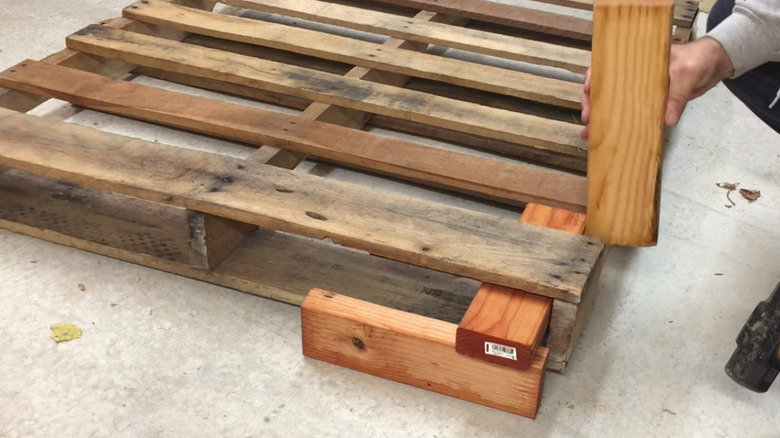
Some people who'd otherwise be on board for a DIY like this won't take it on, because they're not sure how to pull the pallet apart to get the boards they need. However, there's a simple way to do it that does require you to tug and pull on the nails with a claw hammer until your arm's out-of-socket. Aside from a claw hammer, you will need a mallet plus some scrap two-by-fours.
Start your deconstruction efforts by inserting one of the two-by-fours into the open end of the pallet. Rest that two-by-four atop a second one. Grab the third two-by-four and place it on the end, right next to where the pallet is nailed onto the support beam. Pound on the top of the third two-by-four with the mallet until the pallet's boards have loosened. Use the claw portion of your hammer to pull the loosened boards off the pallet the rest of the way.
On a related note, finding different ways to work with your raw materials will make this DIY hanging planter more visually interesting. For example, instead of hanging the box on rope, use long pieces of SilTriangle Artificial Leather Straps for Crafts to create hanging straps for the box. Cut the craft leather to the length you want the straps to be. Fasten the straps to the box with nails. If you don't want to use craft leather, chains that you hook onto the ends of the box with BJUTYEU Store Screw Hooks are another possible substitute for the rope.