

Turn A Secondhand Cooking Pot Into The Cutest Planter For An Orchid
We may receive a commission on purchases made from links.
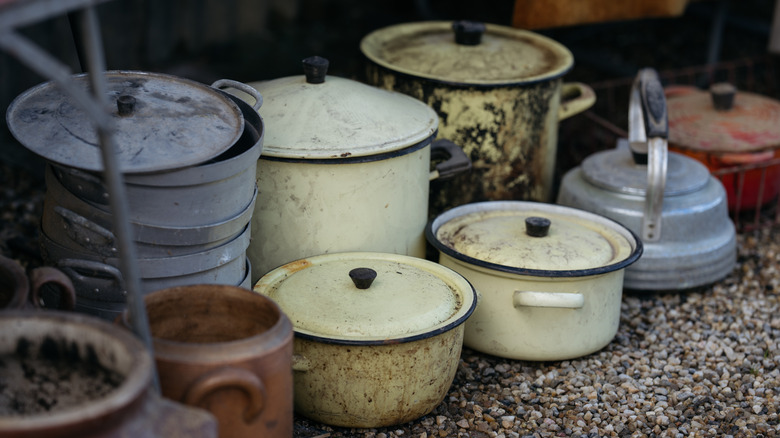
If you love a good thrift store find, chances are that you've run into a scenario like this: you're perusing the kitchen section when you stumble upon the cutest cooking pot. You quickly pick it up with the impulse to buy it immediately, but then realize — it doesn't come with a lid. You've tried using other lids on secondhand pots before, but they never fit quite right. But don't despair; you can still get that gorgeous cooking pot. Instead of using it on the stovetop, upcycle it into an orchid planter that will look adorable in any room of your home.
Secondhand cooking pots are one of many kitchen items you can reuse in your home to reduce waste. Repurposing them as planters makes such a unique way to display your beautiful orchids, especially if you want to place them in a kitchen window or as a centerpiece for your eat-in kitchen table. It gives a bit of cottagecore-meets-sustainability vibes. To make this DIY work, you'll need a drill, an orchid-specific potting mix like Stroller Orchid Bark Mix, and of course, the orchids themselves, along with your secondhand cooking pot. Optional supplies include decorative items like garden rocks, reindeer moss, and sticks from the yard.
How to successfully plant your orchid in a thrifted cooking pot
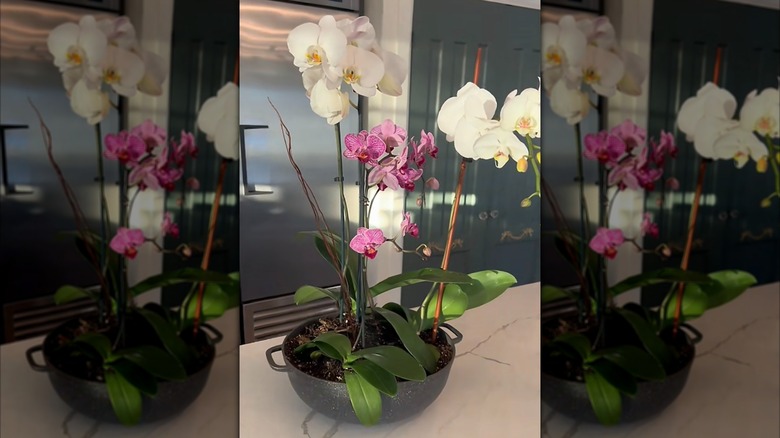
The first, and very important, step in turning your cooking pot into a planter is to drill drainage holes. The best type of flower pot for growing happy, healthy orchids is one that has adequate drainage. Drill at least 8 to 12 holes. Once your pot is ready, you can fill it halfway with potting mix, but not any old soil. In fact, orchids typically grow on trees and shrubs, not in soil. They need a special mix when potted that's composed of bark, charcoal, and perlite. You can pick up a specialty mix at any garden center.
@redeux_style Cooking Pot Upcycle/Hack♻️ thrift stores are loaded with all kinds of pots and pans! More kitchen pot upcycles coming! #pots #pans #kitchenpots #upcycledpots #upcycledplanter #upcycled #planterhack #entertaining #entertaininghack #homedecor #homedecorhack #lifehacks #upcycle #rework #diy #thriftflip #homedecor #upcycling #upcycle #diy #thriftflip #homedecor #upcycles #rework #upcycling #thriftflip #organize #reuse #recycle #secondhandstyle #transform #oldtonew #upcycleddesign #upcyclersoftiktok #sustainsblestyle #homedecor #thriftflip
Take the orchid out of the pot it came in, gently removing any dead roots, and set it into the planter. If the orchid came with a plant stake, you can swap it out for a stick from your yard for an extra fun touch. Set it down into the mix, attaching it to the stem with twist ties. Fill the rest of the pot with the mix, stopping about half an inch from the top of the pot. You can add reindeer moss or garden pebbles around the top of the planter for a decorative touch. Water your newly potted orchid with room-temperature water, making sure you give the roots enough time to dry out before watering again.
A word of caution about placing your orchid in the kitchen: be sure not to place it too close to a fruit bowl. As those apples and oranges ripen, they emit ethylene gas. Your orchid can quickly lose its flowers, which is a telltale sign that your orchid is in trouble.