

Use Old Fence Slats To Make A Sturdy, Stylish Headboard For Your Bed Frame
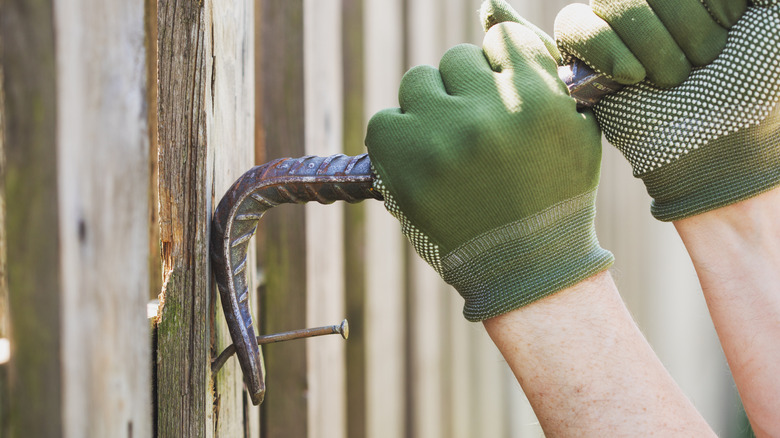
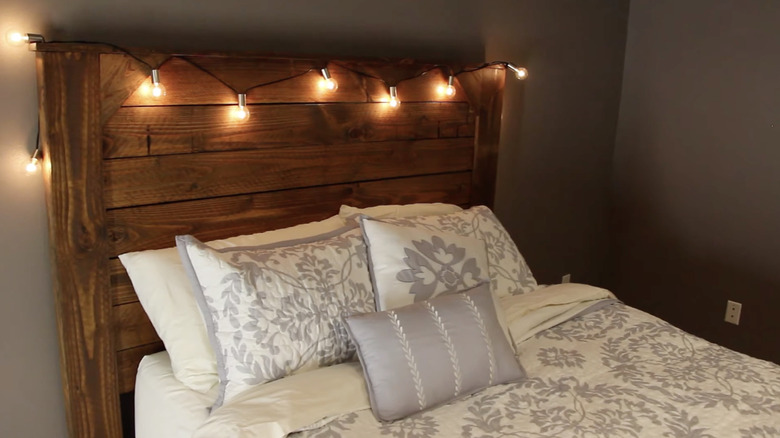
Sourcing wood for DIY projects can be expensive, especially when you want something high-quality and durable for a cool project like a new wooden headboard. Luckily, even if you don't have scrap wood waiting for you in your shed or garage, you might still have an unexpectedly good source: your old fence. There are many creative ways to repurpose old fence posts around your home and yard, and turning them into a headboard could be perfect for your home, as demonstrated by Brian Hanks on YouTube. The result is gorgeous, rustic furniture with horizontal or vertical fence pickets and any shape you like.
Before you start tearing apart your fence, though, make sure that the wood is safe to use. Unwanted fences are great for scrap wood in theory, but some fence wood is treated with chemicals that are generally fine outdoors but can be harmful to humans. And since this headboard will be right above your head for eight hours a night, you want to make certain it is safe. If you determine that your fence is safe, you'll need tools to disassemble the old fence and put together your headboard. You'll also want a wire brush, bristle brush, soap, and a steamer or bleach to sanitize the wood before working on it. Sandpaper, wood filler, and wood glue are helpful for repairing any damaged parts, and, of course, you'll need the hardware as well. Finally, finishing touches like paint, wood stain, and decorative items like string lights can help bring the whole look together.
Choosing fence wood for a safe DIY headboard
One step that can make or break your project's results is the choice of wood. First and foremost, you want to choose wood that you know or can get the history of in order to avoid accidentally bringing wood treated with potentially dangerous chemicals into your home. Pressure-treated wood should be avoided for indoor use due to toxic chemicals used in the process, and knowing the history of your fence's treatments will help you determine whether or not yours is safe. Pressure-treated wood is usually identified with an agency logo and treatment code.
If your fence is safe to transform into a headboard, it may be tempting to take from a section that is falling apart, but using high-quality wood is important as well. Be sure to know how to tell if your wooden fence is rotting. Check for mold, mildew, termites, other insects, and lead paint. If you spot issues, skip those fence panels. Damaged pickets may also break during removal, complicating the process. If you have an entire panel in relatively good condition, then you can also remove the panel and work with that as your headboard base rather than removing individual pickets.
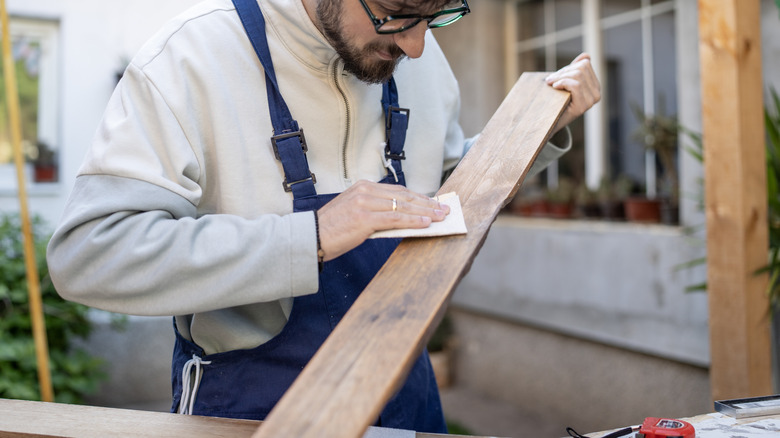
Once you've verified safety and gathered your wood, give it a good cleaning. You can do this by pressure washing it outdoors and soaking it in soapy water before scrubbing with the wood grain using a bristle brush. After cleaning, allow the wood to dry completely, which often takes a couple of days. Imperfections add to a rustic look, but you don't want your headboard to look like it's falling apart, so some repairs may be in order.
Transforming an old fence into a headboard
For a simple design, lay the pickets either horizontally or vertically, securing them with two or three boards on the back of the headboard. For vertical boards, consider leaving the fence pickets alone at the top of the headboard to emphasize the use of a fence panel. Adding boards in an "X" pattern over the headboard can further lean into the classic fence look. You can also consider trimming the edges of the boards to create any shape you like once they are secured.
Once you settle on a design, start by trimming the fence panel to size. Common headboard widths are 80 inches for a king bed, 62 inches for a queen bed, and 56 inches for a full bed. Then, determine how high you want your headboard to be and cut accordingly. The final step is to attach the legs for the headboard that will allow it to connect to your bed frame. First, cut two 2x4s to the desired height of your bed frame, taking into account the height of the legs, and screw them into the back of the fence panel, on either side.
After that, cut another pair of 2x4s to the length of the legs sticking out from under the headboard and screw them to the original 2x4s so that they help support the headboard from the front. Use multiple screws to ensure your headboard is durable, and add a fence picket to the edges, hiding the fresh 2x4s for a more cohesive look. When you're done, attach the headboard to your bed frame. Your bed frame should have a slot where you can attach a headboard using carriage bolts. Style with draped string lightbulbs or faux plants to further bring the cozy outdoors aesthetic to your bedroom and create one of the rustic bedrooms that you'll want to snuggle up in.