

Use An Egg Carton To Transform Acorn Caps & Beeswax Into The Cutest Floating Candles

Foraging acorns under oak trees might be a regular thing for you during fall. Now, you might enjoy the nuts as a light evening snack, but what do you do with a bucket full of caps? In case you can't think of anything better than trashing them, use an egg carton and beeswax to turn them into magical floating candles. Though they'll stay lit for a maximum of 15 minutes (it'll actually be closer to 10 in most cases) since acorns can't hold a lot of wax, they'll still wow your guests.
Coming to the supplies, your collection of acorn caps will serve as a wax holder; just ensure they aren't split down the middle or feature fractures along their spine. You should also give them a rinse under running water to get rid of surface-level dust and debris. Then, set them aside to air dry completely, or you risk mold development. If you're worried about lingering pests or their larvae, bake them in your oven at 200 degrees Fahrenheit for approximately an hour. Turn your acorns the other way after half an hour so both sides receive a similar treatment.
Additionally, you'll need some wax. Beeswax pellets are highly recommended since they produce less soot than the alternatives, but you can also remove leftover candle wax from jars and melt it. Make sure you don't throw out your old egg carton and use it for any other genius DIY ideas. You'll also need a double boiler, some wicks (intact ones from old candles will work, too), and a decorative bowl (preferably something that isn't flammable, like glass).
DIYing floating acorn candles using an egg carton
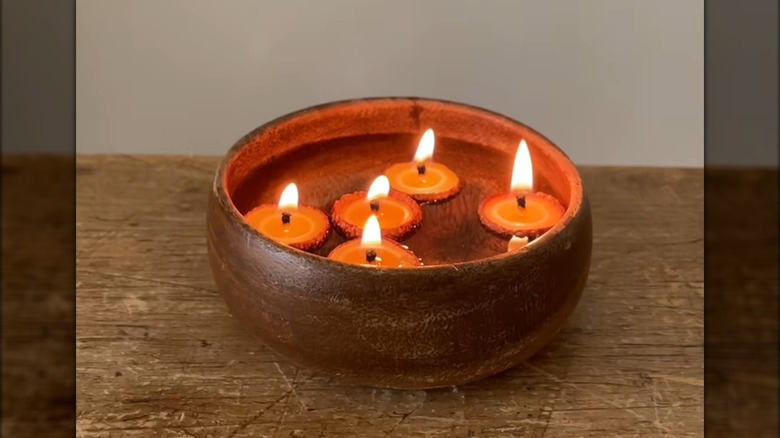
Melt your beeswax pellets in a double boiler. Remember to turn off the heat as soon as the liquified wax reaches a temperature of 150 to 170 degrees Fahrenheit. In case you'd like your candles to be aromatic, now is the time to mix in a few drops of your favorite essential or candle fragrance oils. Grab your egg carton and turn it upside-down. The raised peaks will act as a stable base for your acorn caps. Put as many shells as you like in place; you can always store the extra in an airtight container for later. Once done, take your pitcher and start pouring melted wax into each cap. That said, don't fill to the brim. Leave a bit of room at the top to allow them to breathe. Now, quickly measure the average height of your caps and trim wicks so they're slightly longer than them. After, place them upright in your still soft wax and leave them to solidify completely.
When your candles are ready, trim the wick down to ⅛ to ¼ inch to keep the flame burning happily and avoid sudden flare-ups. Finally, try a simple DIY thrift flip you can start and finish in one weekend (a pretty bowl filled with water) for a truly amazing display. If possible, aim to keep your lit candles gathered around the middle of the bowl. You can even place them inside a container filled with sand since it won't catch fire. Either way, avoid using your miniature candles on their own or on top of flammable materials since the caps are flammable and may start burning as the wick burns down.