

Transform A Pickle Jar Into A Gorgeous Vintage-Style Vase With This Budget DIY
We may receive a commission on purchases made from links.
Real antique and vintage accoutrements have a patina that's tough to replicate — with a few exceptions. Old crocks and vases have finishes that are a lot easier to authentically mimic. The shelves of home decor stores have wares with printed-on crackle and stamped numbers. You turn these replicas over, see the price tag, and think, "I could make that for less." If you don't want to constantly keep on the lookout for this rustic kitchen decor at the thrift store, it's time for a clever DIY. Deirdre Gourlay, the crafter behind Our Upcycled Life, shows us how to wrap a large pickle jar in air-dry clay to make a rustic crock or vase on a budget in a YouTube tutorial.
A crock or vase made out of air-dry clay will harden but it won't hold water unless you seal it. Using a pickle jar for the interior of this decor item is a clever shortcut to making it watertight. Plus, it gives your crock or vase the right shape. Aside from a pickle jar, you need some white air-dry clay. Discount stores like Family Dollar and Dollar General sell it, or you can buy it online. A 2.2-pound block of DAS White Air-Hardening Modeling Clay costs around $14.
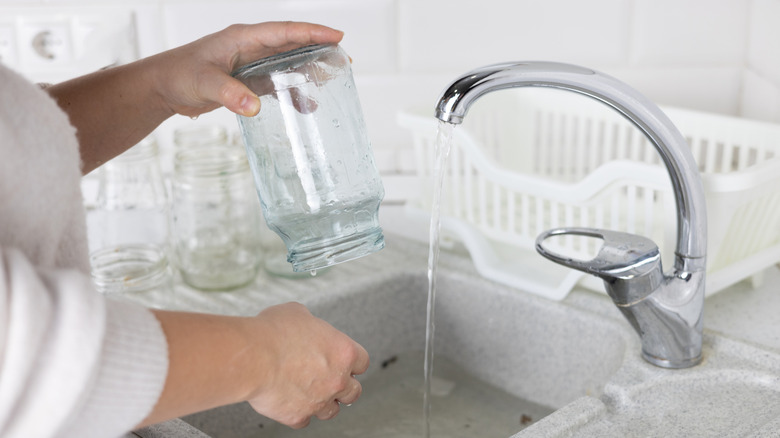
Before getting started on this DIY project, disinfect and deodorize your jar by soaking it overnight in 1 gallon of water with 1 tablespoon of bleach added. When it's dry, wipe the outside of the jar with isopropyl alcohol, followed by another wipe with a clean soft cloth. Then cover the exterior of the jar with a light coat of matte Mod Podge, spray-on matte paint primer, or white chalk paint. This ensures the air-dry clay adheres to the glass.
Wrap your clean pickle jar in air-dry clay and add embellishments
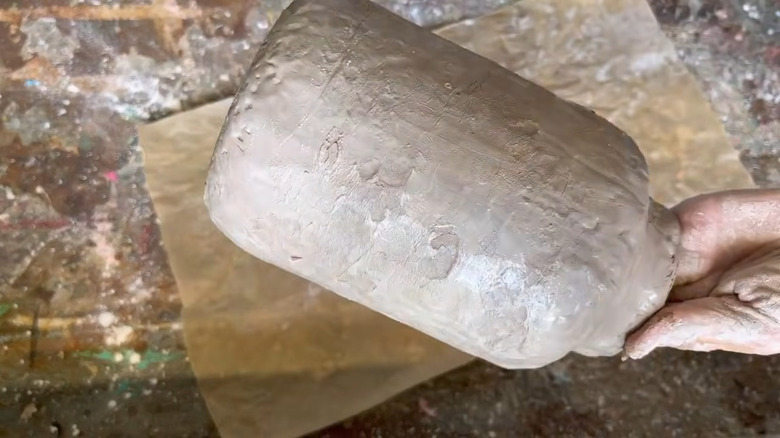
Ready to transform an old pickle jar into rustic kitchen countertop storage? Roll out air-dry clay on a sheet of parchment paper until it's about ¼-inch thick. Dust the clay with cornstarch to keep it from sticking to the rolling pin. You'll have to work the clay with your fingers and maybe add more clay to completely cover the jar. Once the jar is completely covered in clay, dip your fingers in some water and smooth the surface, filling in any holes.
Because the glass jar is rigid, the air-dry clay will crack as it shrinks and dries. While this can be a problem in some DIYs, it's a feature in this project. The cracking makes the crock or vase look more realistic. Soften the cracks by covering them with torn pieces of thin tissue paper and Mod Podge. If you like, you can also add extra texture to the surface of the crock by repeatedly pressing everyday items into the wet clay, from lace, rope, and buttons to springs, crumpled wax paper, and wood.
Deirdre Gourlay of Our Upcycled Life creates an ornate frame-like embellishment for the front of the crock by pressing air-dry clay into a silicon mold. This set of seven Xcake Lcook Baroque Frame Silicone Molds costs about $10. She also rolls coils for handles and attaches them to the mouth of the jar. Before adding these attachments, score both the jar and the back of the decoration with a needle tool. Add a little water to the pieces, and press them onto the surface of the crock until they hold. Allow the project to dry overnight.
You can finish your pickle jar crock or vase in myriad ways
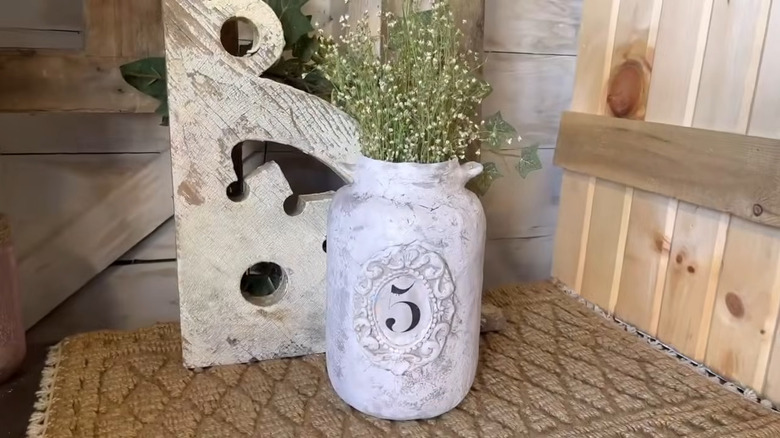
This is a genius way to repurpose a pickle jar in your home because its so customizable. Once her embellished crock is dry, Our Upcycled Life creator Deirdre Gourlay gives it an old look by mixing brown and white acrylic paint to create a custom color and dabbing it onto the piece with a sponge. She finishes the crock with antiquing dust — you could also use Viva Decor Golden Brown Inka Gilding Wax or even some dampened dirt to achieve a similar effect. Finally, she adds a numeral transfer (which you can make yourself using Hayes Paper Co. Waterslide Decal Paper for Inkjet Printers) and a few layers of a clear matte polycrylic sealer.
If you leave the threaded mouth of the jar intact, decorate the original lid and screw it back on. You'll have a practical, useable, sealable crock! Adorn it with Victorian-style floral transfers and use it in your bathroom to hold cotton balls and swabs. If you've sealed the exterior, it should hold up to the heat and humidity just fine. Love all things shiny? Use glitter paint or metallic paint in place of the brown and white mix.
Another idea is to combine the white air-dry clay with Old Potters Premium Terra Cotta Air-Dry Clay and leave the surface raw to create ancient-looking storage vessels ideal for rustic interiors. You don't have to use a large pickle jar, either; replicate the technique on different-size jars. You could, for example, make tiny apothecary jars or potion bottles for Halloween. Whatever look you decide on, these DIY crocks are inexpensive to make, and no one will ever guess what's underneath the clay.