

Why Your Dryer Is Leaving Black Marks On Your Clothes (And What To Do About It)
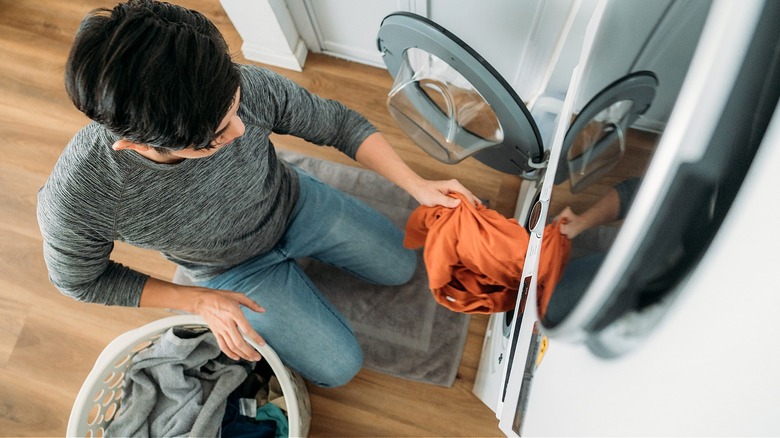
An underrated luxury we have today is being able to toss wet laundry into a dryer, press a button, and voilà, warm, fresh, ready-to-wear clothes. Many dryers today are also equipped with the latest tech, include AI, moisture sensors, and the ability to control your appliance remotely via an app. However, no matter how many cool, new features a clothes dryer may have, there are still some dryer problems that are common to all users. One is pulling out clothes and finding black marks on them.
Even after adding new detergents and effective stain removal products, if you still find these marks on your clothes, your first thought might be that the drum is dirty. Perhaps there's something stuck on the inside of it you need to clean away. However, the more likely cause is that outside the drum, a part has become worn. This includes a worn felt seal, an old drum glide, failing drum rollers, or an issue with the lint screen's housing.
Aside from the appliance's lint screen housing, the other issues result in a dryer drum that isn't turning properly in place. If the drum becomes misaligned, clothes may get caught between the dryer's drum and the dryer's housing during turns. The result? Black marks on your clothes. That said, if you take a look at these potential dryer issues, like misalignment, one at a time, chances are you'll be able to get your clothes looking bright again, sans black marks.
How to fix a clothes dryer leaving black marks
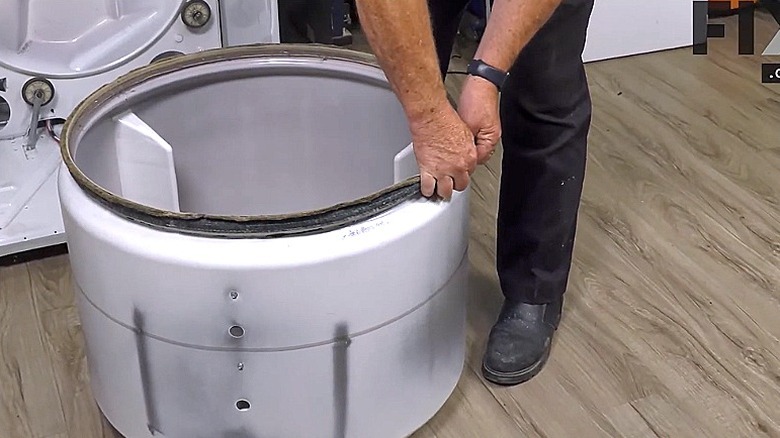
As its name suggests, a felt seal is made of felt, and it facilitates the correct turning of the dryer drum, as it keeps the drum on its rollers. When a felt seal becomes worn, the drum may lift up during operation, which is how clothes can get caught between the drum and the dryer's housing, resulting in black marks on your clothes.
A dryer may have one or two seals located at the front and back of the appliance, or only in the front. Either way, you'll need to disassemble the machine to inspect the part to determine if it's worn or not and needs replacing. The same will need to be done when inspecting the dryer's drum glides and rollers. Before doing any sort of repair like this, that requires taking the dryer apart, always unplug the dryer first.
Watching a video like this one by Fix Tech Guides is extremely helpful in understanding how to take apart the dryer, which typically will require removing the top first. Like a box, the top holds the front panel in place, so it'll need to be removed. Dryer disassembly also requires you to detach the wiring harness that connects the door. Then removing more screws, lifting the front panel up and away, and then releasing the drum (pictured above) from its dryer belt.
As for the lint screen housing, this diagnosis is more straightforward. Remove the lint trap, and check its housing for damage. If there is any (which could lead to clothes getting caught on it), replace the part. On a related note, also be sure to clean your lint trap regularly. Anytime a machine needs to work harder than it should, it can lead to prematurely worn parts. Also, shut the dryer door carefully; if you slam it repeatedly, over time, it could contribute to a misaligned drum.