

Woman Uses Toilet Paper To Transform Cardboard Into Orchid-Inspired Jewelry Storage
We may receive a commission on purchases made from links.
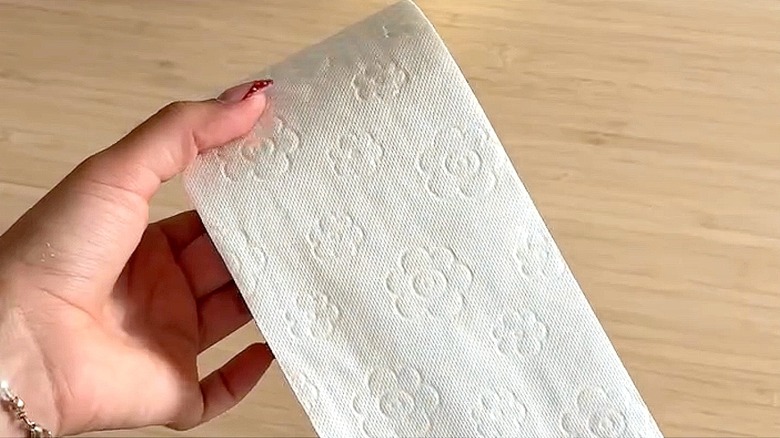
A wall-mounted jewelry holder that's shaped like an orchid, and made out of shredded toilet paper and cardboard is pretty unheard of. However, that's exactly what deryatavas at Instagram did in this DIY craft. The end result will have you questioning the need for jewelry boxes at all. On their own, soft toilet paper and bendable cardboard shouldn't be able to hold much — or do so very elegantly. But in this DIY, their strength and shape are possible thanks to the paper-mache technique. The DIYer shreds the toilet paper, then uses a glue-based solution to layer the tissue on the cardboard cutout.
With regard to the design, orchids are lovely, complex flowers, so when working on this beautiful jewelry storage solution, try to print out or keep photos nearby as a reference. Furthermore, to follow this DIY, you'll need pieces of cardboard large enough for your orchid design, along with some foil to add dimension around the edges (here, old newspapers or scratch paper can work just as well).
In this project, the bits of paper for the paper-mache will be toilet paper, though you've likely seen this technique used with newsprint, which like toilet paper, works well because it's so thin. For the adhesive, use PVA (polyvinyl acetate) glue, aka craft glue; Elmer's School Glue is a familiar brand. Also get masking tape and hot glue to help with assembling. Finally, you'll need some acrylic paint and a paintbrush or two to design your orchid however you wish.
Crafting this DIY toilet-paper jewelry holder
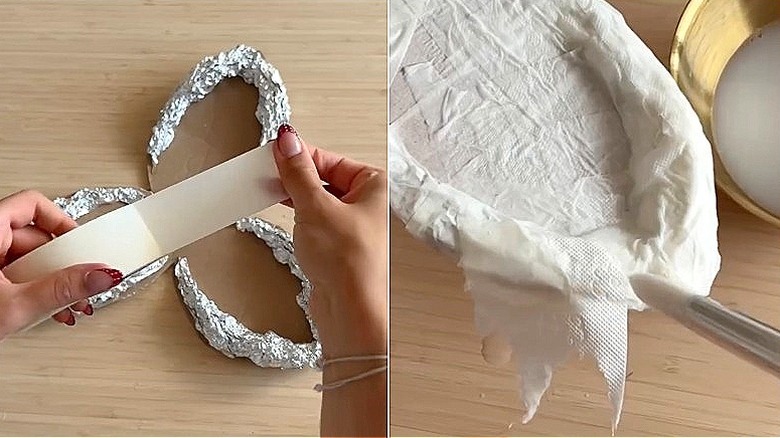
To start, trace and cut the different parts of the cardboard orchid flower. As a guide, cut out three base petals (or sepals), two lateral petals, and a small centerpiece (the orchid's column). Once you have all three shapes ready, crumple up some foil, newspaper, or scrap paper into balls or small rolls, and attach them around the edges for dimension. Secure with masking tape, covering the cardboard entirely in rows. Then, tear the toilet paper into strips and patches. For the glue-based mixture, a common recipe is to mix 1 part glue with 1 part water (1:1).
Next, paper-mache the toilet paper onto the tape-covered cardboard. Layer the toilet paper pieces, and adhere them to the cutouts by brushing over the shredded paper with the diluted PVA glue. Add at least three layers of toilet paper; leave the paper-mache pieces to dry overnight. Once everything is firm, paint the pieces in whatever orchid-inspired colors or patterns suit your space. Have a little more patience as you let this next layer dry before finally assembling all three parts using hot glue.
As you assemble this orchid jewelry holder for your wall, poke a few tiny holes around the petals' edges for your jewelry to attach to — that, or you could add small hooks to hang items like bracelets in this area. Finally, to hang your DIY jewelry holder, add a string or wire to the back. Alternatively, if you don't want to hang it, you could instead prop this paper-mache orchid sculpture up on a shelf, countertop, or vanity.