

He Uses An Old Traffic Cone To DIY A Funky, One-Of-A-Kind Lamp
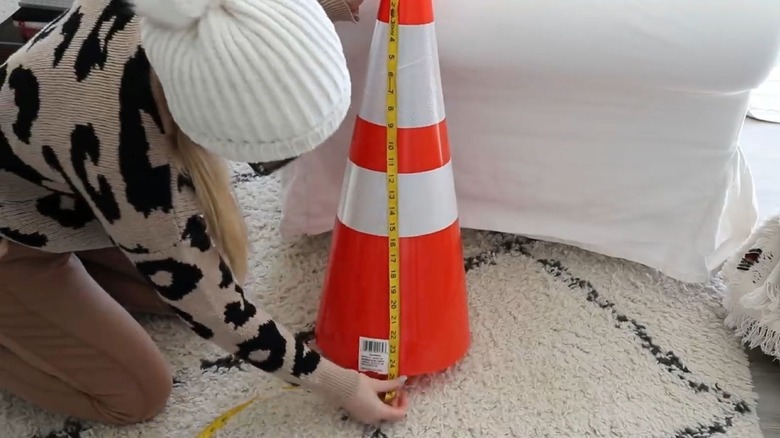
We may receive a commission on purchases made from links.
If you love creative upcycle projects and enjoy DIYing the trendiest home decor ideas, you may have noticed social media creators using traffic cones to craft things like side tables. But this DIY is even more unique. Instagram user jossevoet_official had a lightbulb moment when he transformed a traffic cone bought at a thrift store into funky, glowing decor. His DIY is simple: He decorates the cone with paint markers, seals the artwork, and uses a basic lamp base to create a one-of-a-kind floor lamp.
This quirky lighting idea is pretty easy to do and doesn't cost much. If you aren't able to luck out on finding a traffic cone at your local thrift store, you can check out safety-centered sites like Safety Vests and More, where they cost around $14.
If you need paint markers, Amazon stocks sets with affordable prices, such as these Artisttro Paint Marker Pens for $10. For varnish, try Aleene's Spray Acrylic Sealer, which is about $7. You can also find lamp bases, such as this $10 Industrial Table Lamp Base, on Amazon — where many fall under $20. With just a few inexpensive supplies, you can DIY a budget-friendly lamp that looks like it came straight from a funky boutique or Etsy store, minus the heavy price tag.
How to create this traffic cone lamp
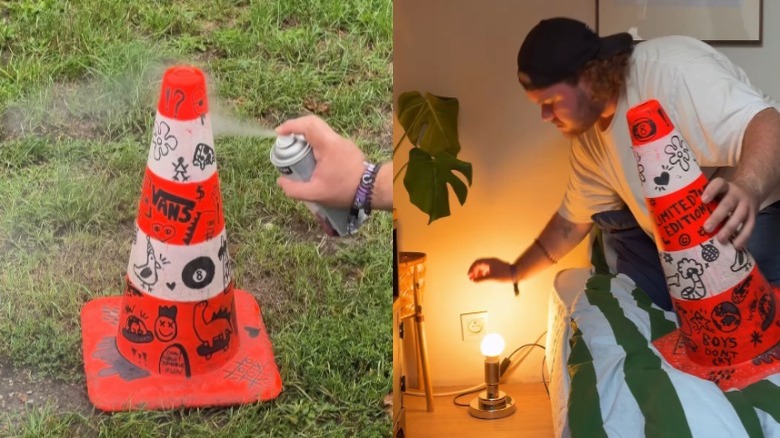
Once you have all your supplies on deck, start by thoroughly cleaning your thrifted cone to remove dirt and grime, then dry it completely. If you bought it new, remove any stickers and wipe off any dust or debris. Once it's dry, spray on a coat of your clear varnish.
Next, break out your markers and create your designs. If you're not the artistic type, you can use spray paint and stencils to get the same edgy graffiti-style aesthetic without the stress of freehanding the designs. Once you're done, add another coat of varnish to help seal in the artwork and protect it from chipping or smudging. Let the final coat of varnish dry, then set your newly designed cone on top of the lamp base, add a bulb, and plug it in. Before switching it on, make sure the unit is stable and the bulb is securely installed and not touching the plastic.
If the lamp's electrical cord is pushing up the base, use a box cutter to create a small, discreet cut-out in the bottom edge. This lets you slide the electrical cord through the slit, so the cone sits flat on the floor.
Heat precautions and personalization options
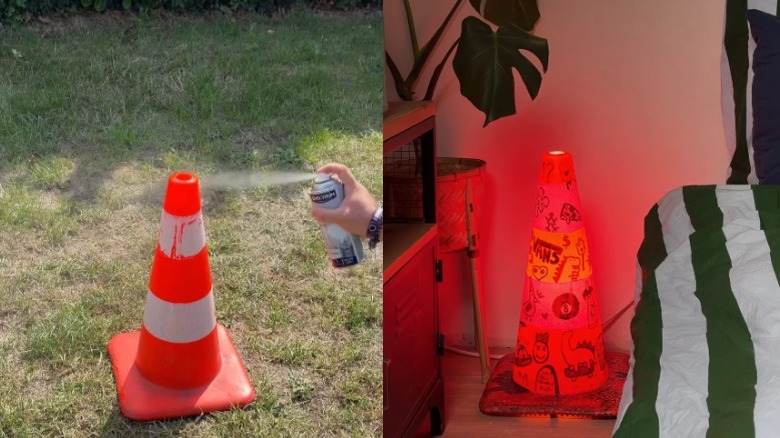
It's worth noting that most traffic cones are typically made with flexible PVC, which can soften, warp, and produce harmful fumes under heated conditions — not to mention that the varnish and paint don't like heat either. So for this DIY, make sure you use a low-heat LED bulb, such as a 40- or 60-watt equivalent. Also, check the cone every 10 to 30 minutes at first to see if it feels too warm. This can help you decide whether to drop to a lower-wattage bulb.
Once you've locked in a safe setup, the fun part begins: Making the cone lamp totally your own. One way to give this cool lamp idea a new look is to switch up the color of the bulb, instead of sticking with traditional white. For instance, a neon pink LED bulb could create a fun glow. Or, opt for a color-changing bulb that can sync to music. Another way you can customize the light is by punching or drilling holes into the cone to create a starry effect when the light is on.
Also, for the designs, there are lots of other avenues besides graffiti. You can even secure painter's tape to the cone to create multi-colored stripes with spray paint (just make sure to leave some orange bands where the light can shine through). Or keep the cone's original orange color and use geometric patterns, lettering, or abstract shapes. If you're keen for more traffic cone-inspired upcycling ideas, here's how to DIY a wall sconce with a Dollar Tree playground cone.