

Stop Tossing Toilet Paper Tubes And Old Lace: Turn Them Into A Storage Box With Vintage Charm
We may receive a commission on purchases made from links.
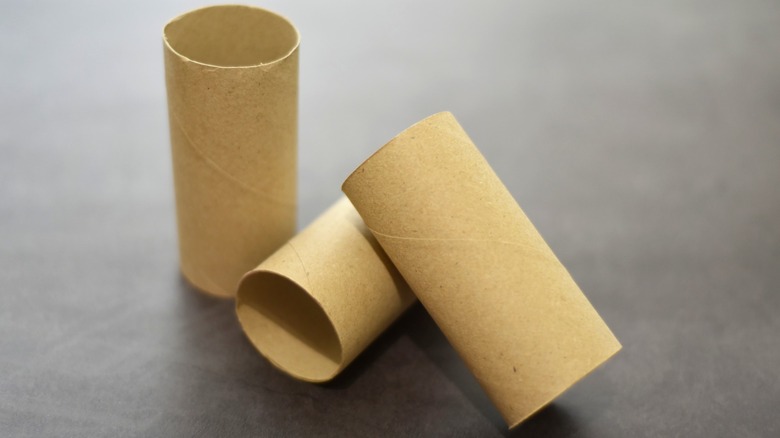
There's no shortage of ideas when it comes to ways to reuse toilet paper cardboard tubes in your house. And since toilet paper is one of the most used consumable household supplies, there's often a stash of those tubes waiting to be tossed out with the trash. But, with a little ingenuity, we can turn that trash into treasure by creating functional decor pieces that add character to your home. Throw in some old lace to that equation — as inspired by DIYer Evrim Taşer Yılmaz on YouTube — and you have the building blocks for one of the best storage ideas for keeping small items organized.
This is one of those low-budget DIY projects where the supplies you need are likely already at home. Start by gathering some leftover old lace and about seven used toilet paper tubes — you can use more or less to produce a bigger or smaller box, respectively. You'll also need a pair of scissors, a hot glue gun and glue sticks, corrugated cardboard, macrame cord, burlap fabric, craft string pearls, and a few small wooden balls. Finally, tap into your creative genius and get ready to create a truly unique storage box you can use in your entryway to hold keys, in your craft room to hold tiny craft supplies, or just give it away as a thoughtful, hand-made gift.
How to create your DIY storage box using toilet paper tubes and old lace
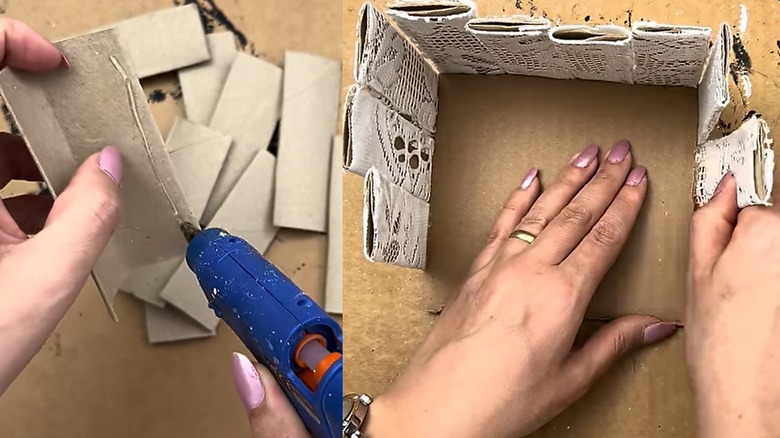
To start, grab one toilet paper tube and flatten it into a rectangular shape. Next, fold it in half lengthwise and cut along that fold to make two rectangular halves that open like a book. Apply hot glue along the open edge, then press to seal that edge. Repeat the process for all the toilet paper tubes. Anywhere between three and as many as five or six tubes per side would work to make the box sturdy, depending on your size and shape preferences. In the next step, you'll cover each of the rectangular halves with lace all around, so go ahead and cut an equal number of lace pieces. If you like to be extra, you can paint the rectangular halves first (using a bold color like gold) and let them dry before gluing the lace on. That'll create a unique colorful sheen peeping through the lace fabric. But even without painting, the brown cardboard color still offers a good contrast with, say, white lace.
Next, cut out a piece of corrugated cardboard to size, so that it forms the base of your storage box. Now glue the lace-covered halves in an upright position along the four sides of the base. You can form a rectangular box or turn it into a square by using an even number of halves on each side. Reinforce the base by layering it with another piece of cardboard. To do that, trace the base of the box on another piece of cardboard, then cut it to size, and wrap it with burlap fabric before gluing it to the bottom of the box, below the initial base.
Add the final touches to your DIY storage box and make a lid
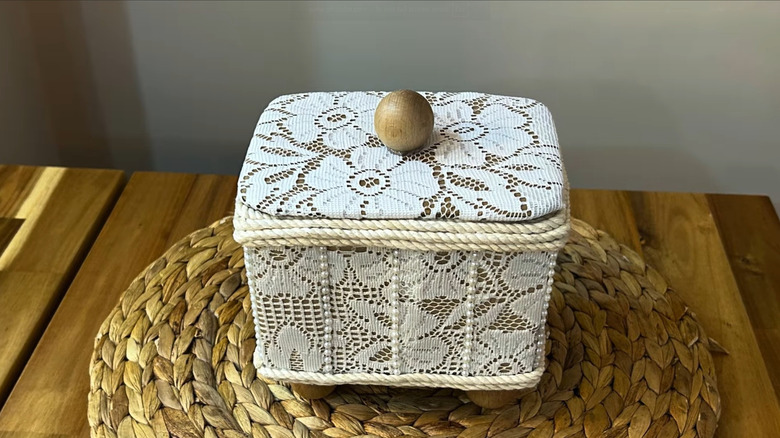
First, you're going to glue craft string pearls between the lace–covered halves. These white ZJJZGYXINTAI Craft String Pearls on Amazon will blend with the white lace wonderfully. But if you want it to pop, experiment with a contrasting color of pearls. Once attached, you'll notice the walls of the box become a solid wall rather than the disjointed individual rectangular halves.
Next, wrap a couple of rows of macrame twine around the bottom and top edges of the box and secure in place with glue. Or instead of macrame, use jute rope for a more rustic effect. You can also add little feet to your box by gluing small wooden balls on all four corners of the base. These PONGJA 1 inch Unfinished Round Wood Balls on Amazon are a great option, as you can even stain or paint them in a color of choice first. Alternatively, repurpose old wine corks to make the feet.
Your storage box is now practically ready for use. However, adding a lid will add functionality. For the lid, glue two cardboard pieces together — one roughly the size of the base, and the other about half an inch smaller on all sides. Cover the larger one with lace and the smaller one with burlap before gluing them together. This way, the lace side becomes the exterior to match the lace-covered walls, while the burlap side allows the lid to slot onto the box opening. Finally, glue on one of those wooden balls or corks at the center of the lid to serve as a handle. Now you can place your DIY storage box on your entryway console table to catch everyday items, or make this your adorable DIY jewelry box and finally say goodbye to jewelry clutter.