

Don't Spend A Fortune: The Sustainable Way To Build A Tiered Container Garden
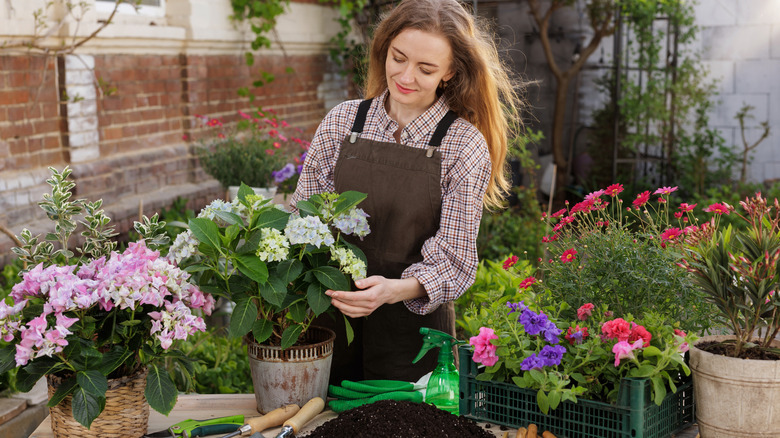
Whether you're trying to fit a lot of plants into a small backyard or want to make gardening a little easier on your joints, arranging containers in tiers is an excellent solution. The concept combines the convenience of growing plants in individual pots with the accessibility and aesthetics of a multi-level garden. Plus, a tiered container garden looks stunning since you have more opportunities to play with plant height and shape.
As with many gardening ventures, it can be tempting to throw a ton of money at this project. Large tiered plant stands suitable for outdoor use start at around $40. While there's nothing wrong with wanting the final product to look good, you don't have to break the bank to craft usable, weatherproof tiers. You can use cheap — or possibly even free — bricks and secondhand containers to build your garden. Bricks are the perfect material for building up the base of a tiered garden. You don't need a lot to get started and they're heavy, so they'll stay put without anything securing them in place. It's a sustainable DIY that's perfectly on theme for a rustic backyard.
To get started on this DIY, you'll need some bricks. You can get red Pacific clay bricks at Lowe's for just $0.48 each. Genuine reclaimed bricks from specialist suppliers will cost significantly more. Check Facebook Marketplace, too, since sometimes people give old bricks away. Depending on how tall you want your tiers to be, you could also use cinder blocks or concrete blocks. Save any leftovers to DIY a budget-friendly feature that makes your home more inviting: a house number display.
Use bricks to build tiers for upcycled flower pots
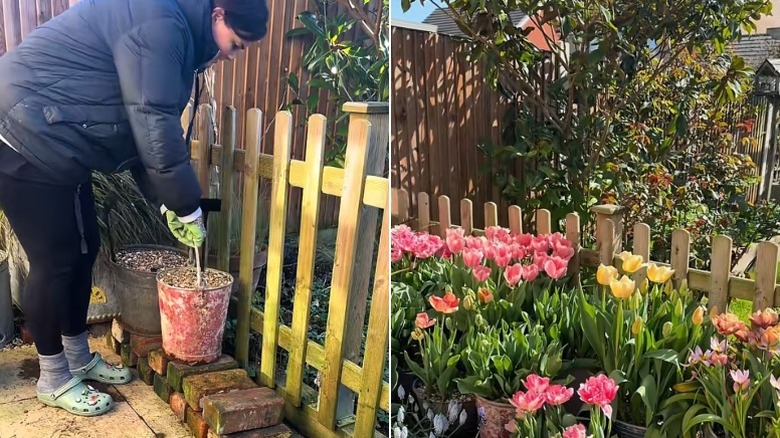
Once you've sourced a trunk-load of bricks, you're ready to start building your tiered garden. Decide where in your yard you want to put the tiers and how tall you want each tier to be, then haul your bricks to that location in a wheelbarrow or garden cart. Then simply start stacking the bricks in rows, making the back rows taller than the front rows and as wide as you wish or as wide as your space can accommodate. You can use as many blocks or bricks as you can get your hands on, so feel free to keep stacking.
If a tier starts to wobble, you've hit your maximum safe height. Take off a few bricks until it's stable again. You can use the bricks as they are, or top the rows with planks from wood pallets or narrow metal sheets. Part of the appeal of rustic garden DIYs like this one is that everyone's final product will be a little bit different. Plus, you can always hide any unsightly spots under the planters. Place your planters filled with the best plants to grow in containers on top of each tier, and your tiered garden is complete!
To keep this DIY eco-friendly and affordable, use upcycled plant pots instead of store-bought containers. There are dozens of unconventional ways to repurpose items in your home as adorable planters, including making 100% free planters from items you'd usually throw in the trash or recycling bin, like chipped tea cups and coffee cans. Thrift store shelves are also brimming with used flower pots waiting for a second life. If you must buy new, choose stone or terracotta planters since they last a long time.