

Upcycle An Old Frying Pan Into An Adorable Hanging Planter With A Savvy Diy
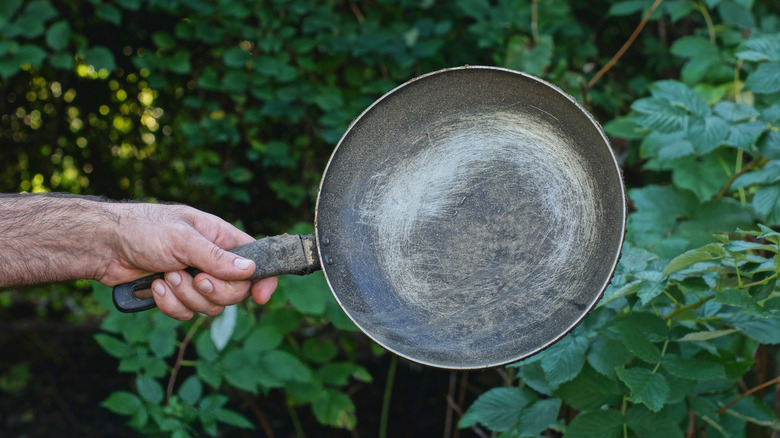
Container gardening allows many plant lovers to enjoy nature's flora, even in the absence of a yard or garden. But when you're constantly buying new planters to house your ever increasing collection of greenery, the financial implications can start to get out of hand. That's why going the DIY route is a great idea. There are numerous common household items that can turn into beautiful planters and rival high–end options without the hefty price tag. Take, for example, an old frying pan you no longer use. With a little creativity and a few supplies, you can upcycle it into an adorable hanging planter.
The best frying pan for this DIY project is a double-handled kind, because those handles make hanging up the finished planter incredibly easy. You'll need some twine, as well as paint and a brush if you'd like to change the color of the planter. If you're going to use soil in this planter, grab a drill and bits to make drainage holes in the bottom of the pan. Have your personal protective gear, such as glasses and gloves, on hand to ensure your safety when drilling. As for mounting the planter, you can use large screw hooks.
Turning an old frying pan into a hanging planter
If you're a fan of DIY projects that don't require you to rack your brain and spend endless days building, this one checks all of those boxes. In fact, the bowl shape of a frying pan already looks like a planter, so the processes for this DIY are pretty straightforward. First, thoroughly clean the pan to remove any grime and residue before painting the outside of the vessel. If need be, use a wire brush to remove the original flaking paint and any rough spots to ensure a smooth finish. After that, apply a primer, let it dry, then use a brush to add acrylic paint. You can make some cute drawings to spruce it up. Alternatively, spray paint the frying pan for a faster process. Either way, apply about two layers of the paint for a nice and clean finish.
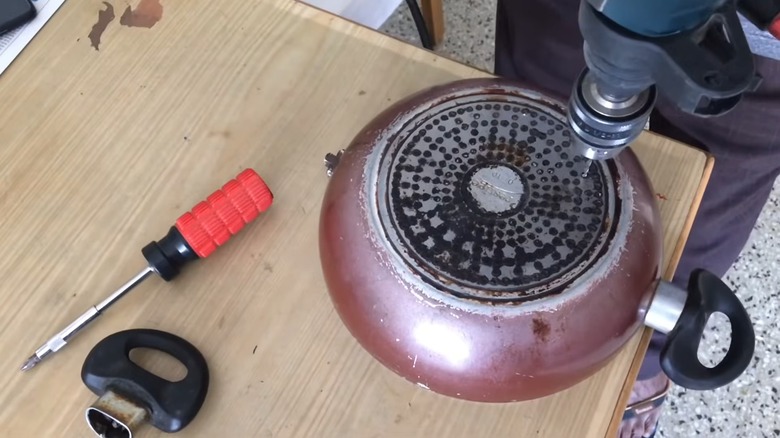
If you want to use this DIY planter for plants that grow in water without any soil -– such as pothos, baby's tears, philodendron, and others -– then you don't need to bother making drainage holes. However, if you want to grow plants the regular way using soil, then drilling drainage holes is a must. To do that, flip the pan over, and mark the spots where you'll make the holes. Put on protective gear, and grab your drill and bit. What drill bit is ideal for drilling metal, you ask? Well, a standard high-speed steel (HSS) bit is sufficient for an aluminum frying pan. For harder metals like stainless steel or cast iron, a tougher drill bit like cobalt is recommended.
Hang up your DIY frying pan hanging planter
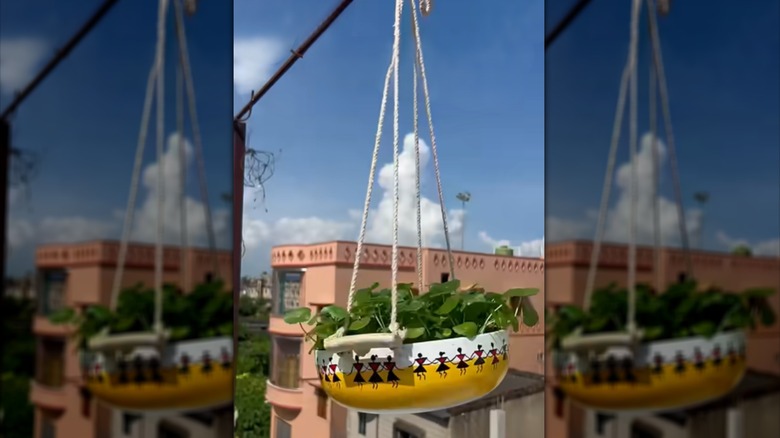
Now, you can transfer your plant into the frying pan planter. If you drilled drainage holes, first add soil to the planter, then install your plant. If there are no holes, transfer your water–loving plants, and then add water. The next step is hanging it up.
Take the twine, macrame yarn, or jute rope, and cut it into two equal pieces about 5 feet long. That way, when folded and attached to the frying pan handles, your planter will hang approximately 2 feet from the ceiling. Now, tie the two ends of each rope to the handles. Make the knot very secure, or reinforce it with E6000 adhesive to avoid it coming undone later. If you want to be a little extra, instead of using simple rope strands as hangers, you can DIY a stunning macrame plant hanger to cradle your DIY planter.
Finally, grab your hanging hook, and screw it in wherever you want to place your planter –- on the porch ceiling, eaves, a fence, or even against a wall -– then mount the planter via the ropes. And that's it. You can now sit back and admire the stunning DIY hanging planter you made to liven up your home.