

Man Turns Old Toolbox Into A Stunning Overhead Garage Light With An Impressive DIY
We may receive a commission on purchases made from links.
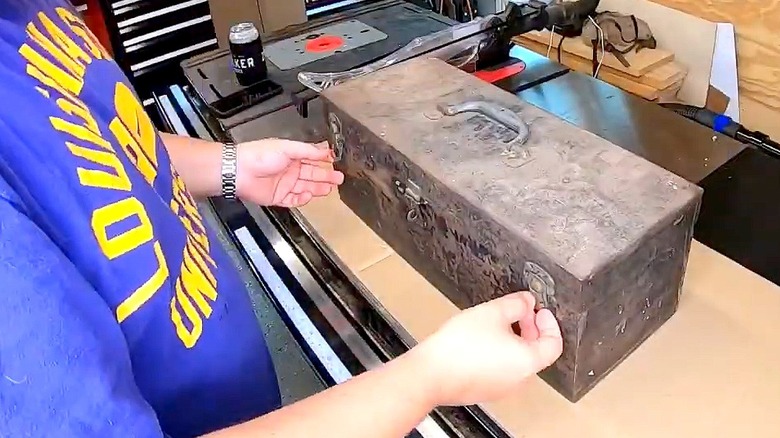
There are lots of ideas to light up a garage, depending on your budget, but we doubt you'll find anything more appropriate or more likely to bring a smile to your face than the overhead light Dean Duplantis created from an old metal toolbox. He shared the steps in a YouTube how-to video. Also, technically, it's a light for the bathroom in Duplantis' shop.
There's nothing in this project that's particularly complicated, but it does involve some electrical wiring, which has the potential to be dangerous. If you're comfortable with the basics, it shouldn't be a problem, but if you don't know what the orange wire is for in your home, for example, you'll want to get someone competent to tackle that stage.
For the DIY, Duplantis cannibalizes an existing light fitting he has lying around. If you want to do the same, then taking a few pictures on your phone while you take it apart should ensure you don't make any mistakes when putting it back together. It can get pretty frustrating to think you've finished only to find you have odd screws or connectors left over and your new overhead garage light won't turn on. Alternatively, all manner of lighting components can be bought in hardware stores, so you can choose parts that will suit the size of your toolbox.
Tools and prep for this toolbox garage light
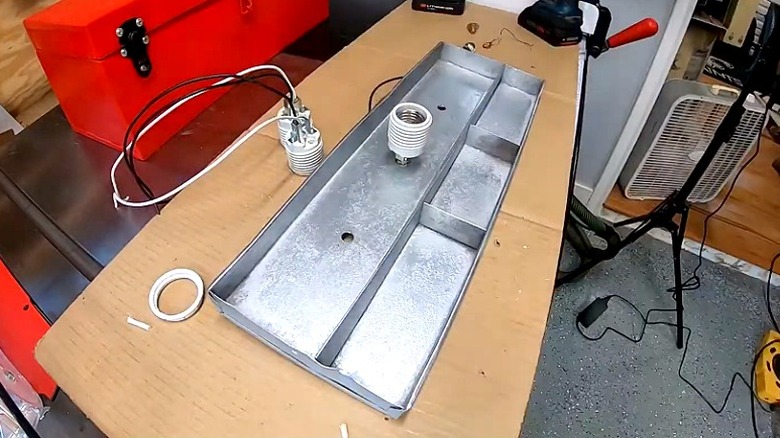
Duplantis has quite a lot of equipment, but things like hammers, drills, and screwdrivers would be found on most lists of tools every homeowner should have. Anything you don't own is probably worth investing in if you intend to tackle more projects like this one, or indeed general DIY. It's worth going through the video before you start to get a feel for the various steps.
How the bottom of the toolbox where the clear panel will go isn't explained, but at the 2:16 mark, there's a mention of "sparks." It's likely he used an angle grinder. If you don't have one, you could use a rotary tool with the appropriate cutting disc, or drill a large hole in each corner and use a padsaw with a hacksaw blade. (You can pick one up for under $10.) As Duplantis points out, when drilling metal it's best to first drill a small pilot hole, then use this hole as a guide for a larger bit, as a large bit on its own can skate around on the surface.
The toolbox is cleaned and degreased prior to its painting. Duplantis uses wire wool; alternatively, you could use emery cloth, which is like sandpaper for metal. He removes all the hardware as well. You could mask it off with painter's tape if it's in reasonable condition. After a coat of primer, Rust-Oleum's Farm & Implement spray is used for the topcoat. This is available in a range of colors.
Assembling and mounting the toolbox light
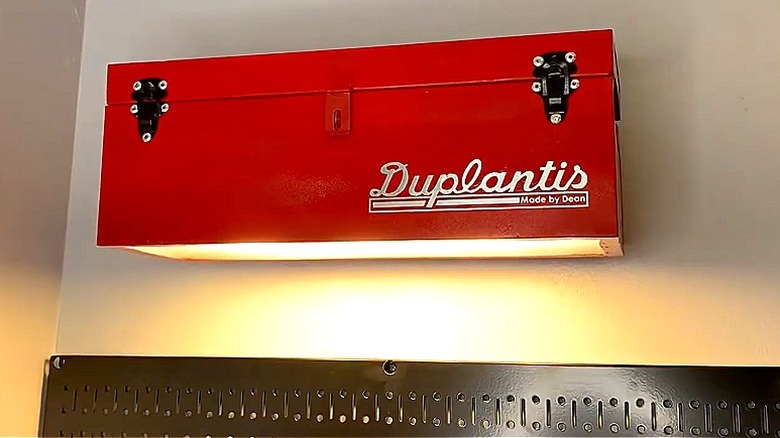
It isn't clear from the video what plastic Duplantis uses here. A variety of acrylic and polycarbonate sheets are available and should be found under "ceiling light panels" or similar in hardware stores or online. Most of the assembly is straightforward, although you may have to modify some elements to suit the size of your toolbox.
Note that whenever you make a hole in metal, it will leave a burr (a rough edge). You can remove it using a large drill bit, twisted by hand to cut the edge away, or you can file it off or use emery cloth. To protect wires, always put a rubber grommet in the hole. Again, these can be found at hardware stores or online.
The mounting bracket isn't explained in detail but it appears to be several layers of plywood glued together with a thin metal insert cut and bent to fit. The key when positioning this is to ensure it is level and that the wires coming out of the wall are not damaged. These are then connected to those coming out of the back of the toolbox lid. Use proper electrical connectors; don't just twist them together.
Finally, the bulbs are fitted, and the bottom plastic panel is popped into place. There could be an issue with removing this if a bulb needed to be changed. An alternative would be to drill a small hole in each corner and use self-tapping screws to secure the panel instead, allowing it to be removed easily when necessary.