

Man Uses Old Wood Pallets To Build Convertible Furniture With An Impressive DIY
If you're keen to save money and avoid waste, and you like a bit of basic woodworking, then recycling old wood pallets is a great idea. Over on YouTube, there's a channel called Creative Pallet Ideas that shows you how to do precisely that. In one impressive DIY, he builds a piece of convertible furniture that transforms in moments from a bench into a day bed. Let's take a closer look.
There is no sound or description on the video, but it looks like you'll need two or three pallets. There should be plenty of places to find free pallets near you if you don't have enough, but you need to check the markings. All pallets should have them. Many tell you where they came from originally. However, MB warns you that a toxic compound called methyl bromide was used to protect it from insect attack, and CP means it was used to ship chemicals. You'll want to avoid either of these.
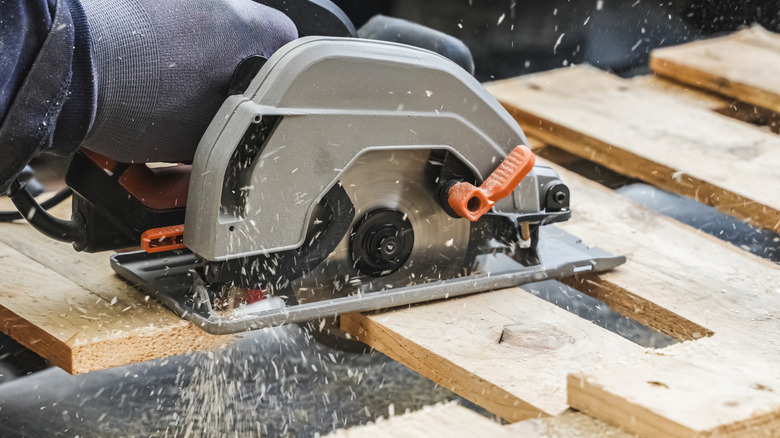
The tools you'll need for the project are a hammer, a cordless drill/driver, and some kind of saw. A hand saw would do in a pinch, but it's hard work. In the video, he uses a jigsaw. A circular saw makes it easier to cut in a straight line, and its versatility makes it one of the must-have power tools for homeowners. A powered sander would be useful, although you could use sandpaper wrapped around a scrap block.
Cutting and making the components for the wood pallet furniture
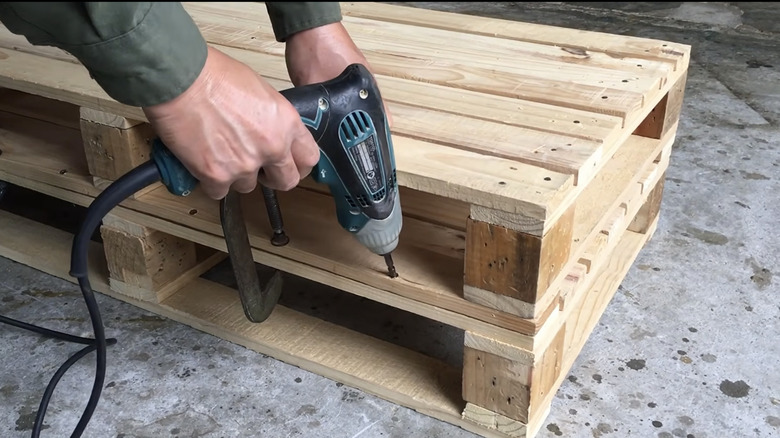
The beginning of the video is a little confusing. First, we see a pallet sawn almost in half, just to one side of the central supports. Next, we see him working furiously with a hand saw on what we'll later discover is the back. He then pulls apart half a pallet with a pry bar before we see another pallet being sawn in half. It's a good idea to watch the video all the way through to get to grips with the process. What he's doing eventually falls into place, even though it seems a bit disjointed.
When the pallet is sawn through, you are left with an open side that doesn't have supports. Just under three minutes into the video, he nails on blocks and an additional slat to rectify this and ensure a level base. He then nails additional slats across this piece, which are necessary for the bed section. The undersides of the base piece don't need them as they won't be seen.
At 4 minutes and 28 seconds, there's a jump to a piece he has made off-camera that he then saws apart to make the arms. There are lots of short pieces nailed on, which seems unnecessarily complicated. A single slat all the way along would be easier.
Assembling and finishing the convertible wood pallet bench
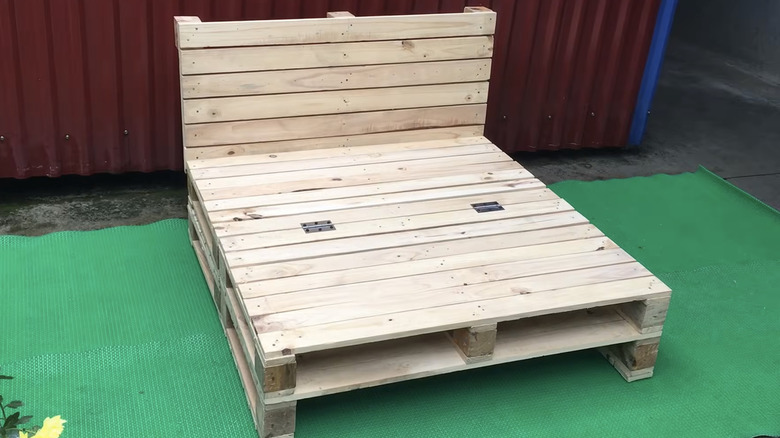
You should now have two pieces for the main base, one slightly shorter (the one where the extra supports were added), and two arms. It's a good idea to sand everything now. It's easier to get to the edges before you put the bench together. If you're going to apply a stain or paint, now would be the time to do that as well.
The two main base sections are now screwed together. Clamps aren't entirely necessary but can hold things in position while you work. Drilling pilot holes first will stop the wood from splitting. Next, attach the back. If you don't have any clamps, get a buddy to hold it while you secure it. Those screws could be under a lot of pressure if someone leans against the back, so you might want to add a couple of L-shaped metal brackets on the ends for additional strength. The arms are screwed to the fold-down piece, then it is laid top-side down, and two sturdy hinges are used to attach it to the main section. Leave it down as the day bed; fold it up for the bench.
This is just one of the creative ways to upcycle old wood pallets for your garden. You can build many of the others using the same small collection of tools, a little patience, and just a basic set of skills.