

She Transforms Wood Boards And Shavings Into A Functional Beehive With An Impressive DIY
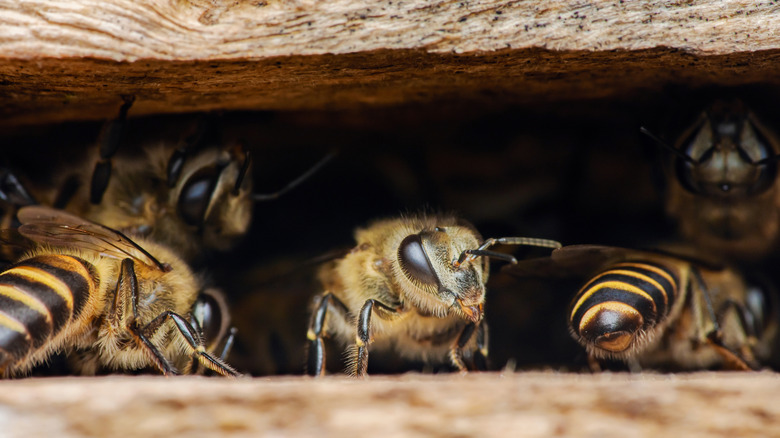
Wild bees are incredibly important as pollinators. They are vital to the growth of fruit and vegetables, not just in our yards but on commercial farms across the country. Unfortunately, their habitat is continually under threat, and their numbers are in decline. Putting a beehive in your garden can give them somewhere safe to live and will bring beneficial bees to your garden. Over on YouTube, the Craft Dock channel shows how to build one. It looks impressive, but no special joinery or techniques are involved, so it's something you might like to try yourself.
Before we start, it's important to point out that this beehive is intended as a home for wild bees. It's not for collecting honey. Also, while it's possible to make it from recycled lumber, if the wood has been treated, it may be toxic to the bees. Likewise, although pressure-treated lumber is often suggested for outdoor projects because of its resistance to rot, it is not recommended for beehives.
You can make your beehive with cheap pine or spruce-pine-fir (SPF) from the hardware store and then use a water-based clearcoat or paint (not traditional varnish) on the outside to protect it. However, do not paint the inside of the beehive.
Tools and techniques for the DIY beehive
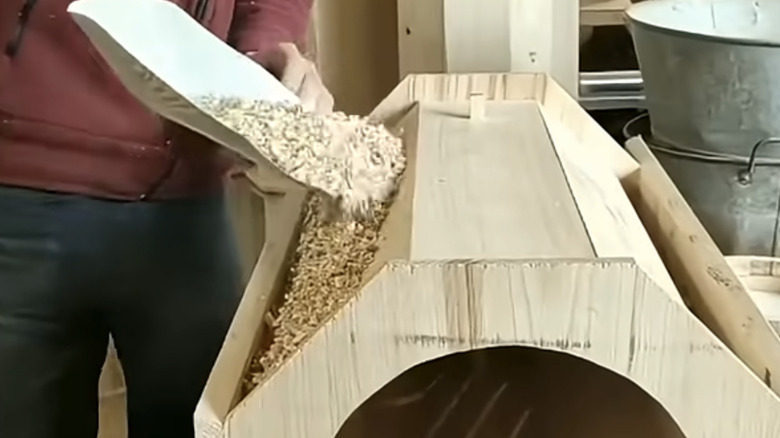
The Craft Dock video is short on detail, but we can make some educated guesses. The construction is octagonal. The ends look about 12 inches across, with a smaller octagon inside and a circular hole in the top and bottom. You can buy 1x12 lumber at some hardware stores, or, if the boards you have are narrower, make them in two halves. Put the smaller hexagon on top of the large one at 90 degrees, then glue and nail them together. The video uses a nail gun, which is faster, but a hammer and nails will get it done.
As we don't have measurements, you might want to make a mockup from card paper first. You can also adjust the size to suit your lumber — the bees won't care. Once you're happy, you can transfer the dimensions and start sawing.
Cut the hexagons with just about any saw, although you'll need a jigsaw or a bandsaw for the circles. The best tool for cutting the sides is undoubtedly a table saw, and it is one of the top tools worth investing in to start woodworking at home. It is the most accurate way to cut the 22-½ degree bevels required for the sides. You need eight boards for the interior and eight for the exterior, which leaves a gap for sawdust to insulate the beehive. If you don't have enough, you can use pet bedding. It usually has no chemicals added, so it's safe for the bees.
Finishing the build and mounting the DIY beehive
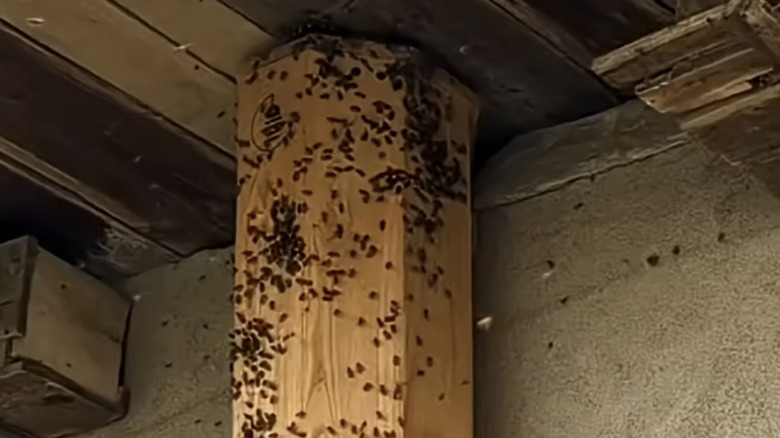
Holes are drilled along the top for ventilation and down the front to give the bees access. These are larger than most standard drill bits, so use a spade bit or Forstner bit. At some point in construction, a top and bottom are added. We don't see their construction, but octagonal or round pieces would do.
It's probably a good idea to screw them on, rather than nail them, in case you need to take them off again for easier cleaning and access, such as if wasps or hornets move in, for example. Make sure you know which you have before you try to evict them, though. Yellowjackets are easy to identify, but it can be difficult to tell some types of wild bees and wasps apart. You probably want to avoid removing a wasp or hornet nest yourself.
Ideally, the beehive should be in a position where it gets morning sunlight to warm the bees, but not in full sun all day. It should be protected from strong winds and rain. Somewhere under an overhang would be great, and high enough so the bees' arrival and departure isn't a problem for your family and any pets. The octagonal shape makes it a little challenging to attach brackets, but you could use a couple of shelf supports underneath and bend a pair of L-shaped brackets to the necessary angle to secure it on either side near the top.