

You'd Never Guess This Beautiful Decorative Peacock Started As An Egg Carton
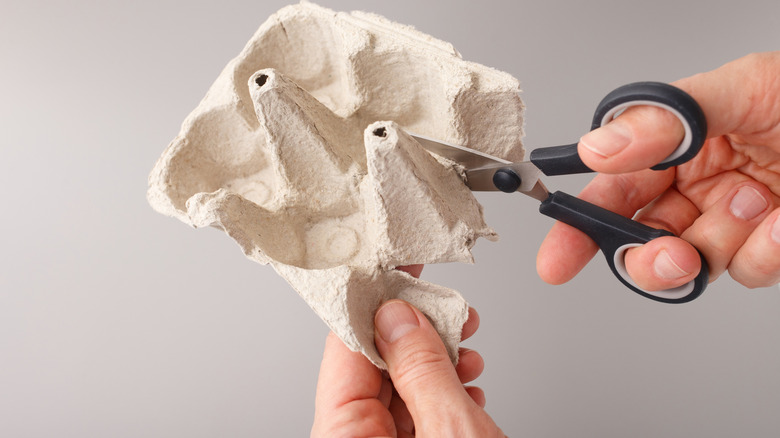
Who knew an old egg carton could turn into something this cute and eye-catching? Not every DIY needs to be practical. Sometimes, it's just about having fun, getting creative, and making something pretty to display or give as a gift. Egg cartons are a common household item you can repurpose into unique home decor. Inspired by Hoda Handmade on YouTube, this decorative peacock is exactly that. Simply start with a few craft supplies: an egg carton, a toilet paper roll, paint, scissors, glue, wire, cardboard, and ball-head pins. The finished result is proof that you shouldn't throw out old egg cartons without trying this genius DIY.
Start by cutting out an egg carton cup and trimming the edges. Glue two cups together, facing each other, and then add two more cups to each side to build the body. Next, cut small feather shapes from leftover carton pieces and layer them upward along one side to create the neck. Then, glue the pointed sections together to form the head. Roll a small piece of a toilet paper tube into a beak and glue it in place. Once the shape is complete, paint the body blue. After that, cut teardrop-shaped feathers from the carton, paint them green, and glue them around the body. Finally, twist wire into feet and wrap them in yellow string if desired. Now that the body is finished, it's time to make the iconic tail!
How to customize this egg carton peacock craft
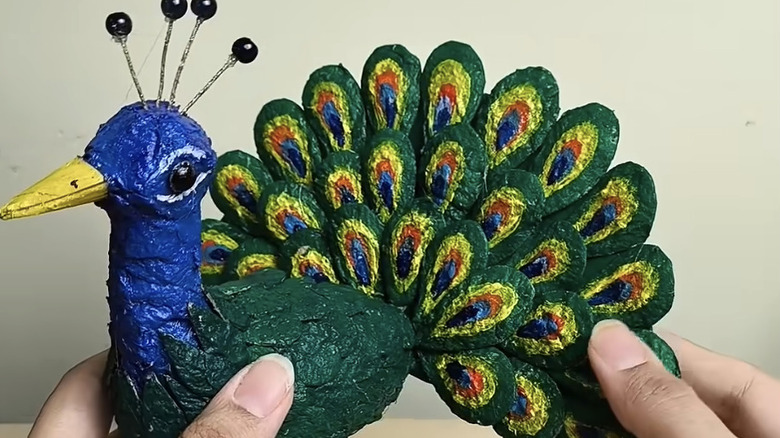
For the tail, cut a semicircle with a 3.5-inch diameter from cardboard and paint it green. Next, cut more teardrop shapes from the egg carton to create the individual feathers. Paint each one with the distinctive "eye" pattern found on peacock feathers, using contrasting paint colors. For a touch of extra shine, add glitter paint to give the feathers an iridescent finish. You can also experiment with craft foil or gold and silver flakes to capture that shimmering effect. There's plenty of room to personalize this craft, so feel free to play around with colors and textures until you love the look. Make sure to set the tail aside to dry before attaching it to the body.
Now it's time to add those finishing touches. Pin or glue the tail to the back of the body of your peacock. Paint on the eyes, or add googly eyes for a more playful look. To finish the head, insert black ball-head pins to create the peacock's signature crest. You can even adapt the same crafty technique for other occasions by turning the design into a decorative turkey for fall, or some partridges in pear trees for Christmas. Consider creating an entire menagerie by using leftover egg cartons to DIY adorable woodland character decor.