

Grab Clothespins To Make A Divided Storage Solution For Countertops
We may receive a commission on purchases made from links.
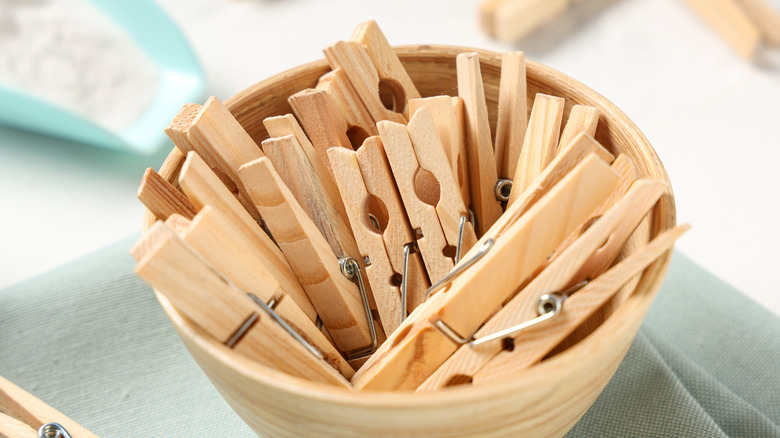
Hanging freshly cleaned laundry, clipping photographs in bedrooms, and keeping bundles of dried herbs in the kitchen are some of the amazing ways you can use clothespins at home. While those are the obvious uses for these nifty little clamps, you can also break a few apart and turn them into an adorable tray organizer to keep your countertops free of clutter. By removing the metal springs from each clothespin and gluing the halves together, you'll have panels you can combine into dividers and assemble into a round dish. However small, this DIY organizer can help get tiny items sorted, whether it's beads and pins on your crafting table, toothpicks and sugar packets on kitchen countertops, or even bits and bolts in your garage.
This tray will consist of six triangular dividers, so make sure you have at least 18 pieces of wooden clothespins about 2 to 3 inches long. If you cannot find enough at home, you can get a pack of 50 wooden clothespins at Walmart for just $2. To help put them all together, you will need hot glue or another strong adhesive like Gorilla Wood Glue. And don't forget about the base material; you can try reusing cardboard, cork board, or any thick, flat surface you can cut and use for this project. Of course, feel free to get paint, patterned paper, or other coloring and decorative materials you'd like to use to embellish your DIY organizer.
How to make a storage tray out of clothespins
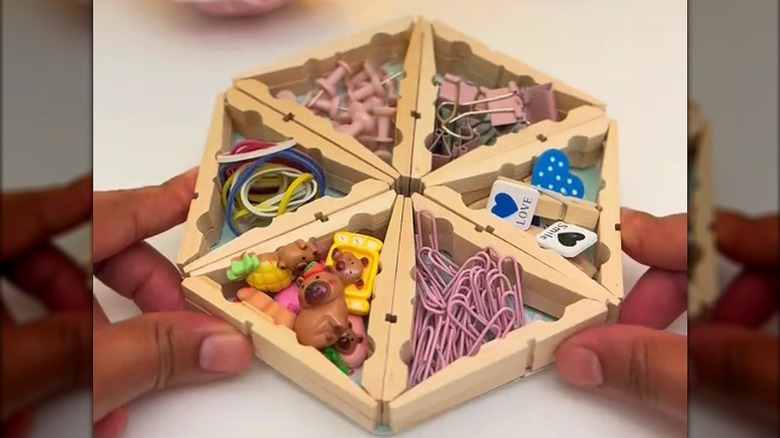
First, remove the metal springs from all the clothespins you plan to use, then pair and glue each piece of the clothespin with its flat sides touching to form one-third of the divider. Here, you can glue more clothespin halves on top of another if you want the organizer to be deeper and hold more items. Once you've completed that step, then arrange three sections into a triangle and glue them together, repeating until you have six triangles. At this point, you can customize them by painting and decorating the dividers however you like — you could even paint each triangle a distinct color and bedazzle it with a few craft gems on top.
@evana_art_and_craft DIY Clothespin Storage Box✨ #diy #fyp #clothespin #organiser #crafts
Fit all these triangle-shaped dividers to create a hexagon, making sure all edges and sides are aligned, and the bottom is flat and even. Next, adhere the hexagon frame onto your chosen base, then cut out the shape using scissors or a craft knife. Here, you can also take personal touches to the next level and use different pattern papers for the base of each divider.
Remember to let the glue dry before using the tray because the last thing you want is a sticky mess. If you used hot glue, it will dry and cure in about 10 minutes. If you used wood glue, it's best to leave it for 24 hours because even though it can dry in under 2 hours, it takes longer to cure. With a few simple wooden clothespins, you have crafted an item you can use to organize your desk, countertop, and whatever surface needs a nice little drop zone for trinkets and essentials.