

Say Goodbye To Pricey Outdoor Lights — Use Old Paint Cans To Brighten Garden Paths
We may receive a commission on purchases made from links.
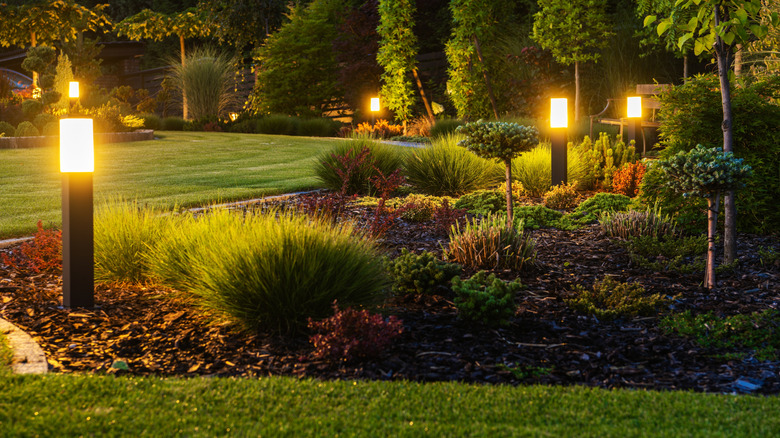
A well-lit backyard can transform the ambience of your outdoor space instantly. Whether you're hosting a late night barbecue, dining al fresco with family, or simply enjoying a moment to watch the stars, those little outdoor lights take your space up a notch. Whether you prefer modern or vintage vibes, there are plenty of outdoor lanterns that fit the bill. The only problem is that the cost of store-bought options can add up. The solution? Make your own homemade outdoor lanterns using old paint cans. This'll be one of the best DIY patio ideas to turn your backyard into an oasis in just a few simple steps.
The paint can will serve as the decorative outer wall of your lantern, and an LED light will be placed inside. Start by gathering the items and tools you'll need: a few empty old paint cans (preferably with their handles intact for easy hanging), battery-operated LED flameless candles (one for each of the cans), paint, paper large enough to wrap around the paint can, and tape. In terms of tools, get a drill with a large-sized bit, a paint brush or spray paint, a pair of scissors, a pencil, and a ruler.
How to make a DIY outdoor lantern using old paint cans
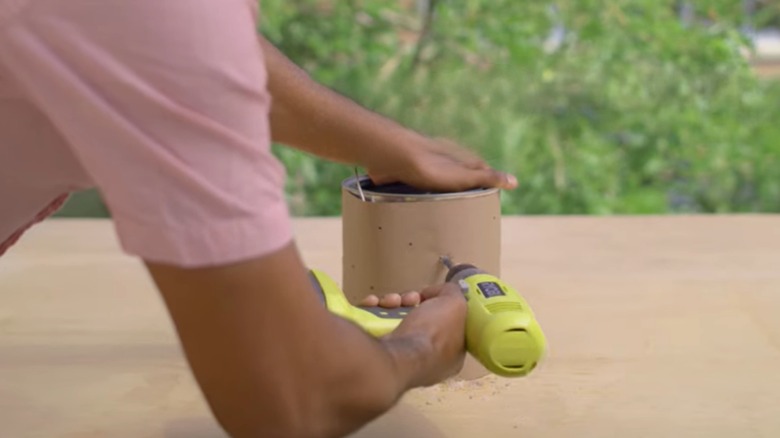
The first step is to clean the paint cans and fill each one with water. You're now going to place these water–filled cans in the freezer. The goal is to have the water frozen solid so it prevents the can from bending as you drill (or hammer) holes. While the cans are freezing, cut your paper to a size that'll fit around each can. Now using the pencil, draw dots on the paper to form a pattern you'd like, using a ruler to help align the dots as you map them out — these dots are where your light will be visible through the can. You can draw the dots to form stars, circles, or just simple diagonal lines.
Next, take the cans out of the freezer and wrap each one with the patterned paper, taping the two ends of the paper in place where they overlap. Now use the drill to make holes through the can guided by the dots to form the different patterns. Remember to choose a drill bit that's large enough because, as you paint the cans later, small holes will just get sealed shut with paint. In the absence of a drill, you can use a nail and hammer to make the holes.
Once you're done, remove the paper and pour out the water from the cans once it melts. You're now going to paint the outside of the cans. Ensure you have weather-proof paint since the lanterns will be used outdoors. Spray painting can make this step quicker, though be sure to do it in a well-ventilated area. You'll need to do two or three coats of paint for good coverage. Place the painted cans aside and let them dry.
Assembling and mounting the DIY paint can lanterns
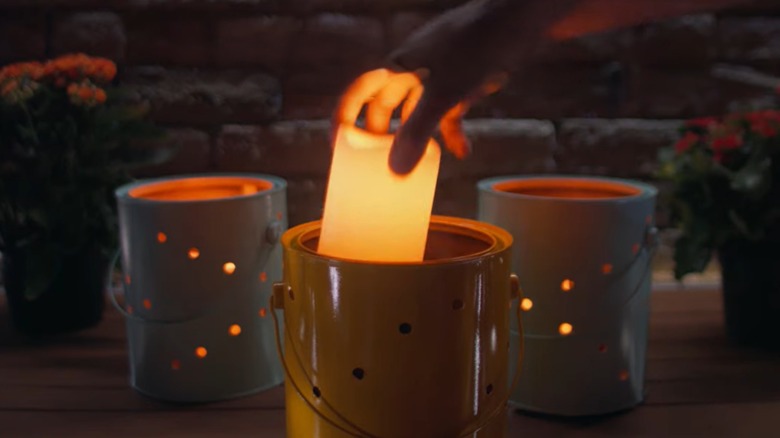
Once your cans are dry, all that's left to do is place the LED flameless candles one inside each can. Make sure you're using water-resistant LED candles to be able to withstand the outdoor conditions. Something like this YOROXRG Solar flameless Candles Outdoor Waterproof on Amazon will do. When switched on, you'll now be able to see the beautiful patterns formed by the holes you've made.
Setting up your DIY lanterns is the last and most important step. You want your garden or backyard to really glow, so consider placing the lanterns along a garden path or on a patio table. You can use simple shepherd's hooks and hang the lanterns via their handles, or just hang them on tree branches strategically around your garden. There's really no right or wrong way to place these lights. Whichever way you go, this DIY will turn your garden into an illuminated, enchanted escape.