

He Doesn't Throw Out Lawn Mower Blades: He Makes Wire Cutters
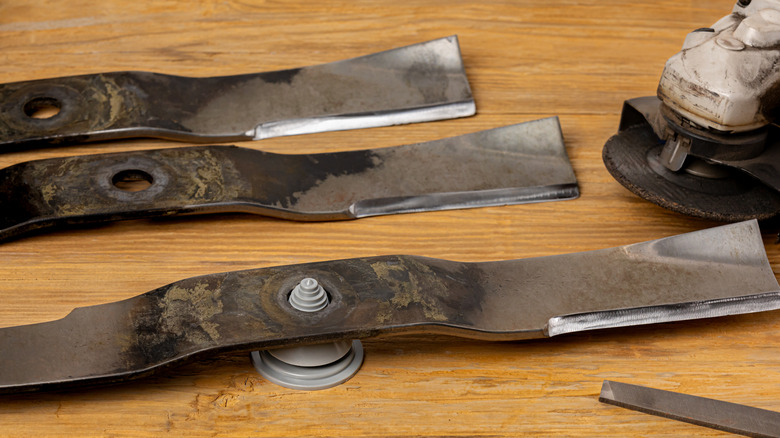
Unless you have particularly large acreage, your lawn mower blades should be good for at least a couple of years, and there are plenty of tools to make sharpening lawn mower blades easy so you can maximize how long they last. Sooner or later, though, it will be time to change them. Rather than toss them in the recycling, a number of enterprising individuals repurpose the steel, giving the old blades a useful second life. One YouTuber, the GP DIY, created wire cutters.
A lot of the work is done using an angle grinder, which, coincidentally, is often recommended for sharpening lawn mower blades. You will also need a square and some chalk for marking and a drill. The video shows a pillar drill, but with care, a reasonably powerful hand-held model (18 or 20V rather than 12V) should get it done.
So far the tools listed are all quite common, but making the wire cutter as shown also requires a small amount of welding. There are alternatives, but welding equipment needn't be expensive. MIG welders, the type usually recommended for beginners, are available for under $150. You'll also need a mask and welding gloves, both vital pieces of safety equipment, which you can add for another $50 or $60. Knowing how to get the best deals on Harbor Freight tools might bring those costs down even further.
Preparing the pieces and starting to put the wire cutter together
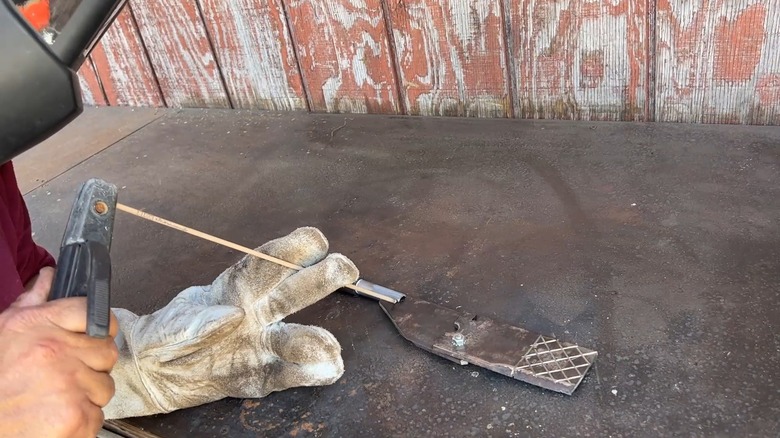
All of the cleanup and cutting is done with an angle grinder fitted with a metal cutting disk. Wear eye protection when you're doing this, and be aware that the lawn mower blade could get quite hot, especially areas that have just been cut. You may want to stop from time to time to let it cool down. A lot of the work is being done freehand. If you're not comfortable with that and would rather have both hands on the angle grinder, most of the operations could be carried out with pieces clamped to a bench or held in a vise.
The DIYer uses a nut driver for the handle. An old screwdriver could produce a similar result, but any piece of round or even square or flat metal would be effective, if a little less comfortable in the hand. After two pieces have been cut from the lawn mower blade to form the top and bottom sections, they are drilled to make a hinge. Using a little light oil (like 3-in-1) helps prevent the drill bit from overheating and should result in a smoother hole. It's easier to be accurate if you drill a small hole first, then follow it with the larger bit.
Final assembly and finishing of the wire cutters
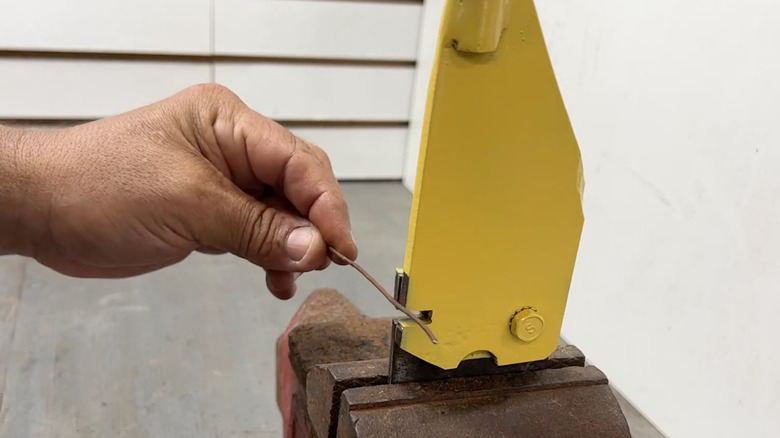
One end of the wire cutters is cross-hatched with the angle grinder, although it's not entirely necessary. The two pieces are then bolted together, and the grinder is again used to make the groove that will cut the wire. Next, it's time to weld the handle on. If you don't have a welder and don't mind having a flat handle, you could either drill and bolt it on or use a specialist two-part epoxy such as G Flex, which is sometimes used for attaching knife handles.
Finally, the wire cutters are masked and sprayed. It gives a professional-looking finish but again isn't something that needs to be done. Once the paint is dry, the wire cutters can be used in a vice, as demonstrated. Although they are designed for workshop use, if you could clamp the bottom section to something solid, they could also be used in the yard for cutting fencing wire, for example.
If you did choose to buy a welder, a wide range of other interesting home and garden projects are possible. These can vary from creating furniture or metal yard art to building a functional grill from a beer keg. Your new wire cutters might be handy for these projects too.