

Stop Tossing Old Bike Wheels: Make Rustic Wall Storage Shelves Instead
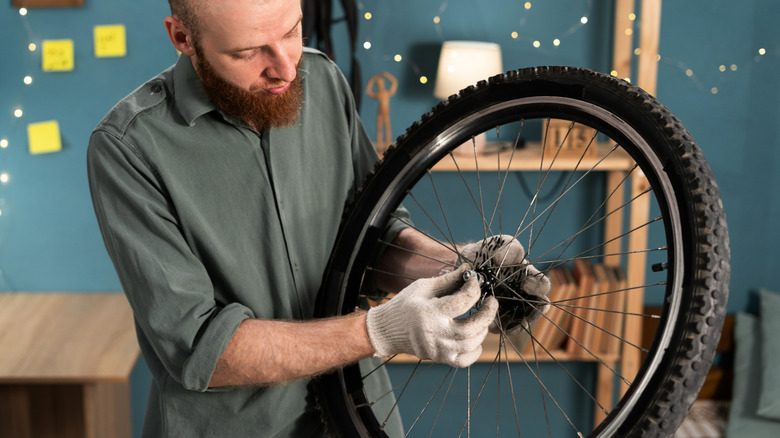
Your trusty two-wheeled ride may have climbed its last hill, but it's journey doesn't have to end in the back of your garage. Old bike wheels can be the start of many fun DIY projects. In fact, there are several stylish ways to repurpose bike wheels in your home and garden, and one of them involves turning those old wheels into rustic wall-mounted shelf. It features two bicycle rims and a few 1-inch thick pine boards, coming together to create a modern wall decor piece that is as functional as it is stylish.
This wall-mounted shelf is perfect for displaying small trinkets and decor with a rustic, industrial twist. The bike rims give it a sculptural look that instantly adds dimension to any room. For these shelves, apart from the old bike parts and wood, you'll also need a drill, screws, paint, stain, and a saw. This is a simple project that you can customize with your preferred paint and stain colors. Better yet, it is budget friendly and doubles as DIY wall art that looks high end.
Turn two bike rims and pine board into a sculptural shelf
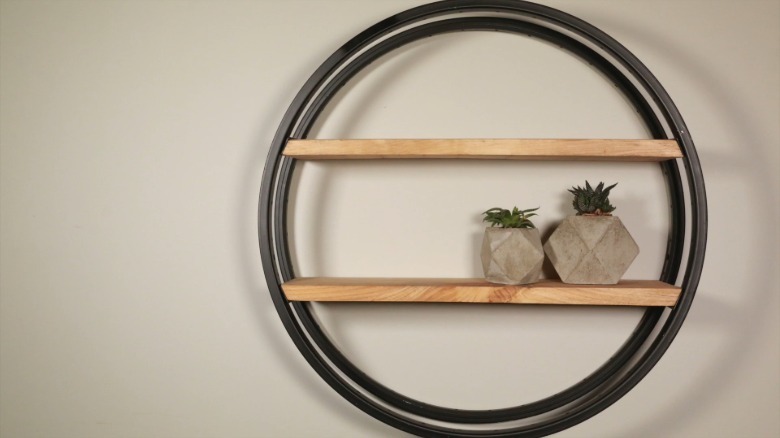
You'll only need the bike rims for this DIY shelf, so the first step is removing the bike tires and spokes from the rim. Use a sharp edge to push down the inflator valve until you can pull each tire from the wheel. Carefully snip off the spokes with wire cutters before cleaning the rims. Next, mark on the rims where you would like your shelves to sit and drill pilot holes. Two or three shelves will probably work best for standard adult bicycle wheels, which generally range between 26 and 29 inches in diameter. Then, measure the length across the rim, cutting your wood planks to match. Each shelf tier will need a mirroring angled edge on either end to neatly fit into the circular frame. If the raw industrial look isn't your aesthetic, now is the opportunity to paint the rims and stain or paint the wood.
Once everything is dry, align the planks with the pilot holes on the rim and drill them in place. For a more professional look, you can also add in a 1-inch steel strip that will cover the free edge of the wood plank and create a bridge between the two rims. Screw the board on the opposite end of the frame repeating the same steps for the second rim. Paint the screws (and steel strip if using) to match the rim. Now you have a sculptural piece that adds depth with the double rims and floating shelves in between! For even more pizazz, try this mosaic tile DIY to decorate the shelf tiers.