

Use Concrete Blocks And Wood To Build A Durable Storage Rack For Your Garage
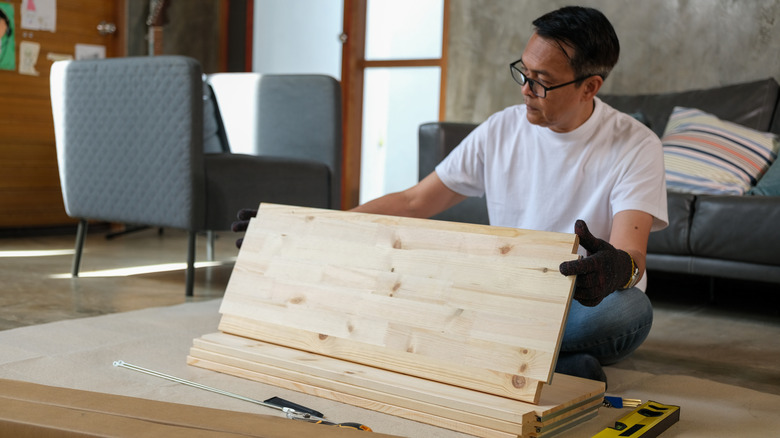
When a DIY is easier and cheaper than assembling furniture you bought online, it's time to put down your phone and grab your work gloves. Adding extra storage to your garage is as easy as stacking up concrete blocks and lumber. This DIY requires no screws, nails, or power tools, just some basic know-how and strong muscles. Plus, concrete block shelving is incredibly customizable, whether you want a clean, industrial-chic finish or a painted pop of color.
If you already have scrap concrete blocks and wood lying around, congratulations — your DIY just got even cheaper. Old pallet wood, leftover tongue-and-groove flooring, or extra fence boards can all be put to work as new garage shelves. This project is a smart way to use your leftover wood scraps, like slightly damaged or imperfect planks that weren't suitable for their original purpose.
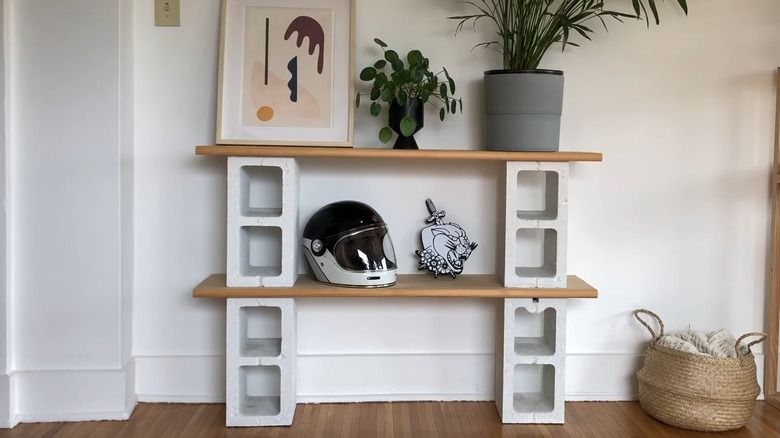
To get started, take measurements of the space where you plan to build your storage rack. Plan your shelf layout according to what's being stored on the shelves and how you want the finished piece to look. If standard concrete block dimensions aren't reaching the shelf height you want, add short concrete pavers that are the same width and depth as your main blocks. Remember to plan for the final weight as well as the height. If you'll be storing heavy items on your storage rack, you may need additional support blocks in the center to prevent bowing shelves.
Tips for building storage shelves with lumber and concrete blocks
Depending on their size, concrete blocks and pavers cost between $2 and $3 each. Lumber prices will vary depending on your choice of wood and lumber quality. Pine lumber is affordable and versatile, but if you live in a humid area and your garage floor is always wet, you may want to choose a more rot-resistant wood like cypress or Western red cedar. Generally speaking, expect to pay twice as much compared to pine.
Another solution for potential moisture issues is to paint some or all of your storage rack components. Not only does painting add personality, it can extend the build's lifespan. For example, untreated pine withstands a moist garage environment better if it's been painted. If you want to paint your concrete blocks too, apply a primer first, otherwise the paint won't adhere properly. Primer for concrete costs around $30 per gallon.
Even if you don't plan to build a tall storage rack, it's a smart safety choice to securely attach the shelves to the concrete blocks with construction or landscape adhesive. After laying the initial block on either end, glue the wooden board on top. Double-check that your blocks and shelves are level before you glue the next tier. When setting the second level, even out the fronts of the blocks as well as the tops to ensure your shelf won't look crooked when it's done. Now you have a DIY rack that maximizes space in your garage and is perfect for tools or bins.