

No More Basic Tissue Boxes: DIY A Coastal-Inspired Find With This Kitchen Trash
Tissue boxes are something most people have around their home, within easy reach when a cold hits, allergies kick up, or a random sneeze happens. And some of these boxes are really not that exciting. While many companies are starting to offer more decorative designs on the exterior of tissue boxes, that doesn't mean that plain cardboard is what you want sitting in the center of a coffee table or next to your bed. Sometimes, you can DIY a chic tissue holder with popular Dollar Tree finds, while other times you can repurpose something that would otherwise get tossed in the trash. One interesting project involves transforming a plastic butter tub into a tissue holder with a coastal twist. You cut out a hole for the tissues, cover the container in burlap, and stick seashells and plastic pearls all over the outside.
You'll need just a few items to turn a plastic container you'd usually toss in the trash or recycling bin into something that's both decorative and useful around your home. To get started on this project, grab a clean plastic butter tub with a lid, enough burlap to cover both the lid and the entire exterior of the container, and a package of tissues. To embellish your holder, get some seashells and some pearls or other beads. For tools, you'll need hot glue, scissors, and a utility knife, like the X-Acto Metal Z-Series Precision Utility Knife. If your butter tub is on the small side, this would be a great way to disguise travel-sized packs of tissues without having those tiny, ugly plastic bags all over the house.
How to make your own coastal-inspired tissue box
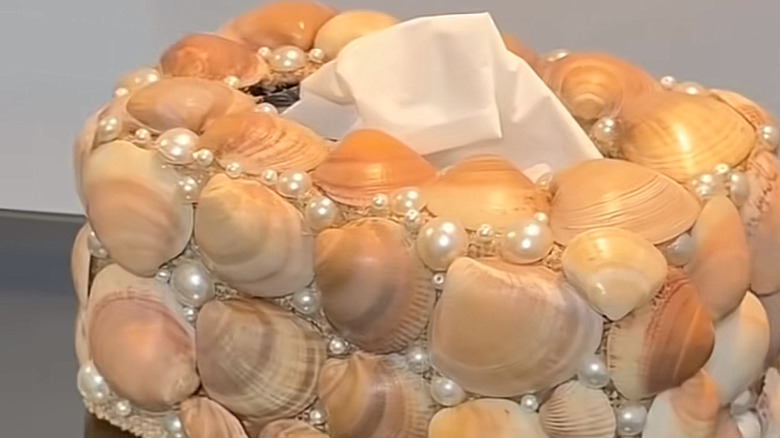
There's no denying that this is a creative way to elevate a boring tissue box to match your home aesthetic — plus, it's actually quite easy. To get started making this coastal-themed holder, you'll want to flip the butter tub over and use the utility knife to cut a small oval out of the base of the tub, right in the center. This gives you the hole you'll pull the tissues out through. Next, remove any protruding plastic along the rim of the tub so you have a flat surface to adhere the burlap to. Once everything is nice and smooth, you need to cut the burlap to size and wrap it around the exterior of the tub and over the tub's base, where you cut the hole.
Glue the burlap around the sides of the tub, leaving the rim where the lid clicks on untouched. You also want to cover the top of the lid with burlap. Once the burlap is in place and the glue has dried, you can start gluing on the seashells. Place the shells with their outer surfaces visible, completely covering the sides and top of the tub. There will probably still be gaps where the burlap is visible, and this is where you can glue on some pearls or other types of beads. Once everything is securely glued onto the burlap, insert the package of tissues, pulling one tissue through the hole to start dispensing. Now you can put the lid back on the tub. The lid becomes the base of this tissue holder; it keeps the pack of tissues in place.
Customizing your trash-to-treasure tissue box and other considerations
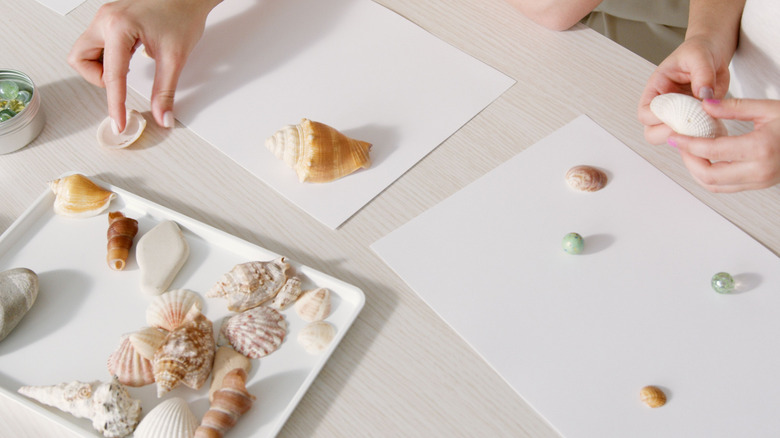
If you're looking for smart ways to give your home some coastal charm, adding some seashell decor is an easy way to do it. With this DIY, you can bring the ocean into your home without making much of a fuss or spending too much money. Plus, this is a project that you can easily customize by mixing up the seashells you use or adding more color into the mix. For example, you could add visual interest to the holder by using shells in a variety of sizes and hues. You don't have to use just one type of sea-life embellishment for this project, either. Try incorporating resin sand dollars and starfish. Get creative with adornments to really make this tissue holder your own!
While a butter or margarine tub is typically on the small side, this is a project that would also work with larger plastic containers, such as wet wipes storage tubs — Medline ReadyFlush Flushable Wipes come to mind. If your pack of tissues can fit into whatever container you have on hand, then you can turn it into a holder. Another thing to consider is what type of glue you're using. While hot glue dries quickly, it's not always a permanent solution. It doesn't work on all types of plastic and can simply peel off some plastics after application. You may want to use another adhesive designed for use on plastic, like Aleene's Original Tacky Glue, instead. Or you could use both hot glue and a second glue to make sure the seashells stay stuck to the burlap and that the burlap adheres to the plastic long term.