

Keep An Old Egg Carton To DIY The Cutest, Rustic Rooster Decor For Your Patio
We may receive a commission on purchases made from links.
Not all DIYs are meant to change your life, and that's a good thing. Sometimes, DIYs are cute and pretty, and they're fun to make. Think about it as a craft break from building DIY coffee tables and determining the perfect material for your DIY floating shelf. One fun and crafty DIY involves making cute rustic rooster decor for your patio out of egg cartons. If this sounds like fun to you, remember not to throw old egg cartons out when you're done with them. The idea for this DIY comes from YouTube creator Zad Crafts. Essentially, they cut pieces from old egg cartons and stack them in a way that resembles a rooster, cutting them into individual bits and gluing them on top of each other. Then, using paint, feathers, and felt, they add all of the details needed to bring it to life.
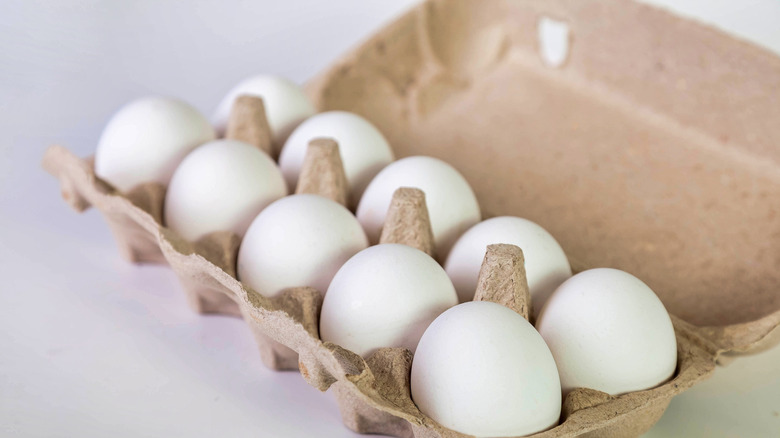
You'll also need a small wooden rod if you'd like to stick it into soil, but keep in mind that cardboard isn't waterproof. Therefore, you should be careful to keep this DIY craft project on a covered patio or balcony, or in an outdoor plant, not out in the backyard. In order to do this, first, you'll need the center pieces of the egg carton, which look like little pyramids. These are the pieces that go in between the eggs to prevent them from touching and cracking. You'll need around six or seven of those (each 6-egg carton has about two, while larger, 12-egg cartons come with five). You'll also need some extra pieces of cardboard, so don't toss the cartons once you've removed the raised bits.
How to create a rooster out of cardboard egg cartons
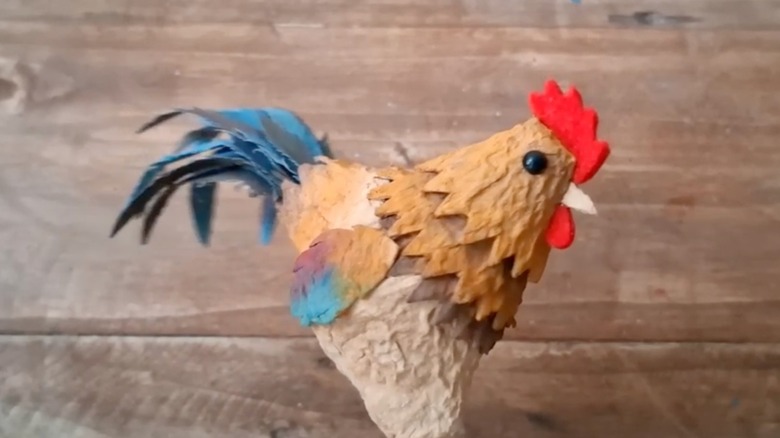
This DIY project requires quite a bit of patience, and a lot of attention to detail. Start by cutting two pieces of cardboard as your base, both in a slanted-base cone shape, with one side measuring around 3 cm and the other around 4 cm. These should meet perfectly along the edges, which you can secure together using hot glue. Once attached, these two are the base of the body of the rooster. Then, grab another piece, and cut the top into small triangles to look like feathers. Stick it on the other pieces — that's the base of the tail. Next, cut two or three more pieces, but this time adding the triangle-shaped feathers at the bottom of the cone, not the top. Stack these on top of each other, attaching them at a perpendicular angle on the body. That's the neck of the rooster.
Once done, swap your hot glue gun for some paper glue (Mod Podge works) and add small bits of cardboard to cover all of the cracks and smooth it out. Use paint to cover the rooster's neck and tail in yellow and brown, adding shading where you want. Cut small pieces of cardboard for the wings, and glue them on there. For the details, use what you have in your craft drawer: Small pieces of felt for the crest and beak, and feathers for the tail. Because the body of the rooster is hollow, you can stick a wooden rod into it, then secure it in place with hot glue. If you'd like this to last longer, cover the entire thing with Mod Podge to give it a glossy look and protect it from humidity.
How to customize this crafty DIY
While this is a very detailed DIY, you can skip some of the steps if you'd like. All you need to do is loosely adapt the concept to make something that's uniquely yours. For example, paint the entire thing black and skip the feathers and crest to create a crow instead of a rooster, perfect for Halloween decorations. Add a bit of glitter spray, and you'll have unique decor pieces that will reflect the light. Or, you can keep the egg carton unpainted and create a cute dove for your mantle instead. In fact, if you'd prefer not to use this on your patio regardless, to keep it safe from the elements, no need to plant it in soil.
Instead, simply use a vase or or a cup to hold your creation. Just be careful to cut the rod to the right length to avoid it extending too far above the receptacle and potentially toppling over. Or, fill the planter or cup with a piece of floral foam, and stick the rod into it. These can also be used for cute table decor. Cut the rods short, and stick them into cupcakes and cakes. Or, skip the rod altogether and simply lay them flat on the table. This would work especially well for Easter tablescapes, paired with cute bunny and bell decor.