

Gardener Transforms Old Pine Needles Into The Cutest Foraging Baskets With A Money-Saving DIY
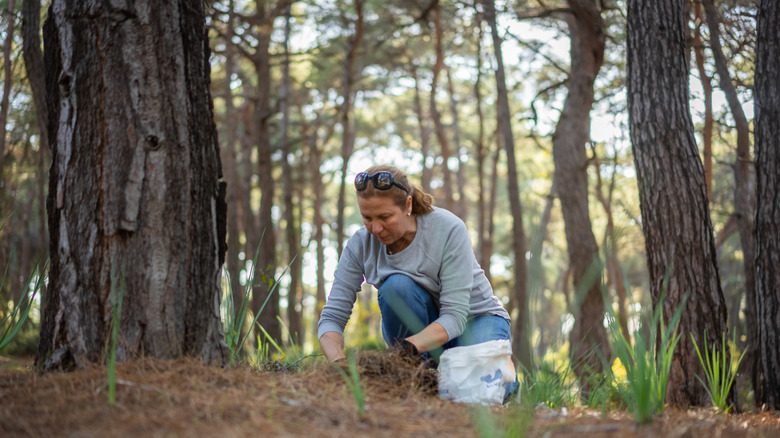
A foraging basket is one of the must-haves when you're gathering wild edible plants outdoors. The last thing you want after all those hours of collecting mushrooms, berries, or leafy greens is to get home and find they're all crushed and bruised because you stuffed them into a plastic bag or tote. A breathable foraging basket provides the space and ventilation these delicate foods need. There's no need to break the bank on a store-bought basket. You can make your own! That's exactly what creator and gardener geo.kash did. In a tutorial on Instagram, she demonstrates when and how to use old pine needles to weave a cute, budget-friendly foraging basket.
You'll need a few supplies for this DIY, most of which you probably already have or can easily find at a bargain price. Pine needles are at the top of the list and since they are considered special forest products, you can't just collect them randomly unless you're within your backyard or a friend's or neighbor's after getting their permission. Otherwise, if you head out to a public forest or park here in America, make sure you follow the individual forest or park rules in place — you'll either need to get a permit, limit the amount of needles you collect, or you might be allowed to freely harvest reasonable amounts without a permit so long as it's for personal use.
While you're outdoors, get a hollow stem like horsetail or a similar plant. You'll also need wax thread, a pair of scissors, a large needle, a kettle for boiling water, and a heat-safe container. For a unique finishing touch, you may also want to get a crochet hook and some jute rope.
How to make a foraging basket using dry pine needles
First, place the pine needles in a container and cover them with boiling water, letting them soak for at least 30 minutes until they become pliable. Remove them from the water and wrap them in a towel to dry. Then, cut off the ends of the needles or remove the caps by pulling them out with your nails. Afterward, cut a hollow stem into about 2-inch lengths — you'll use these tubes as gauges to make uniformly sized coils. If you don't have hollow stems, repurpose a drinking straw, old pen tubes, or any metal tubes.
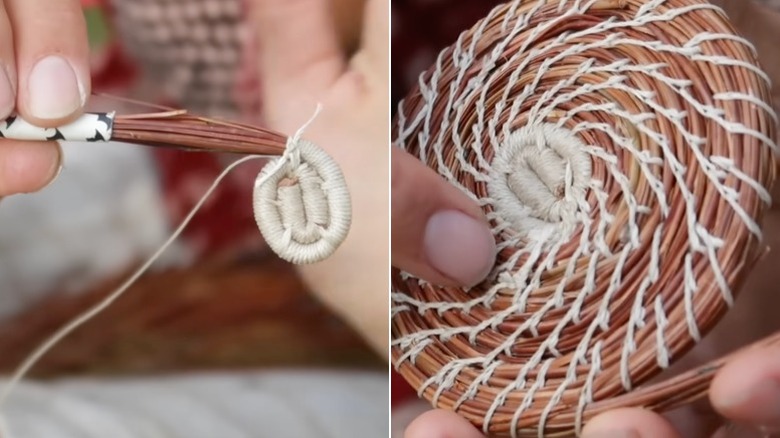
You're now ready to make the base of your foraging basket! Insert a bunch of needles into the straw-like gauge. They should fit snugly inside while still allowing the gauge to move freely. Using wax thread (or raffia), tie a knot around the bundle of pine needles at the uncapped end. Wrap the thread around the bundle to cover about 1 inch of it, pulling the thread taut as you work. Now, bend the wrapped section of pine needles into a coil and sew it in place using a tapestry needle.
Again, wrap the bundle of pine needles in string, covering about half an inch this time, then coil the wrapped section around the first coil and sew it in place. Continue wrapping, coiling, and stitching two or three more times. You can now stop wrapping the coils of needles in string and simply stitch them to the base, spacing the stitches out by about ½ inch. As you work, keep feeding more pine needles into the gauge at the center of the bundle to add length and maintain the coil size.
Build the walls and handle of the pine needle basket
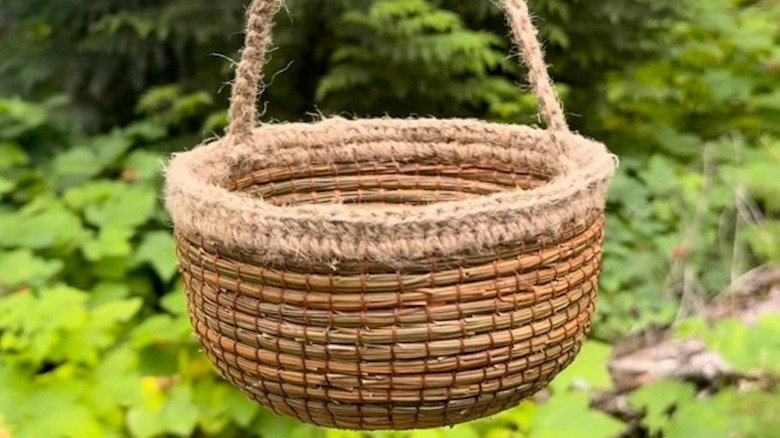
When the base is your desired size, start building the walls of your foraging basket. Place the next bundle of pine needles on top of the previous one instead of beside it, and stitch it in place. Continue stacking coils on top of each other until you reach the height you want. You can also customize your basket with straight or curved walls. To create a straight wall, stack the coils directly on top of each other. If you want to make a curved wall, stack the coils slightly outward from one another, then move them inward as you get closer to the rim of the basket.
Once you get to the top of the basket, stop feeding more pine needles into the gauge and place a few final stitches side by side along the last inch of the bundle. Take a leaf from Instagrammer geo.kash and use jute rope to give the basket a decorative crochet rim. Then use the same rope to crochet the handle. If you don't want any embellishments, you can fashion a handle from pine needle bundles wrapped in wax thread, perhaps adding some 18-gauge floral wire for strength. Another way to add subtle pizzazz to your DIY foraging basket is to color it with clothing dye. Further, using the same weaving technique as you did for the base, you can also make a flat lid that sits flush against the basket's curved rim. The addition of a lid will turn this DIY into an eco-friendly storage basket that's unique decor for your home.